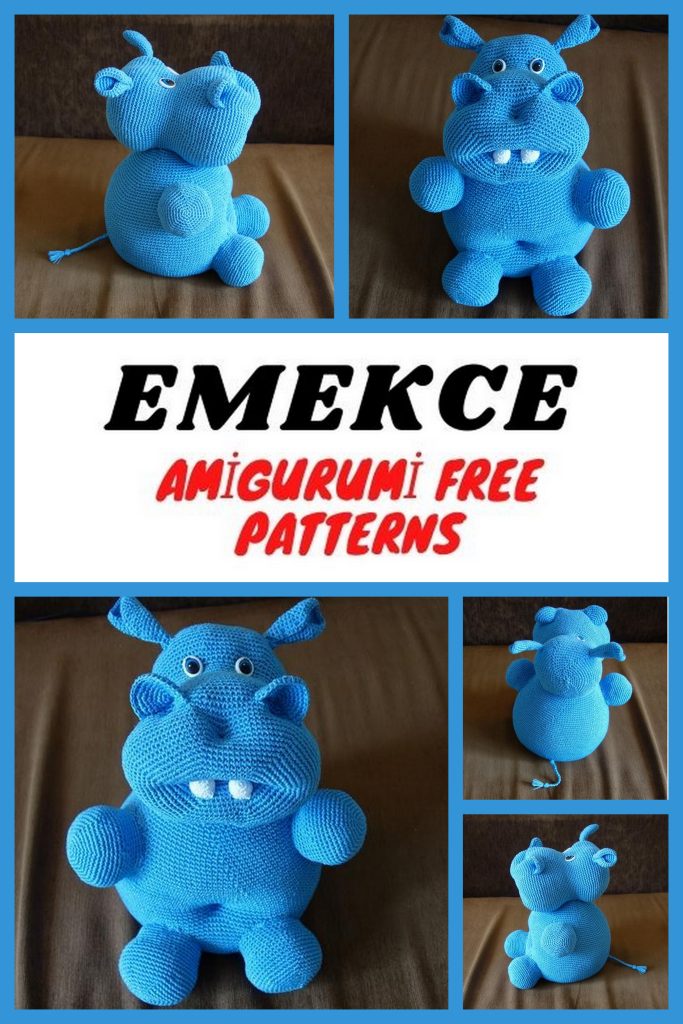
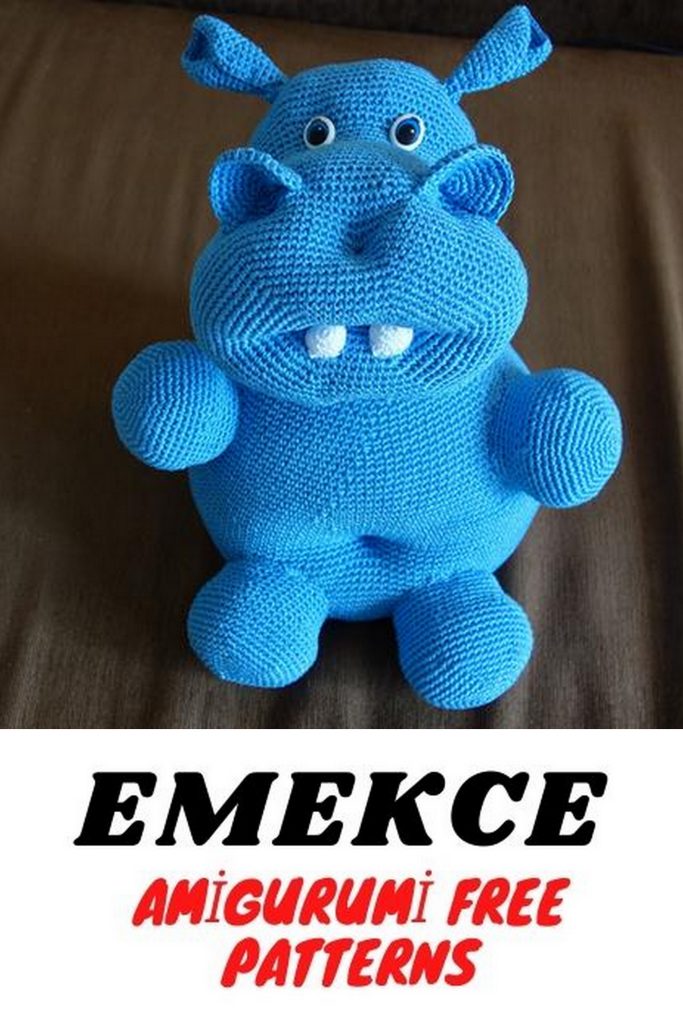
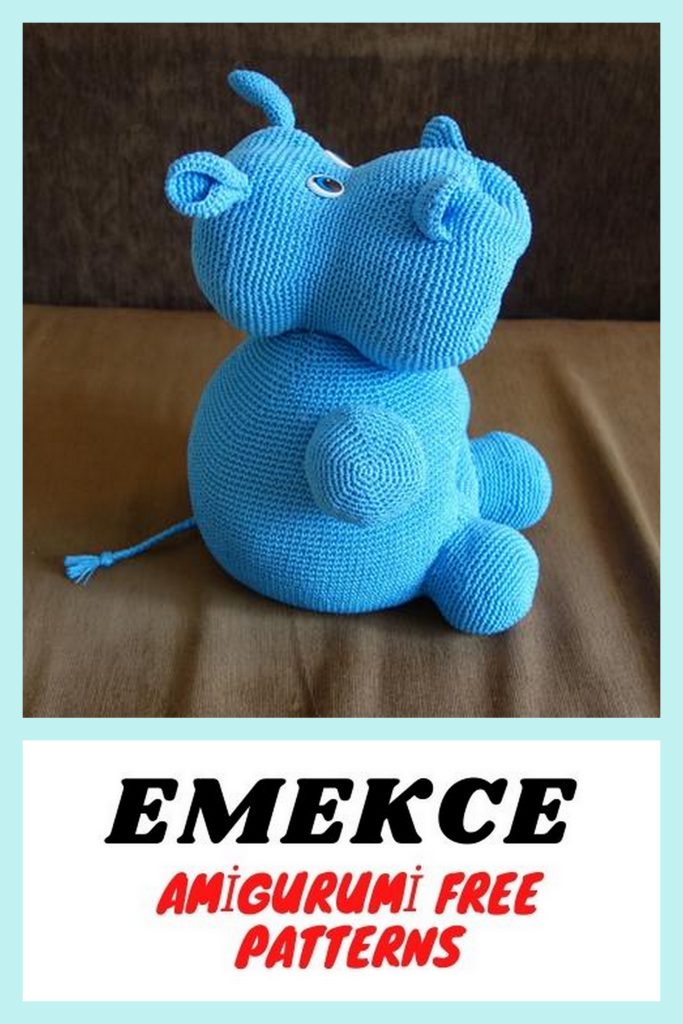
Craft a Cuddly Companion: Amigurumi Cute Baby Hippo Free Crochet Pattern
Unleash your creativity and crochet skills with our delightful free pattern for crafting an adorable Cute Baby Hippo amigurumi. Whether you’re a crochet enthusiast or a beginner eager to explore the world of amigurumi, this pattern is tailored for all skill levels. Join us on a heartwarming journey of creating your very own huggable baby hippo with our easy-to-follow instructions. Let the crochet magic begin!
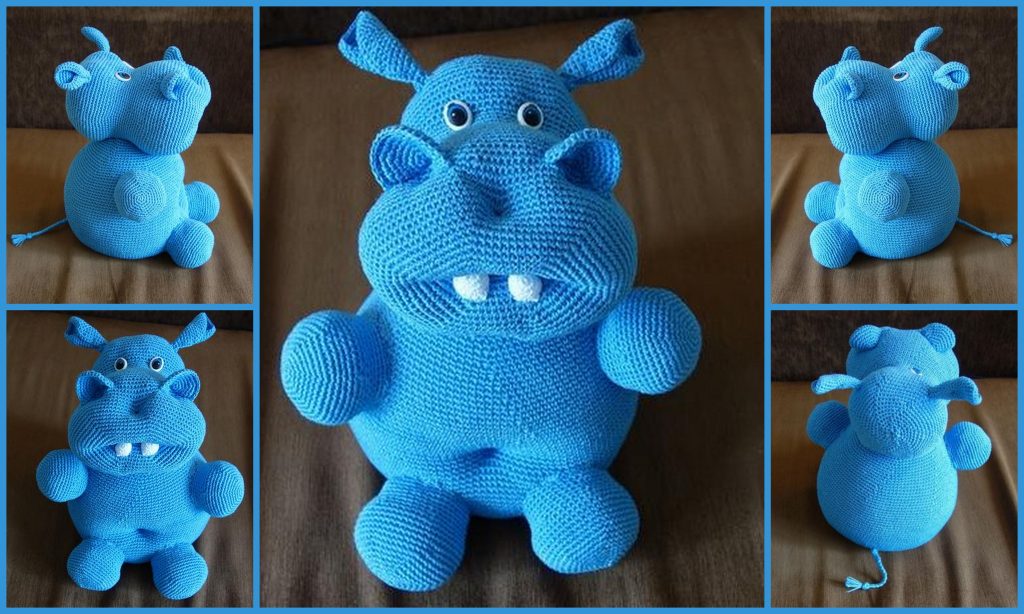
Height 30 cm.
Abbreviations:
● sc – single crochet
● inc – increase
● dec – decrease
PATTERN
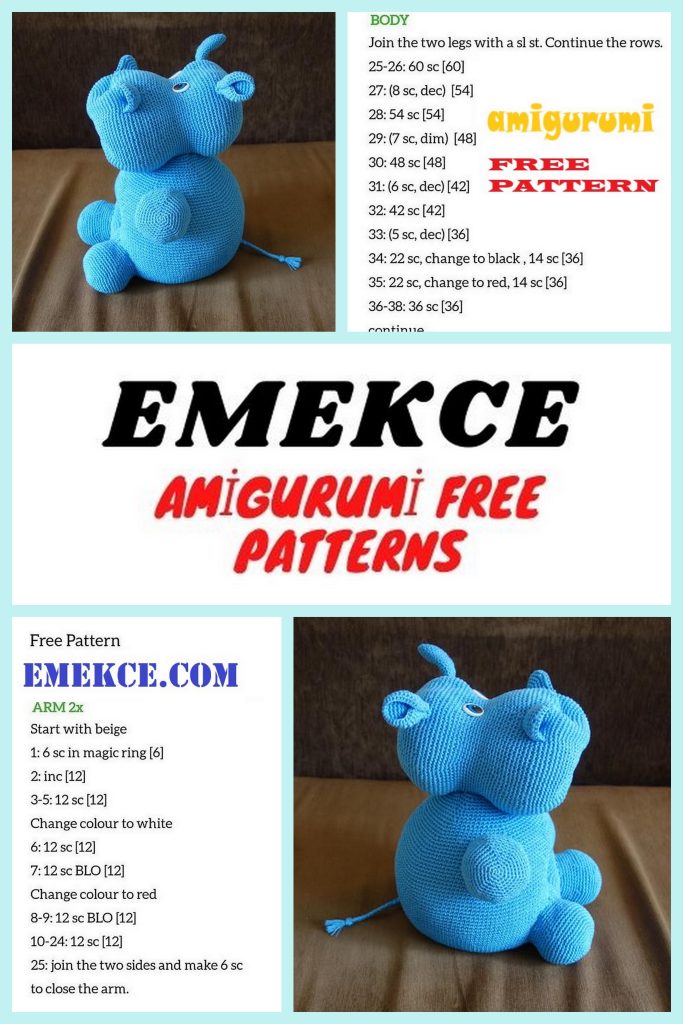
Body
1.6 sc into magic ring
2. inc. = 12
3.1sc, inc = 18
4.2sc, inc = 24
5.3sc, inc = 30
6.4sc, inc = 36
7.5sc, inc. = 42
8. 6sc, inc = 48
9.7sc, inc = 54
10.8sc, inc = 60
11.9sc, inc = 66
12.10sc, inc. = 72
13.11sc, inc = 78
14.12sc, inc = 84
15.13sc, inc = 90
16.14sc, inc = 96
17.15sc, inc. = 102
18.16sc, inc = 108
19.17sc, inc = 114
20. 18sc, inc = 120
21.19sc, inc = 126
22.20sc, inc. = 132
23.21sc, inc = 138
23-43. 138sc = 138
44.21sc, dec = 132
45.132sc = 132
46.20sc, dec = 126
47. 126sc = 126
48.19sc, dec = 120
49. 18sc, dec = 114
50.114sc = 114
51.17sc, dec = 108
52.108sc = 108
53.16sc, dec = 102
54. 102sc = 102
55.15sc, dec = 96
56.96scsc = 96
57.14sc, dec = 90
58. 90sc = 90
59. 13sc, dec = 84
60.84scsc = 84
61.12sc, dec = 78
62. 78sc = 78
63.11sc, dec = 72
64. 72sc = 72
65.10sc, dec = 66
66.66sc = 66
67.9sc, dec. = 60
68. 60sc = 60
69.8sc, dec = 54
70. 54sc = 54 Fill the body with filler. By
desire. can be placed in the center of the weighting compound (on
choice: granulant, rice, peas, etc. For loose
filler I use stocking)
71.7sc, dec = 48
72.6sc, dec = 42
73.5sc, dec. = 36
74.4sc, dec = 30
75.3sc, dec = 24
76.2sc, dec = 18
77.1sc, dec = 12
78. dec = 6
Close the loop
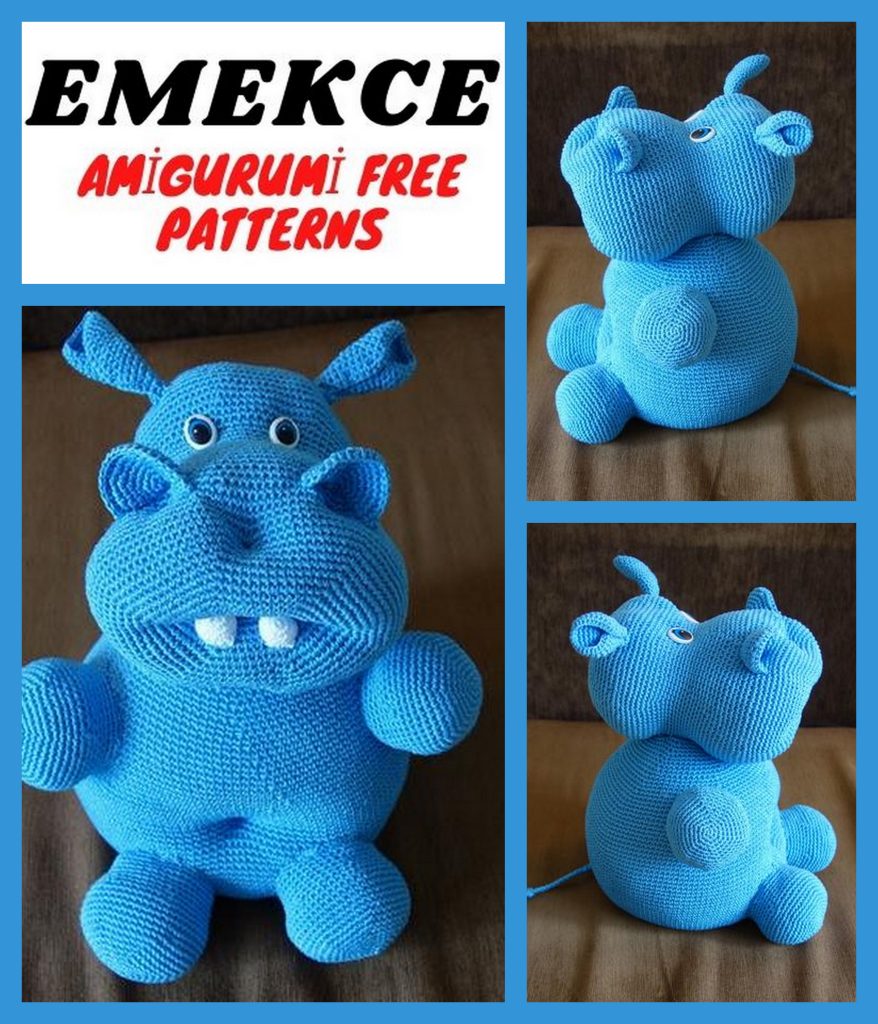
Head
1.6 sc into magic ring
2. inc. = 12
3.1sc, inc = 18
4.2sc, inc = 24
5.3sc, inc = 30
6.4sc, inc = 36
7.5sc, inc. = 42
8. 6sc, inc = 48
9.7sc, inc = 54
10.8sc, inc = 60
11.9sc, inc = 66
12.10sc, inc. = 72
13.11sc, inc = 78
14.12sc, inc = 84
15.13sc, inc = 90
16.14sc, inc = 96
17.15sc, inc. = 102
18.16sc, inc = 108
19.17sc, inc = 114
20-25.114sc = 114
26.17sc, dec = 108
27.16sc, dec = 102
28.15sc, dec = 96
29.14sc, dec = 90
30. 13sc, dec = 84
31.12sc, dec = 78
32.11sc, dec = 72
33.10sc, dec = 66
34-38. 66sc = 66
39.10sc, inc. = 72
40. 11sc, inc = 78
41.12sc, inc = 84
42. 13sc, inc = 90
43. 14sc, inc = 96
44.15sc, inc. = 102
45-49. 102sc = 102
50.15sc, dec = 96
51.14sc, dec = 90
52. 13sc, dec = 84
53.12sc, dec = 78
54.11sc, dec = 72
55.10sc, dec = 66
56.9sc, dec. = 60
57.8sc, dec = 54
58.7sc, dec = 48
59.6sc, dec = 42
60.5sc, dec. = 36
61.4sc, dec = 30
62.3sc, dec = 24
63.2sc, dec = 18
64.1sc, dec = 12
65. dec = 6
Close the loop. Sew your head to torso.
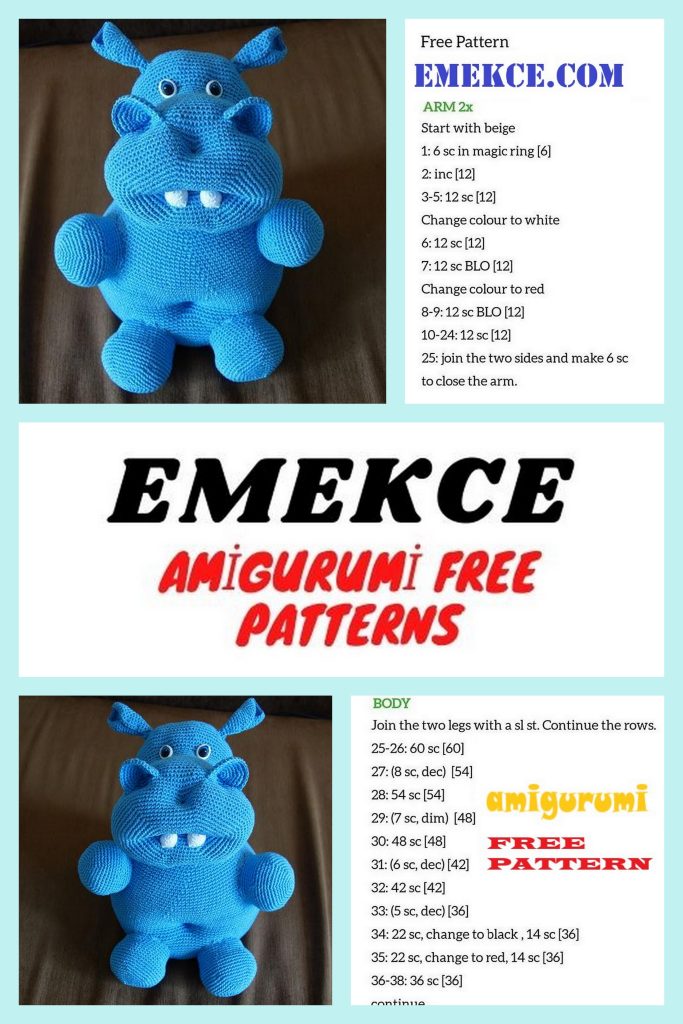
Ears and nostrils
1.6 sc into magic ring
2. inc. = 12
3.1sc, inc = 18
4.2sc, inc = 24
5.3sc, inc = 30
6.4sc, inc = 36
7.5sc, inc. = 42
8. 6sc, inc = 48
9.7sc, inc = 54
Twist one side of the circle into a tourniquet and secure it with a thread. Leave long
thread to sew the eye with it. Twist one ear clockwise, and
another in the opposite direction.
Sew ears to the head.
1.6 sc into magic ring
2. inc. = 12
3.1sc, inc = 18
4.2sc, inc = 24
5.3sc, inc = 30
6.4sc, inc = 36
7.5sc, inc. = 42
Fold the circle in half and knit together on the outside of the circle. Leave
long tip of thread to sew nostrils with it. Bend slightly into an arc and
sew to the muzzle.
Legs and tail
1.6 sc into magic ring
2. inc. = 12
3.1sc, inc = 18
4.2sc, inc = 24
5.3sc, inc = 30
6.4sc, inc = 36
7.5sc, inc. = 42
8. 6sc, inc = 48
9.7sc, inc = 54
10-14. 54sc = 54
15.7sc, dec = 48
16.6sc, dec = 42
17-21. 42sc = 42
Leave the long end of the thread for sewing on the legs. Fill with filler and
sew to the torso.
For the tail, we cut 30 threads of 40 cm. We pass the threads through
a loop of 23 rows of the hippo’s body (where the decrease started). It turns out 60
thread. Weave a pigtail. At the end we tie it with a knot and cut it
so that you get a brush. Number of threads and tail length
can be changed as desired.
We make a face
It remains to sew / glue the eyes and make weights.
To form a mouth, we stretch the thread from the center of the mouth to the right
nostril, return to the mouth, stretch into the left nostril, again
return to the mouth, to the center of the upper lip, to the center of the lower lip, to the center
mouth and there we fix the thread.
For the navel, we stretch the thread from the front of the neck (where
sewn on the head), to the navel and return back to the neck. Fasten
a thread.
Teeth
1.6 sc into magic ring
2. inc. = 12
3-5. 1sc, inc = 18
Leave the long end of the thread and sew the teeth on her lower lip.
If, in the process of work, you have any questions, write, I will definitely answer. The site has a feedback form
communication.
Enjoy your work!

