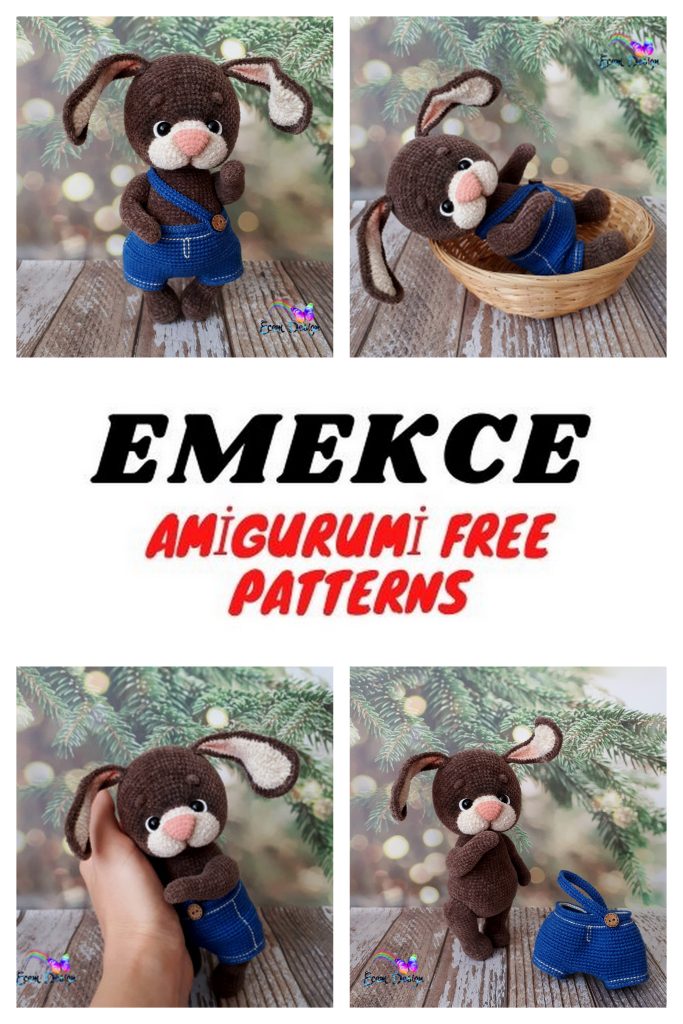
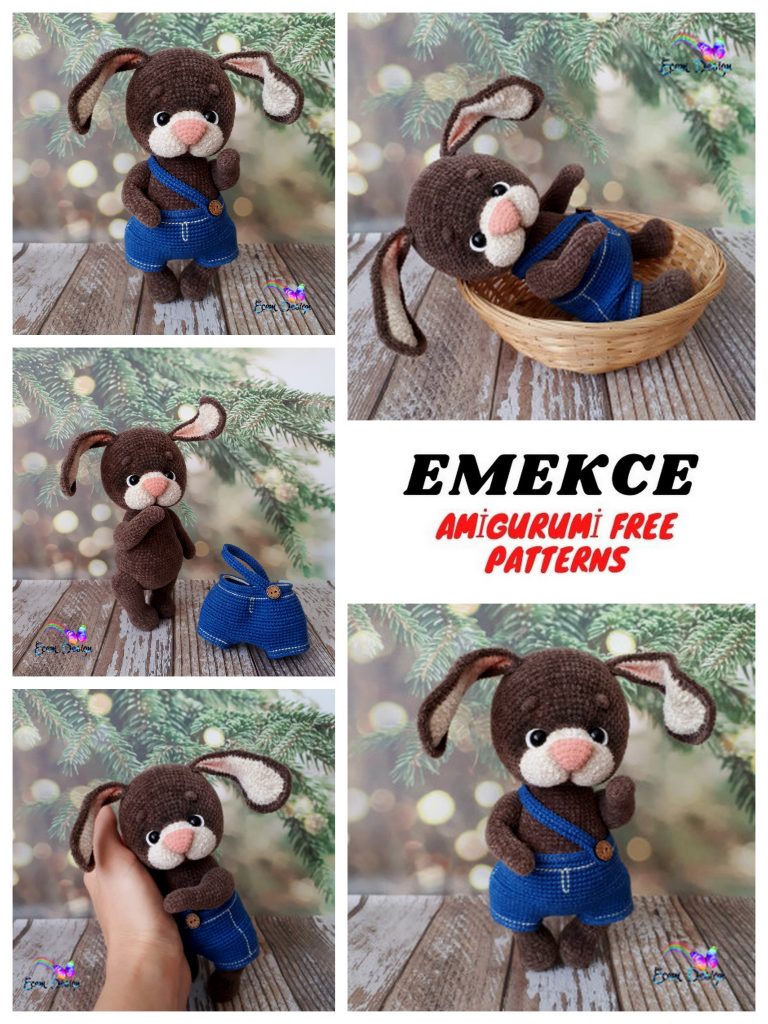
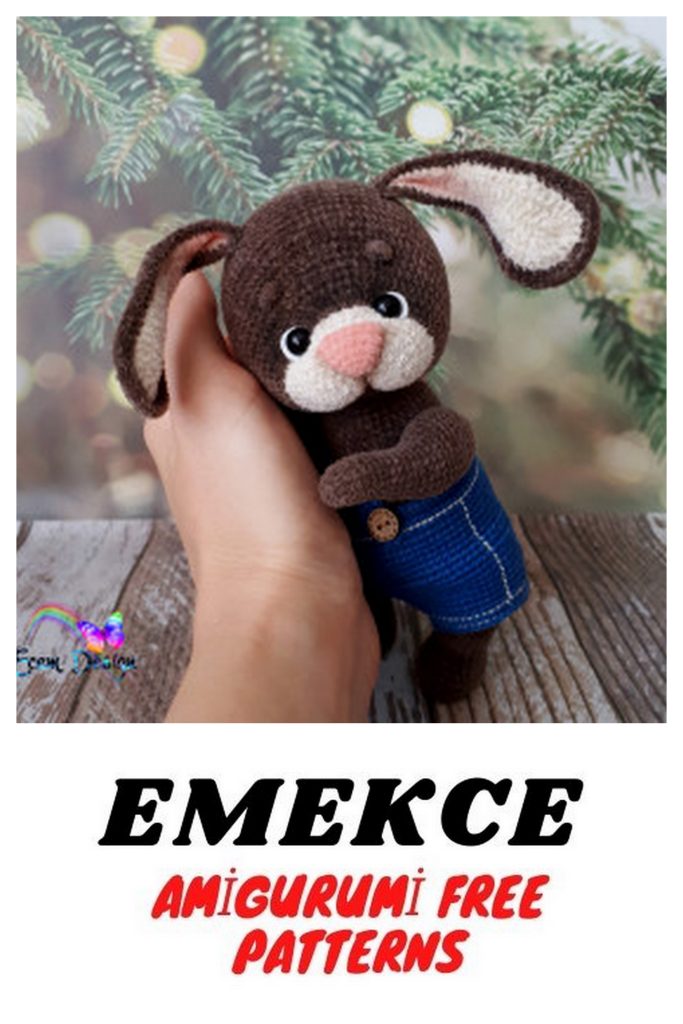
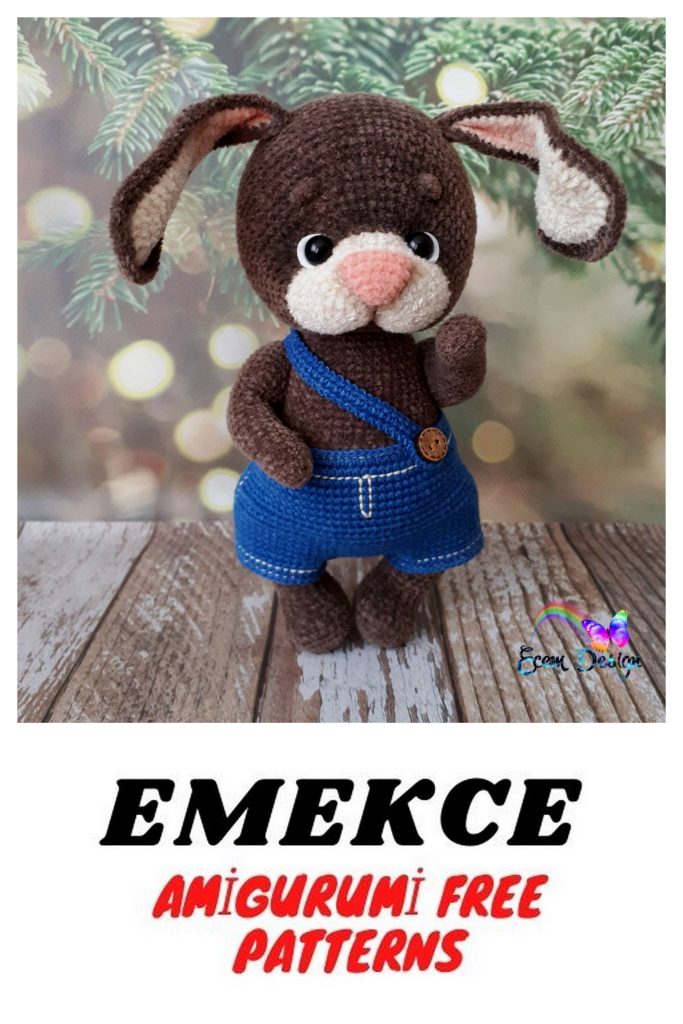
Amigurumi Velvet Brown Bunny Free Crochet Pattern – Create Your Soft and Cuddly Bunny Friend
Are you a crochet enthusiast searching for your next huggable project? Look no further! We’ve got an enchanting free Amigurumi Velvet Brown Bunny pattern that will not only tickle your creative senses but also provide you with a cuddly companion like no other. Crocheting your very own velvety brown amigurumi bunny is a delightful and heartwarming experience, suitable for crafters of all skill levels. In this post, we’ll guide you through the process with easy-to-follow instructions and everything you need to craft this charming free amigurumi bunny. Let’s embark on a crochet journey and bring this lovable bunny to life!
Materials:
Yarn ICE Yarns “Thin Chenille” (50g / 250m) (100% Polyester):
– brown – 1 skein;
– cream, pink residues for nose
YarnArt “Cotton Soft” yarn (100g / 600m) (44% polyacryl, 55% cotton):
– denim color (No. 17)
Any thin cotton yarn for decorating shorts. I have Altın Başak “MAXI” (100g / 565m) (100% cotton) – beige
Clover hook 1.5 mm
Disks for mounting legs and head with a diameter of 25 mm (6 pcs.), 3 T-shaped cotter pins
Disks for fastening hands with a diameter of 18 mm (4 pcs.), 2 T-shaped cotter pins
Black eye-buttons with a diameter of 8 mm
1mm white felt or foamiran
Wooden button for shorts with a diameter of 9 mm – 1 pc.
Spandex
Glue
Filler
Scissors
Needle for tightening
Sewing needle
Dry pastel for tinting
The growth of the finished toy using these materials is 16 cm.
Abbreviations
sc – single crochet
sl-st – slip stich
DC – double crochet
HDC – half crochet
inc – increase
dec – decrease
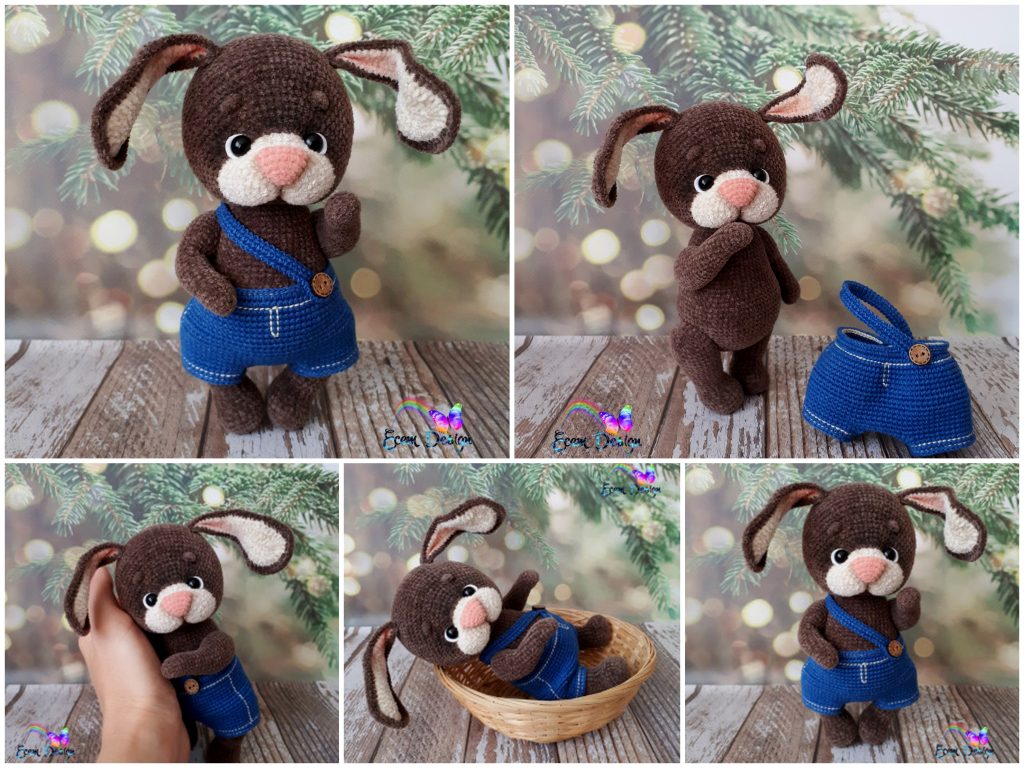
From Katya: one skein was enough, it is desirable to have a supply, height 16.3 cm, disks in legs and head 25 mm, in handles 20 mm, hook Clover 1.75, and shorts and the bunny itself.
KHT: height is 19 cm, one skein is gone (10 g of skein is left), discs in handles are 22 mm, in legs and head are 30 mm, hook is Clover 2 mm, jeans shorts.
Rostik 18 cm – sitting and 23 cm – standing. It is knitted from Chinese velor (thickness 2 mm, about 250 m / 50 g). It took 35-40 grams of gray, white just a little bit. Knitted with a Gammovsky crochet 1.5. Disks in the legs and neck – 30 mm, in the handles – 25 mm. Eyes – 8 mm glass.
Alize “Softy” consumption of 1.5 hank approximately. Hook Gamma 1.5. Mounts – joints – in the handles – 28 mm, in the legs and head 35 mm. Shorts from Trinity yarn (acrylic 70%, wool 30%). Bunny sprout 28 cm.
PATTERN
STAGE 1.
HANDS (2 parts)
The thread is brown.
Right hand.
The beginning marker of the row runs in the center of the outer part of the arm.
1 pp.: 6 sc into magic ring (6)
2 pp.: 6 inc (12)
3 pp.: 11 sc, dec (we decrease from the last loop of the row and the first loop of the next row) (11)
4 pp.: 4 sc, 2 inc, 5 sc (13)
5 pp.: 13 sc (13)
6 pp .: 6 sc, inc, 6 sc (14)
7 pp.: 13 sc, dec (we decrease from the last loop of the row and the first loop of the next row) (13)
8 pp.: 5 sc, 2 inc, 6 sc (15)
9 pp.: 15 sc (15)
10 pp.: 7 sc, inc, 7 sc (16)
11 pp.: 15 sc, dec (we decrease from the last loop of the row and the first loop of the next row) (15)
12 pp.: 6 sc, 2 inc, 7 sc (17)
13 pp.: 17 sc (17)
14 pp.: 8 sc, inc, 8 sc (18)
15 pp.: 16 sc, inc, 1 sc (19)
16 pp.: 1 sc, inc, 17 sc (20)
17 pp.: 19 sc, inc (21)
18 pp.: Inc, 20 sc (22)
19-23rr. (5 rows): 22 sc (22)
24 p.: (We knit the hole for the cotter pin): 16 sc, 1 CH, skip 1 loop, 5 sc (22)
If you have thick yarn, you don’t need to knit this hole.
25 pp.: (Dec, 4 sc, dec, 3 sc) * 2 (18)
Insert the cotter pin into the knitted hole.
26 p.: (1 sc, dec) * 6 (12)
27 p.: 6 dec (6)
Fasten the thread, cut. Pull off the remaining hole. Hide the end of the thread inside the part.
We knit the left hand similarly with the exception of the 24th row:
24 p.: (We knit the hole for the cotter pin): 6 sc, 1 CH, skip 1 loop, 15 sc (22)
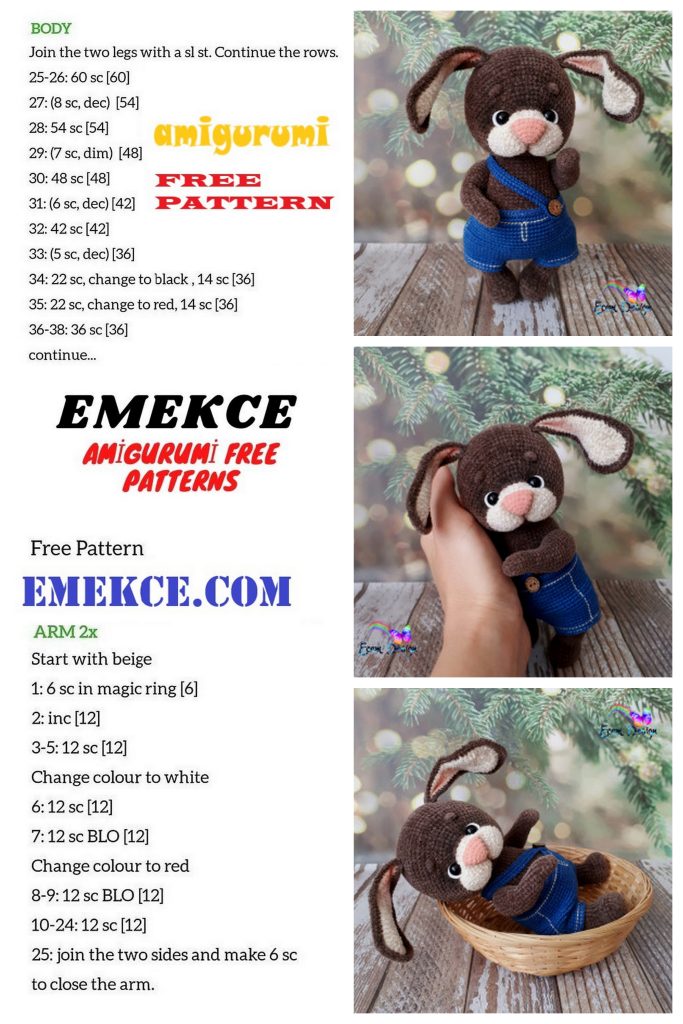
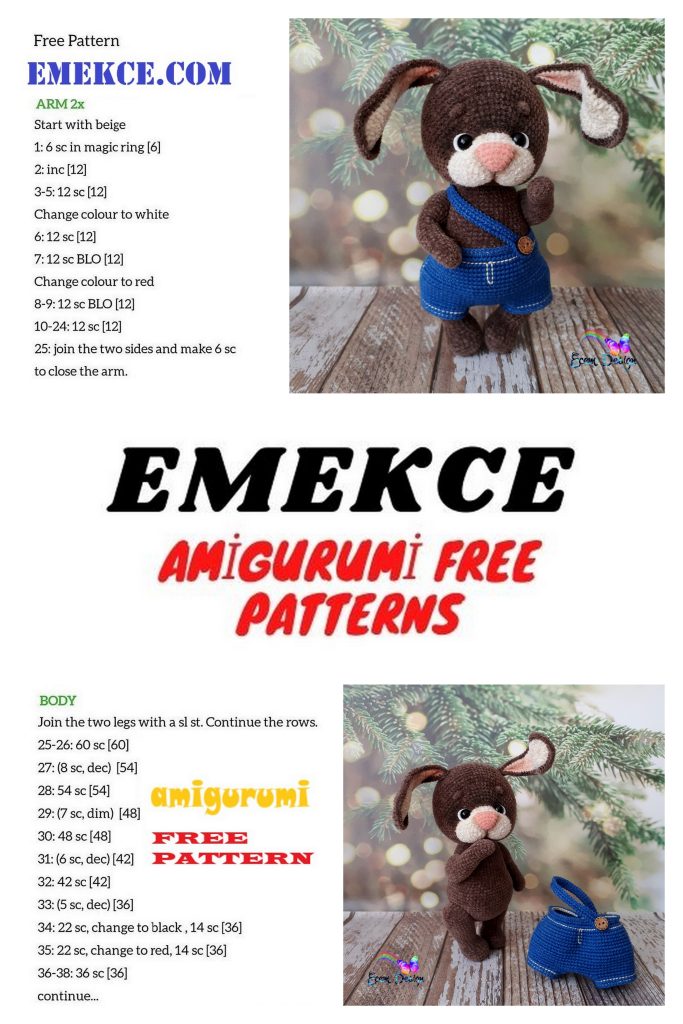
LEGS (2 parts)
The thread is brown.
Right leg.
The beginning marker of the row runs through the center of the back of the leg.
Dial a chain of 7 CH.
1p.: From the second loop from the hook: 5 sc, 3 sc to the last loop, on the back of the chain: 4 sc, inc (14)
2 pp .: inc, 4 sc, 3 inc, 4 sc, 2 inc (20)
3 pp: 1 sc, inc, 4 sc, (1 sc, inc) * 3, 4 sc, (1 sc, inc) * 2 (26)
4 pp.: Behind the rear walls of the hinges: 26 sc (26)
5 pp.: 26 sc (26)
6 pp .: 25 sc (we transfer the marker of the beginning of the row)
7 pp.: 9 sc, (dec, 1 sc) * 2, dec, 9 sc (23)
8 pp.: 9 sc, dec, 1 sc, dec, 9 sc (21)
9 pp.: 3 sc, (dec, 5 sc) * 2, dec, 2 sc (18)
10-11 pp. (2 rows): 18 sc (18)
12 pp.: 3 sc, (inc, 5 sc) * 2, inc, 2 sc (21)
13-14 pp. (2 rows): 21 sc (21)
15 pp.: 3 sc, (inc, 6 sc) * 2, inc, 3 sc (24)
16-17rr. (2 rows): 24 sc (24)
18 pp.: (7 sc, inc) * 3 (27)
19-20rr. (2 rows): 27 sc (27)
21 pp.: 4 sc, (inc, 8 sc) * 2, inc, 4 sc (30)
22-23rr. (2 rows): 30 sc (30)
24 p.: (We knit a hole for the cotter pin): 6 sc, 1 CH, skip 1 loop, 23 sc (30)
25 pp.: 30 sc (30)
26 p.: (3 sc, dec) * 6 (24)
Insert the cotter pin into the knitted hole.
27 pp.: 1 sc, (dec, 2 sc) * 5, dec, 1 sc (18)
28 p.: (Dec, 1 sc) * 6 (12)
29 pp.: 6 dec (6)
Fasten the thread, cut. Pull off the remaining hole. Hide the end of the thread inside the part.
We knit the left leg similarly with the exception of the 24th row:
24 RUR (we knit a hole under the joint): 21 sc, 1 CH, 1 loop without skipping, 8 sc (30)
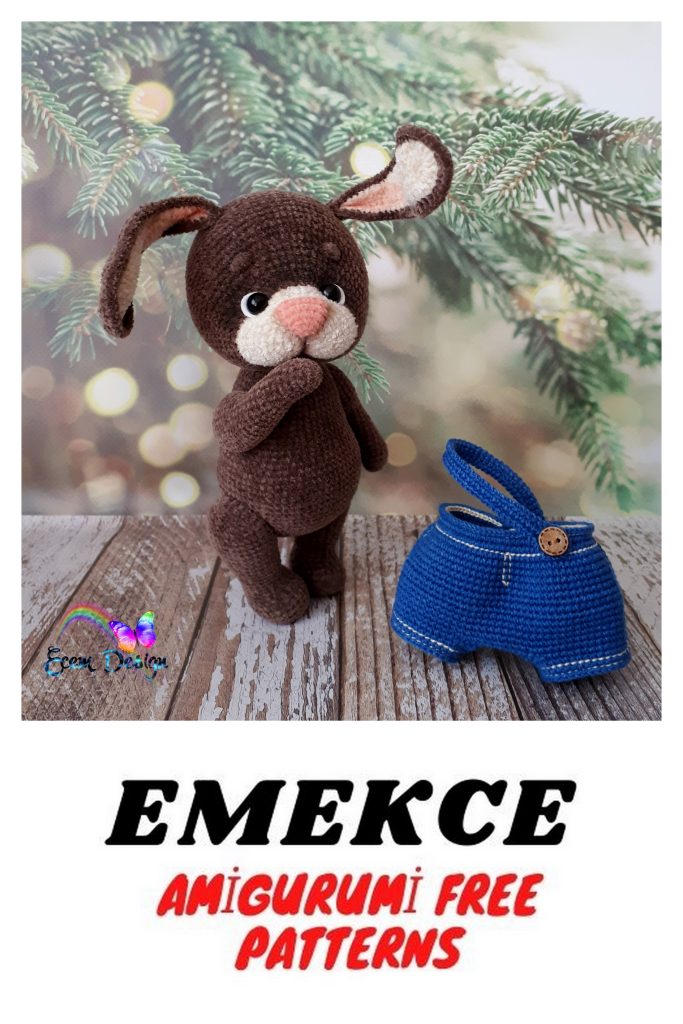
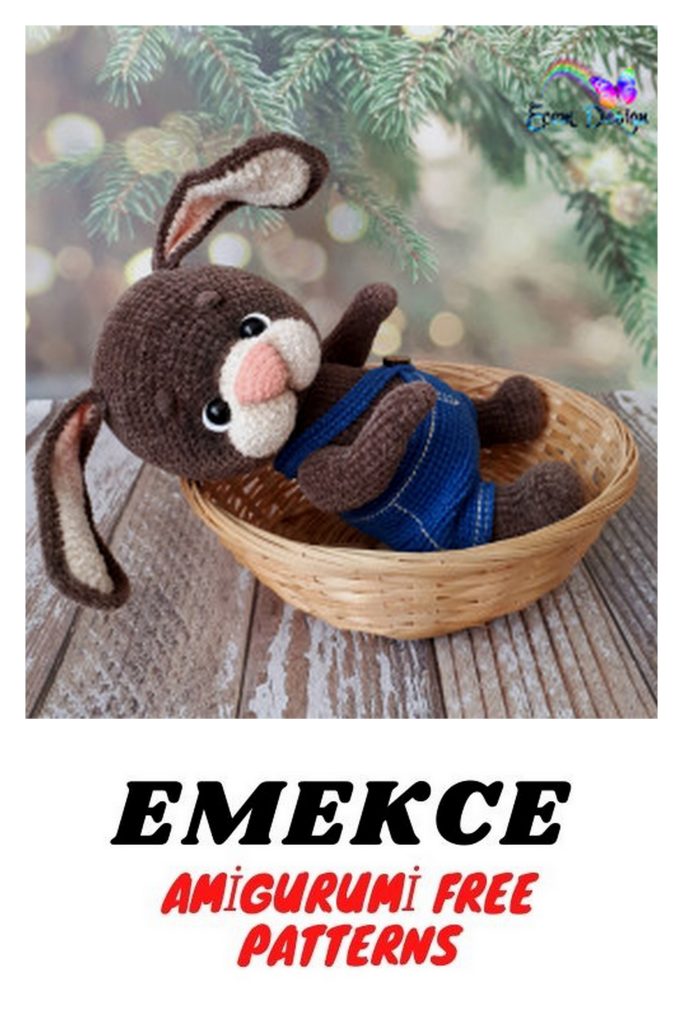
2 STAGE.
BODY
The thread is brown.
The beginning marker of the row runs through the center of the back.
1 pp.: 6 sc into magic ring (6)
2 pp.: 6 inc (12)
3 pp.: (Inc, 1 sc) * 6 (18)
4 pp.: 1 sc, (inc, 2 sc) * 5, inc, 1 sc (24)
5 pp.: (3 sc, inc) * 6 (30)
6 pp: 2 sc, (inc, 4 sc) * 5, inc, 2 sc (36)
7 pp.: (5 sc, inc) * 6 (42)
8 pp.: 3 sc, (inc, 6 sc) * 5, inc, 3 sc (48)
9 pp.: (7 sc, inc) * 6 (54)
10 pp.: 4 sc, (inc, 8 sc) * 5, inc, 4 sc (60)
11 p.: (We knit holes for cotter pins): 9 sc, inc, 4 sc, 1 CH, 1 loop without skipping, 4 sc, inc, (9 sc, inc) * 2, 6 sc, 1 CH, 1 loop to skip , 2 sc, inc, 9 sc, inc (66)
12-18rr. (7 rows): 66 sc (66)
Move the marker of the beginning of the row to 1 loop to the left.
19 pp.: 56 sc, dec, 8 sc (65)
20 pp.: 8 sc, dec, 51 sc, dec, 2 sc (63)
21 pp.: 2 sc, dec, 59 sc (62)
22 pp.: 18 sc, (dec, 6 sc) * 3, dec, 18 sc (58)
23 pp.: 58 sc (58)
24 pp.: 21 sc, (dec, 5 sc) * 2, dec, 21 sc (55)
25 pp.: 55 sc
Move the marker of the beginning of the row to 1 loop to the left.
26 p.: 16 sc, dec, 17 sc, dec, 16 sc, dec (52)
27 pp.: 52 sc (52)
28 p.: (We knit holes for cotter pins): 5 sc, dec, 5 sc, 1CH, 1 loop to skip, 5 sc, dec, 11 sc, dec, 5 sc, 1CH, 1 loop to skip, 5 sc, dec, 6 sc (48)
RR 29-31 (3 rows): 48 sc (48)
Insert the legs into the holes tied under the cotter pins. Screw in cotter pins.
32 pp.: 48 sc (48)
33 pp.: 3 sc, (dec, 6 sc) * 5, dec, 3 sc (42)
34 p.: 42 sc (42)
35 pp.: (5 sc, dec) * 6 (36)
36 p.: 36 sc (36)
37 pp.: 2 sc, (dec, 4 sc) * 5, dec, 2 sc (30)
Choose the right disk diameter for the neck, it should be equal to the diameter of the hole at this stage of work.
Insert your hands into the holes tied under the cotter pins. Screw in cotter pins.
38 pp.: (3 sc, dec) * 6 (24)
39 pp .: 1 sc, (dec, 2 sc) * 5, dec, 1 sc (18)
Insert a disk with a cotter pin for the neck.
40 pp.: (Dec, 1 sc) * 6 (12)
Fasten the thread, cut. Hide the end of the thread inside the part.
3 STAGE.
HEAD
Cream colored thread.
A marker at the beginning of the row runs through the center of the chin.
1 pp.: 6 sc into magic ring (6)
2 pp.: 6 inc (12)
3 pp.: (3 inc, 3 sc) * 2 (18)
4 pp.: (Inc, 1 sc) * 3, 3 sc, (inc, 1 sc) * 3, 3 sc (24)
5 pp.: (1 sc, (inc, 2 sc) * 2, inc, 4 sc) * 2 (30)
6 pp .: ((3 sc, inc) * 3, 3 sc) * 2 (36)
7 pp.: (2 sc, (inc, 4 sc) * 2, inc, 5 sc) * 2 (42)
8-9 pp. (2 rows): 42 sc (42)
10 pp .: 34 sc, cut off the cream-colored thread, attach the brown thread: 7 sc (41)
We mark the 7th loop (center of the chin), transfer the marker to the beginning of the row. If you don’t have one, knit the required number of loops to be in the center of the chin.
11 pp.: 6 sc, (inc, 1 sc) * 5, 9 inc, (1 sc, inc) * 5, 7 sc (61)
12-14 pp. (3 rows): 61 sc (61)
15 pp.: 17 sc, (inc, 4 sc) * 5, inc, 18 sc (67)
16 pp.: 67 sc (67)
17 pp.: 20 sc, (inc, 5 sc) * 2, 2 inc, (5 sc, inc) * 2, 21 sc (73)
18 pp.: 73 sc (73)
19 pp.: 18 sc, (inc, 6 sc) * 5, inc, 19 sc (79)
20 pp.: 79 sc (79)
21р .: knit the hole for the cotter pin: 78 sc, 1 CH, 1 loop without skipping without knitting (79)
22-28rr. (7 rows): 79 sc (79)
29 pp.: 77 sc, dec (78)
30 p.: (11 sc, dec) * 6 (72)
31 p.: 5 sc, (dec, 10 sc) * 5, dec, 5 sc (66)
32 p.: (9 sc, dec) * 6 (60)
33 pp.: 4 sc, (dec, 8 sc) * 5, dec, 4 sc (54)
34 p.: (7 sc, dec) * 6 (48)
35 pp.: 3 sc, (dec, 6 sc) * 5, dec, 3 sc (42)
36 p.: (5 sc, dec) * 6 (36)
Insert the cotter pin from the body into the tied hole in the head, secure the cotter pin. Stuff your head with filler.
37 pp.: 2 sc, (dec, 4 sc) * 5, dec, 2 sc (30)
38 pp.: (3 sc, dec) * 6 (24)
39 pp .: 1 sc, (dec, 2 sc) * 5, dec, 1 sc (18)
40 pp.: (Dec, 1 sc) * 6 (12)
Finally add the head to the filler.
41 p.: 6 dec (6)
Fasten the thread, cut. Pull off the remaining hole, hide the end of the thread inside the part.
4 STAGE.
EARS, NOSE, TAIL, DECORATION
NOSE
The thread is pink.
The marker for the beginning of a row in this part can be omitted.
1 pp.: 6 sc into magic ring (6)
2p .: (inc, 1 sc) * 3 (9)
3 pp.: 1 sc, (inc, 2 sc) * 2, inc, 1 sc (12)
4 pp.: (3 sc, inc) * 3 (15)
5 pp.: 15 sc (15)
6 pp .: fold the part in half, knit together both sides of the part: 7 sc.
Fasten the thread, cut.
TAIL
The thread is brown.
The marker for the beginning of a row in this part can be omitted.
1 pp.: 6 sc into magic ring (6)
2 pp.: 6 inc (12)
3 pp.: (Inc, 1 sc) * 6 (18)
4-5rr. (2 rows): 18 sc (18)
6 pp .: 4 dec, 10 sc (14)
Fasten the thread, cut. Fill the part with filler.
Ears
We knit 2 details, one cream, the other brown.
Dial a chain of 26 CH.
1p .: starting from the 2nd loop from the hook: 10 sc, 8 HDC, 6 DC, the last loop: 6 DC, on the back of the chain: 6 DC, 8 HDC, 10 sc
2 pp.: 1 CH, turn, 11 sc, 8 HDC, 5 DC, 6 inc DC, 5 DC, 8 HDC, 11 sc
In the cream-colored part, fix the thread, cut it.
In a brown part, do not cut the thread, fold both parts together with the wrong side inward, continue to knit the ear, knitting loops of both parts again:
3 pp: 1 CH, turn, 12 sc, 8 HDC, 4 DC, (1 DC, 1 inc DC) * 6, 4 DC, 8 HDC, 12 sc
Fasten the thread, cut.
We knit the second ear in the same way.
Eyebrows
Leaving the long end of the thread, dial a chain of 3 CH. In the 1st loop of the chain knit 3 DC with a common vertex, 1 sl-st.
Pull the long end of the thread, cut.
Tie the second eyebrow in the same way.
DECOR
Mark markers for eye and mouth tightening points.
For the eyes, this is the point between the first and second rows after a color change over the last central increases.
For the mouth, this is the point on the marker at the border of the color change.
Prepare eyes with felt in advance.
Insert the needle with the thread into the point of the mouth scrunch, point out the point of the scrunch for the right eye, thread the needle through the eye of the button-eye with felt, insert the needle into the same point of the scrunch of the right eye and bring to the point of the scrunch for the mouth. Tighten the thread so that the eye drowns. Tighten the left side in the same way.
Tighten the muzzle without cutting the thread. To do this, introduce the thread with the needle into the center of the muzzle by counting 5 rows from the top of the muzzle (the thread runs along the top of the muzzle). Tighten the thread. Having retreated 1 row down, remove the needle and again insert the needle into the point of tightening for the mouth (the thread runs along the top of the muzzle). Withdraw the needle at the upper point of the muzzle tightening (the thread passes inside the muzzle). Tighten the thread. Fasten the thread, cut. Hide the end of the thread inside the part.
Sew on the spout. Sew the ears folded in half.
Identify the location of the eyebrows. Insert the remaining end of the thread from one side of the eyebrow into the needle, insert it into the designated location of the inner corner of the eyebrow, withdraw from the back of the head, fix the thread by introducing and removing the needle and thread in different places of the head. Lubricate the eyebrow from the inside with glue, thread the remaining end of the thread on the other side of the eyebrow into the needle, insert it into the designated location of the outer corner of the eyebrow, withdraw from the back of the head, fix the thread by introducing and removing the needle with the thread in different places of the head.
Sew a second eyebrow in the same way.
Toned the inner part of the ears, muzzle, the area around the eyebrows and eyes with dry pastel or other means of tinting available to you.
Sew tail
5 STAGE.
SHORTS
YarnArt “Cotton Soft” yarn, Clover hook 1.5 mm.
Leaving the long end of the thread (sufficient to tie the edge of the elastic 1 near the connecting posts) with blue yarn, dial a chain of 80 CH. Close the chain in a circle 1 sl-st.
1-2rr. (2 rows): at the same time we knit spandex: 1 CH, 80 sc, 1 sl-st in the first loop of the next row.
3-7rr. (5 rows): 1 CH, 80 sc, 1 sl-st in the first loop of the next row.
At this stage, knit aside, unfold the shorts with an elastic band to the top, tie the top of the elastic band 1 with a row of connecting posts left with the end of the thread.
Fasten the thread, cut off the remaining end of the thread.
8 pp.: 2 sl-st, then we knit from the 4th loop of the row: 1 CH, 74 sc. There are 3 loops left to the end of the row, we leave them unbound. We knit the next rows in rotary rows, in the wrong rows we knit single crochet columns face-wise on the wrong side with yarn correction!
9-11rr. (3 rows): 1 CH, turn, 74 sc
12 p.: 1 CH, turn, 74 sc, 6 CH, 1 sl-st in the first loop of the next row.
Then we knit in a spiral again:
13 pp.: 1 CH, 74 sc, 6 sc in the loop of the chain, 1 sl-st in the first loop of the next row.
14 pp.: 1 CH, 80 sc, 1 sl-st in the first loop of the next row
15 pp: 1 CH, 80 sc, 2 sl-st in the first loops of the next row
Knit gusset in rotary rows:
16-22rr. (7 rows): 1 CH, turn, 10 sc
Fasten the thread, cut.
Count 30 loops from the gusset to the left, attach the blue thread to the 31st loop on the front side, knit the second part of the gusset:
1 pp.: 1 CH, 10 sc
2-7rr. (6 rows): 1 CH, turn, 10 sc.
Fasten the thread, cut. Sew both sides of the gusset.
For the right leg, attach the blue thread to the right side of the gusset in the center (at the seam connecting both sides of the gusset):
1p .: 7 sc along the crotch, 1 sc between the crotch and the leg, 30 sc across the pant, 1 sc between the crotch and the crotch, 6 sc across the crotch, 1 sl-st in the first loop of the next row (45)
2 pp: 1 CH, 6 sc, dec, 29 sc, dec, 6 sc, 1 sl-st in the first loop of the next row (43)
3р .: 1 CH, 36 sc, dec, 5 sc, 1 sl-st in the first loop of the next row (42)
4 pp .: 1 CH, 42 sc, 1 sl-st in the first loop of the next row (42)
5 pp.: 42 sl-st
Fasten the thread, cut. Hide the end of the thread.
For the left leg, attach the blue thread to the left side of the gusset in the center (at the seam connecting both sides of the gusset):
1p .: 7 sc along the crotch, 1 sc between the crotch and the leg, 30 sc across the pant, 1 sc between the crotch and the crotch, 6 sc across the crotch, 1 sl-st in the first loop of the next row (45)
2p .: 1 CH, 7 sc, dec, 29 sc, dec, 5 sc, 1 sl-st in the first loop of the next row (43)
3 pp.: 1 CH, 6 sc, dec, 35 sc, 1 sl-st in the first loop of the next row (42)
4 pp .: 1 CH, 42 sc, 1 sl-st in the first loop of the next row (42)
5 pp.: 42 sl-st
Fasten the thread, cut. Hide the end of the thread.
Tie the tail hole as follows: (1 CH, 1 sl-st in the next loop) * to the end of the row.
Attach a blue thread to the 6th loop of the shorts belt from the back of the beginning of the row. We knit a chain of 45 CH + 9 CH (for a buttonhole)
Starting from the 10th loop from the hook: 45 sc, 1 sl-st into the 7th loop of the short belt. Next, knit 2 sl-st along the belt from left to right, knit 1 CH and then tie the strap around the perimeter as follows: 1 CH, 1 sl-st in the next loop.
Fasten the thread, cut. Hide the end of the thread.
Beige thread along the edges of the belt, trouser-legs, the center of the hog sides and the width, knit the stitches with connecting posts (the chain will be inside the product, and the stitch will pass along the front side). Or these lines can be embroidered. Sew a button

