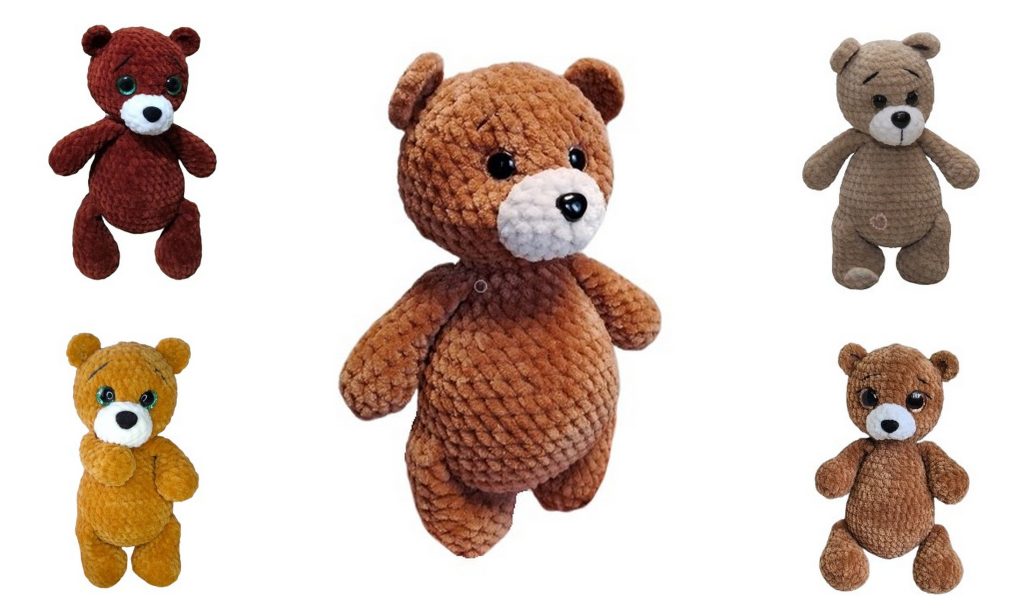
Adorable Teddy Bear Amigurumi Free Pattern: Create Your Own Cuddly Friend!
Welcome to the world of amigurumi bear with our charming Teddy Bear Amigurumi free pattern! Whether you’re a seasoned crocheter or just starting out, this pattern offers a wonderful opportunity to create a timeless classic. With clear instructions and helpful tips, you’ll soon be crafting your own adorable bear plushie. Dive into the joy of handmade creations and bring warmth and comfort into your life with your own handmade Teddy Bear. Let’s get crocheting!
Materials Needed:
Himalaya dolphin baby yarn;
Crochet hook – 3.5mm or 4.0mm;
Safety eyes – 16mm;
Safety nose – 16mm;
Polyester fiberfill;
Scissors;
Needle with a wide eye.
PATTERN
Lower Paws:
1: 7sc in MR (magic ring);
2: 7inc (14);
3: (1sc, inc) ×7 (21);
4: 21 sc;
5: (5sc, dec) ×3 (18);
6: (1sc, dec) ×6 (12);
7: 7-11 rounds sc 12.
Stuff the paws about halfway. Fold in half and sc together 6 sts.
Upper Paws:
1: 8sc in MR;
2: inc, 1sc, 3inc, 1sc, 2inc (14);
3: 14sc;
4: (5sc, dec) ×2 (12);
5: (4sc, dec) ×2 (10);
6: 6-11 rounds sc 10.
Stuff the paws not to the end. Fold in half and sc together 5 sts.
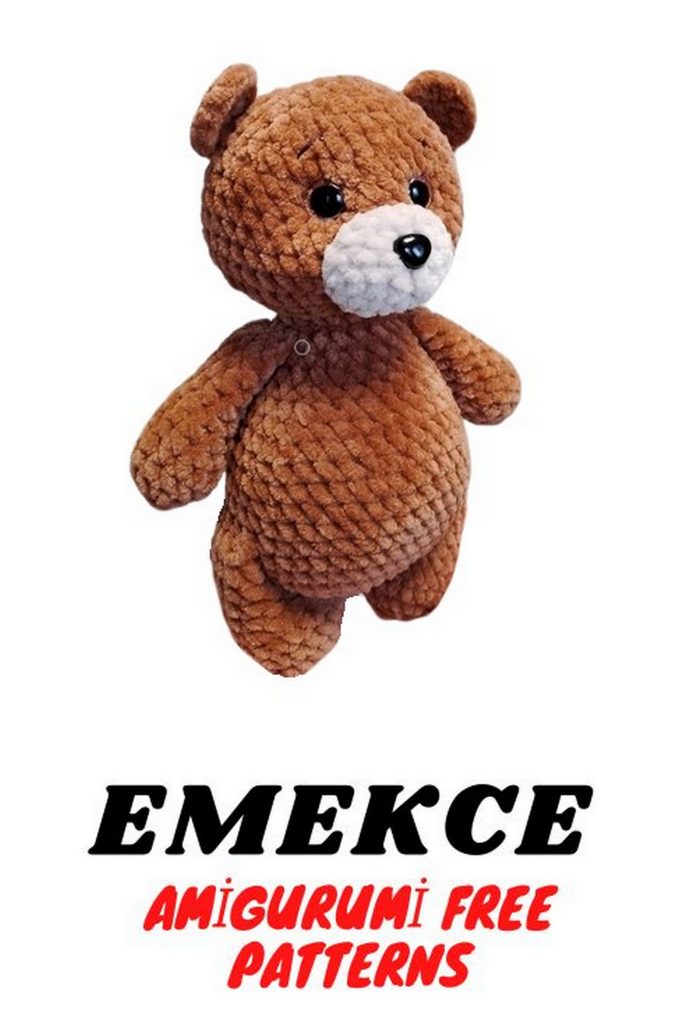
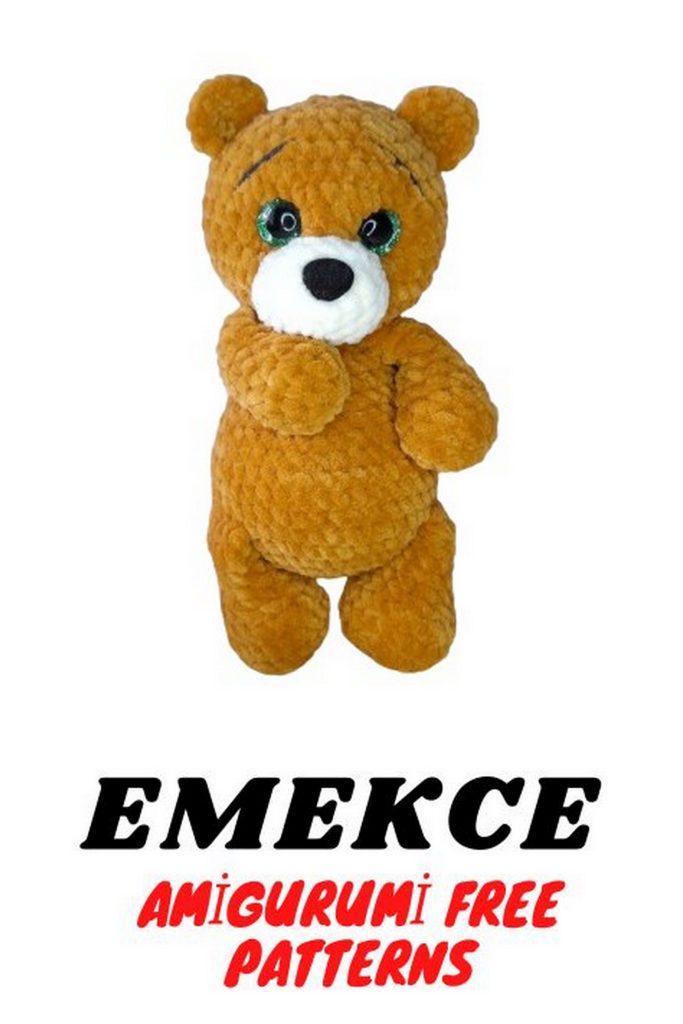
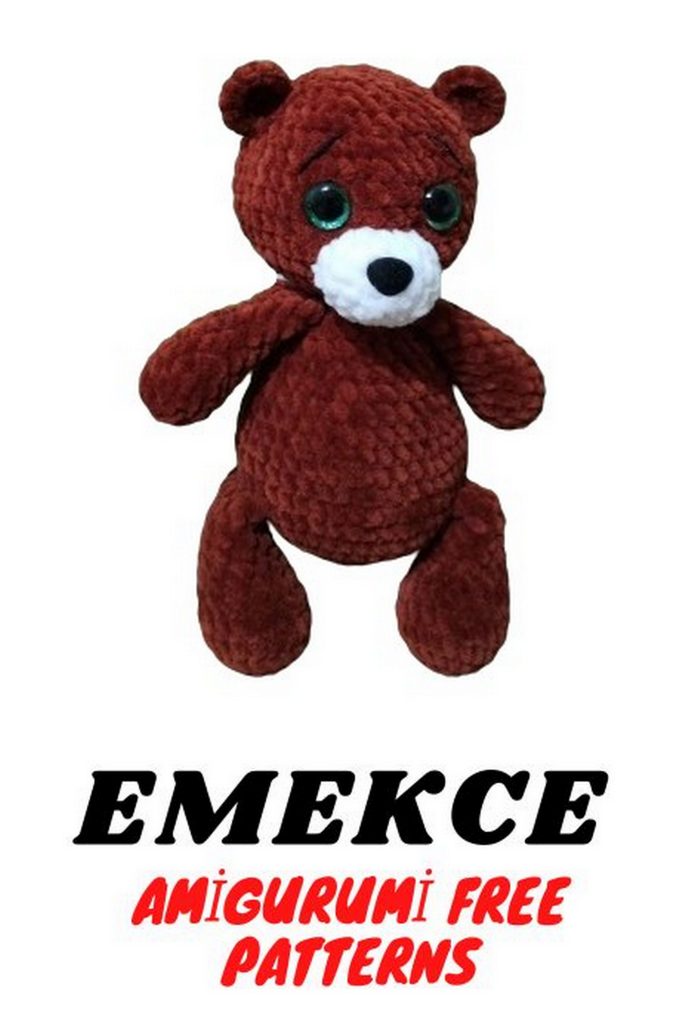
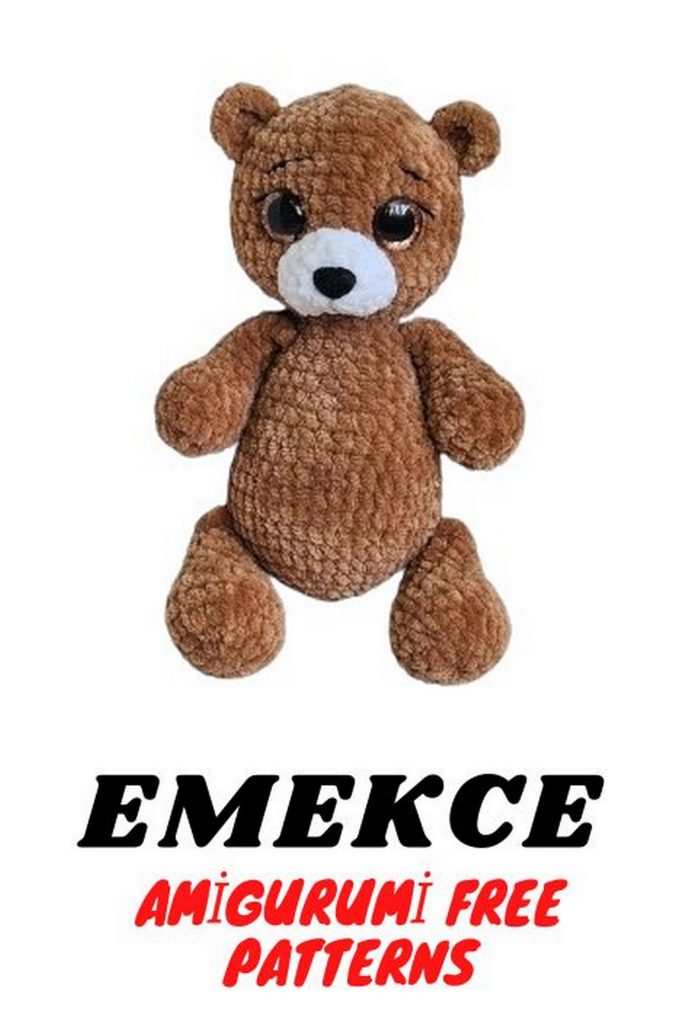
Body-Head:
1: 6sc in MR;
2: 6inc (12);
3: (1sc, inc) ×6 (18);
4: (2sc, inc) ×6 (24);
5: (3sc, inc) ×6 (30);
6: (4sc, inc) ×6 (36);
7: (5sc, inc) ×6 (42);
8: 11sc, 6sc with leg, 13sc, 6sc with the second leg, 6sc (42);
9: 9-11 rounds sc 42;
12: (5sc, dec) ×6 (36);
13: 36sc;
14: (4sc, dec) ×6 (30);
15: 30sc;
16: (3sc, dec) ×6 (24).
Stuff the torso.
17: 24sc;
18: (2sc, dec) ×6 (18);
19: Attach arms above the legs, distance = 4sc;
20: (1sc, dec) ×6 (12).
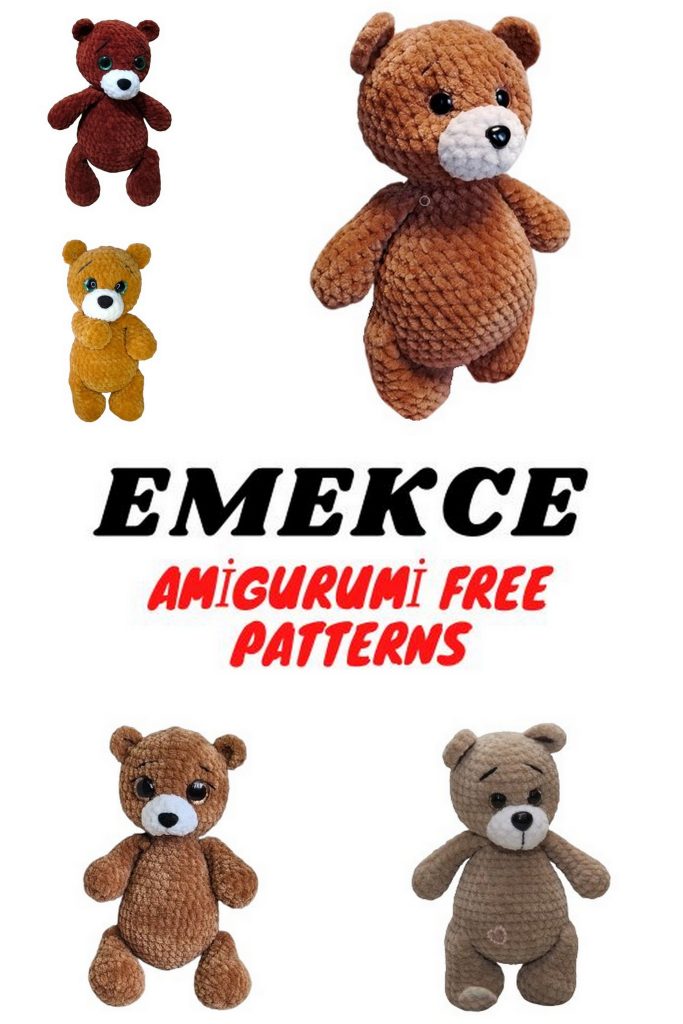
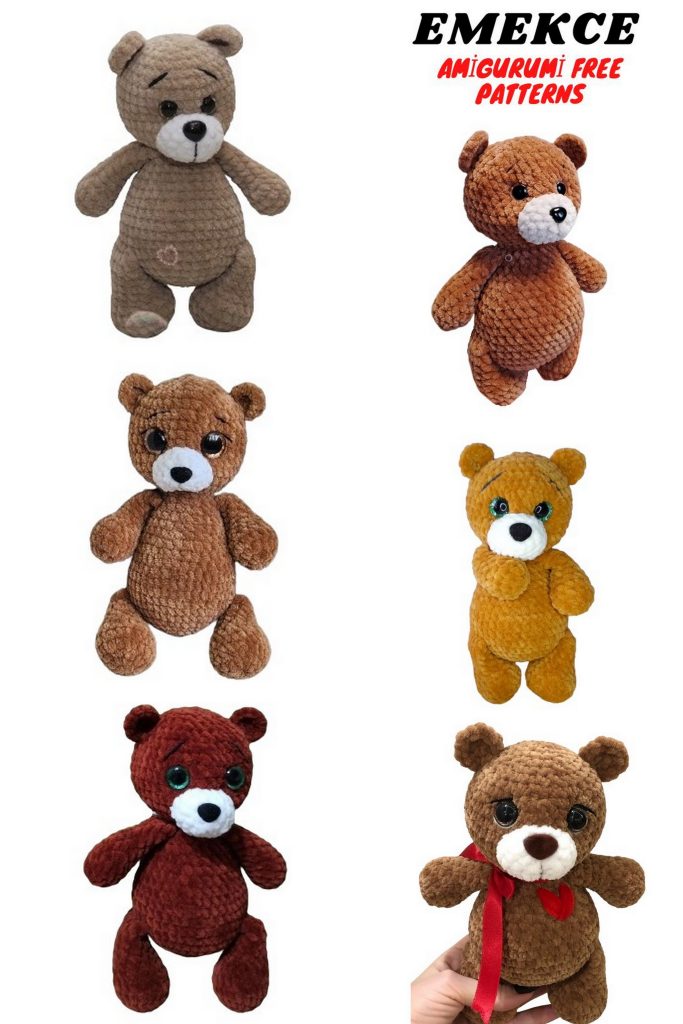
Head:
21: (1sc, inc) ×6 (18);
22: (2sc, inc) ×6 (24);
23: (3sc, inc) ×6 (30);
24: (4sc, inc) ×6 (36);
25: (5sc, inc) ×6 (42);
26-31 rounds sc 42;
32: (5sc, dec) ×6 (36);
33: (4sc, dec) ×6 (30);
34: (3sc, dec) ×6 (24).
Insert eyes between rows 29-30.
35: (2sc, dec) ×6 (18).
Stuff the head.
36: (1sc, dec) ×6 (12);
37: 6dec.
Tail:
1: 6sc in MR;
2: 6inc;
3: 3-4 rounds 12sc.
Ears:
1: 6sc in MR;
2: 6inc (12).
Snout:
1: 6sc in MR;
2: 6inc (12);
3: (1sc, inc) ×6 (18);
4: 18sc.
Attach the nose and sew on the snout. Stuff the snout during sewing.
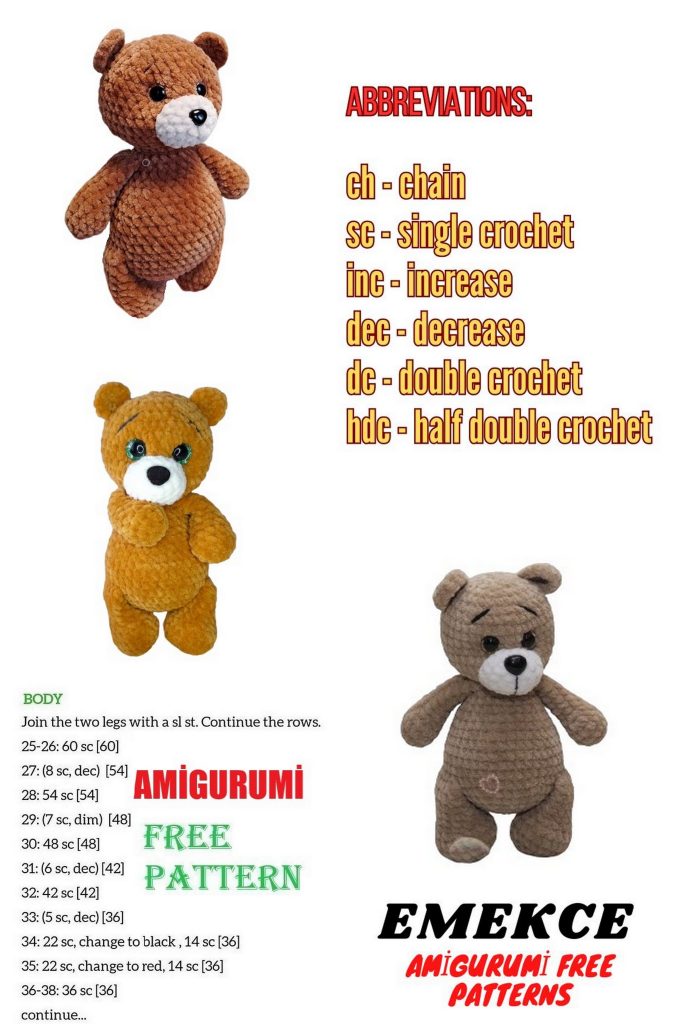
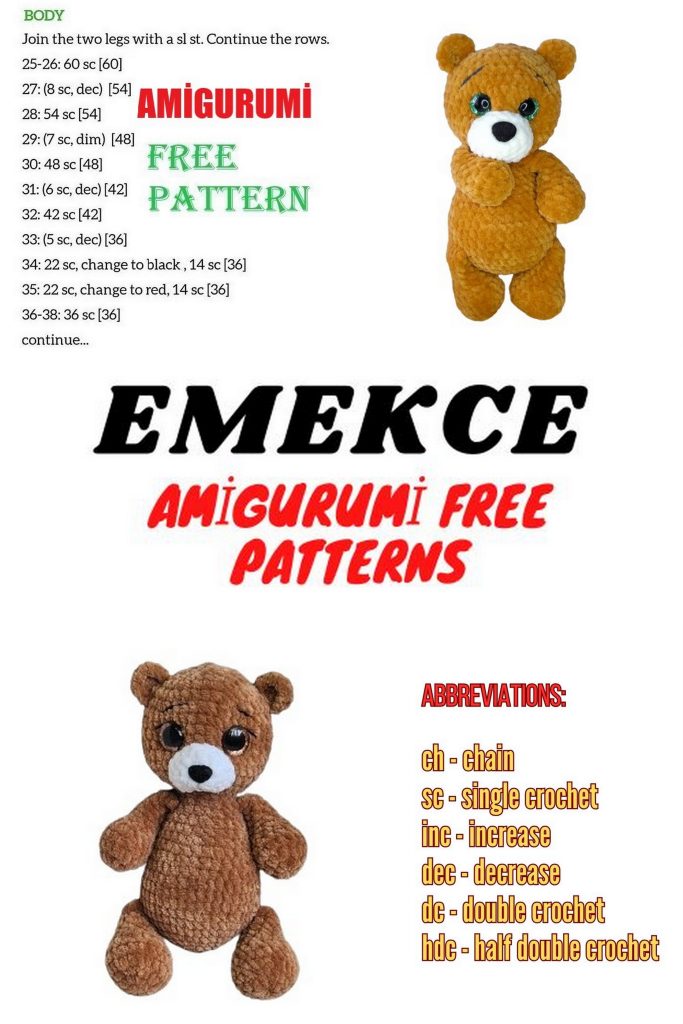
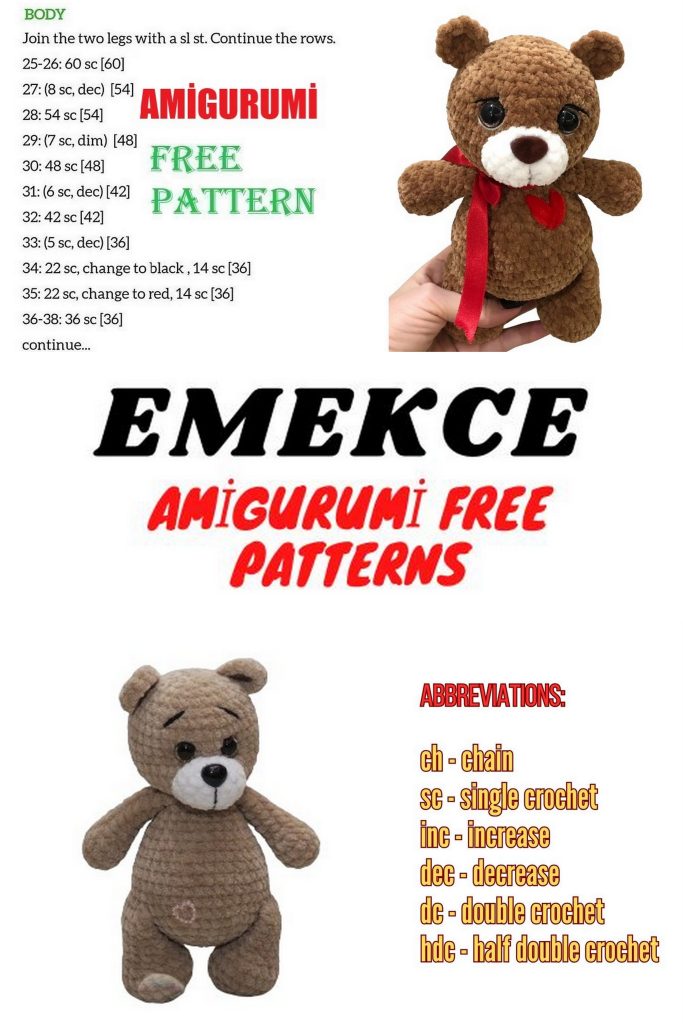
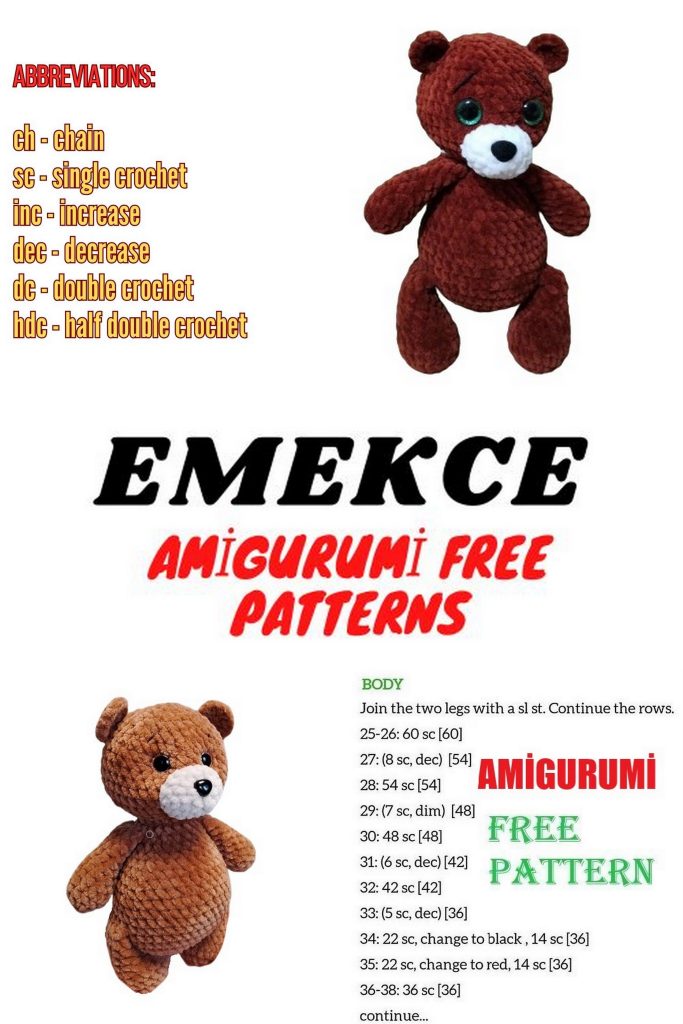
Finishing:
1: Secure the eyes;
2: Sew on the ears;
3: Add eyebrows with black thread;
4: Sew on the snout and tail.
That’s it! Your Potapych is ready!
This tutorial is provided free of charge, when posting the toy, please mention the author’s name and a link to the group. I would be very grateful!

