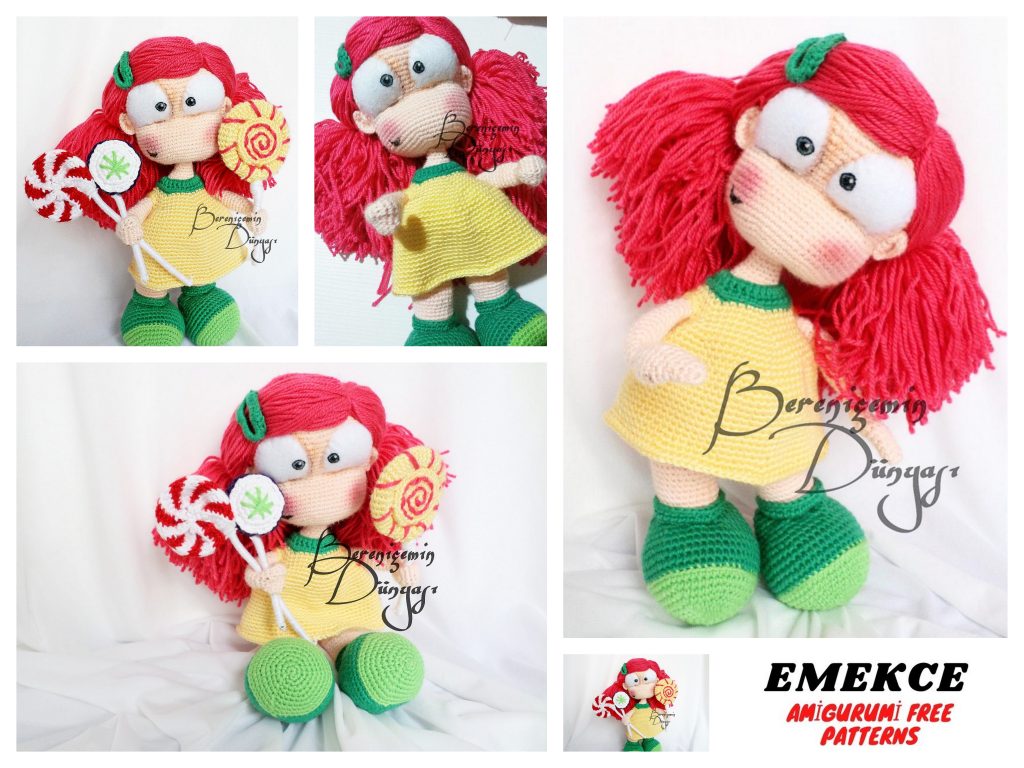
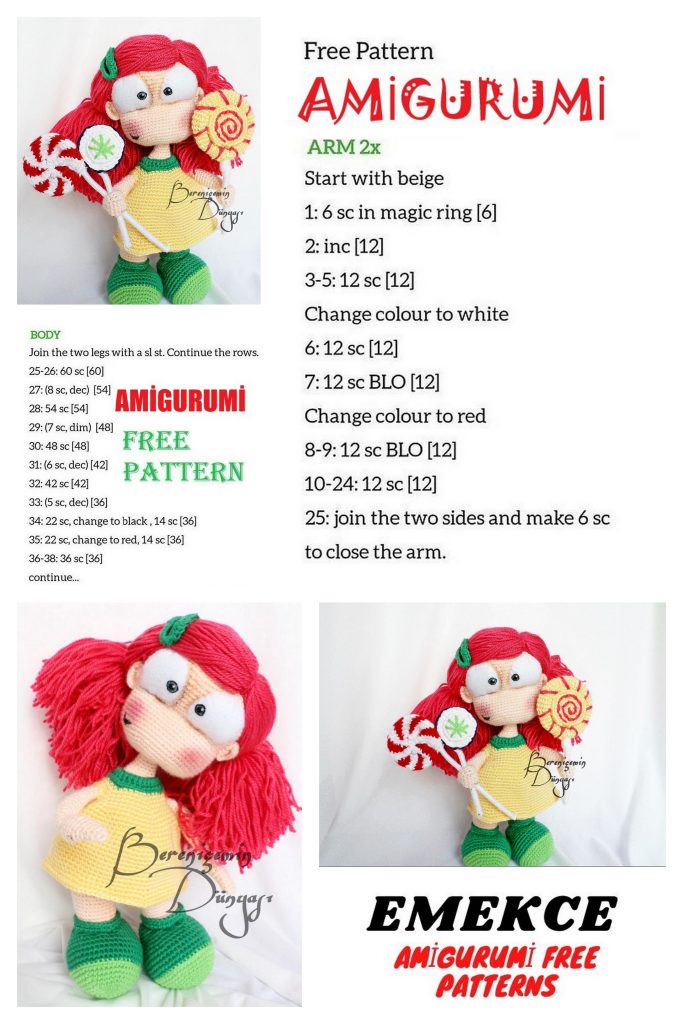
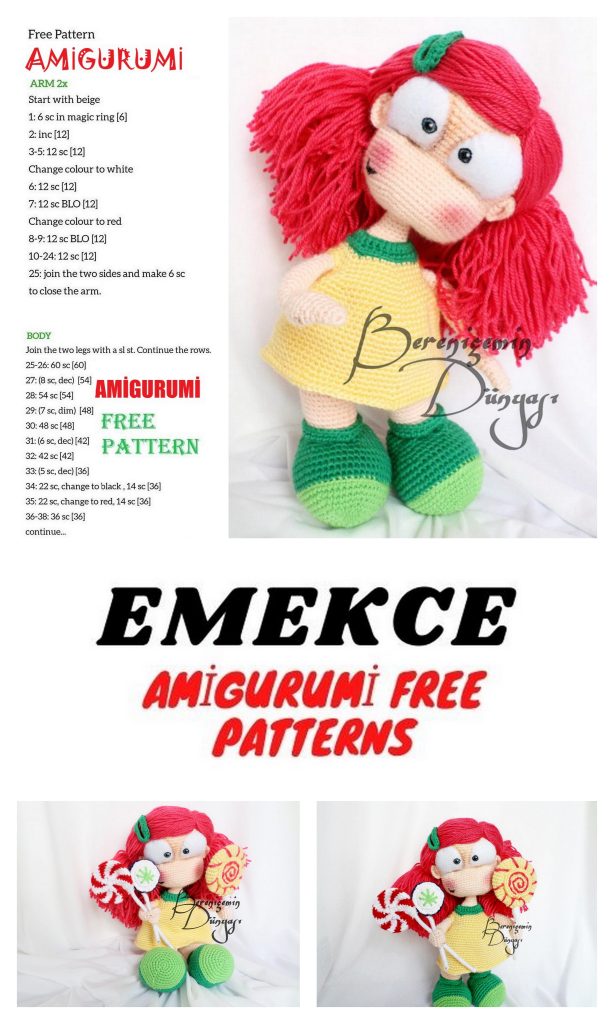
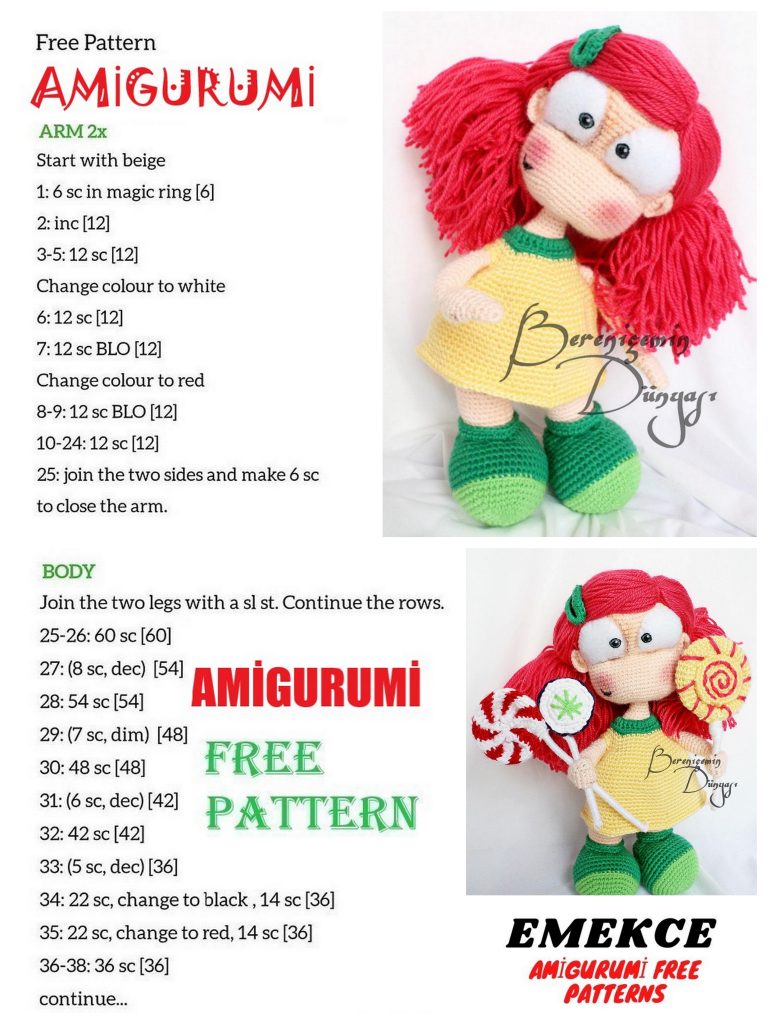
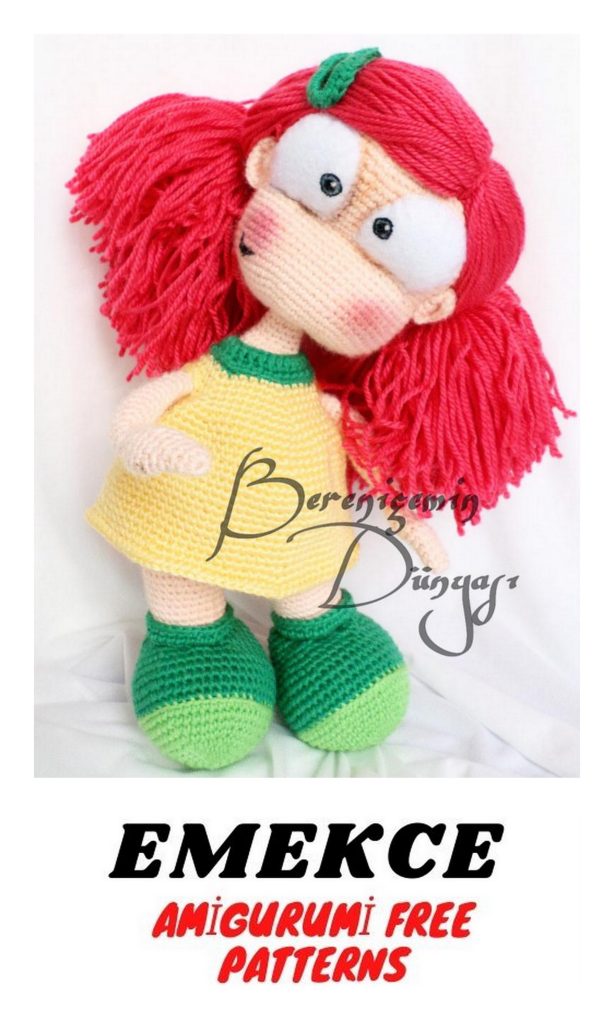
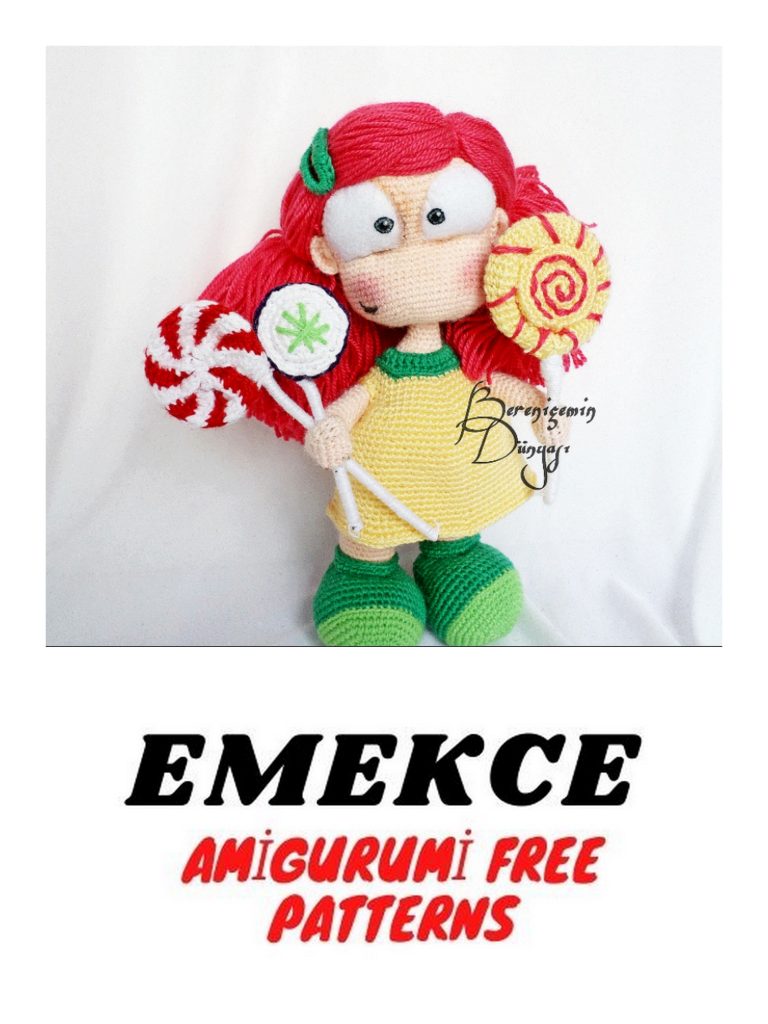
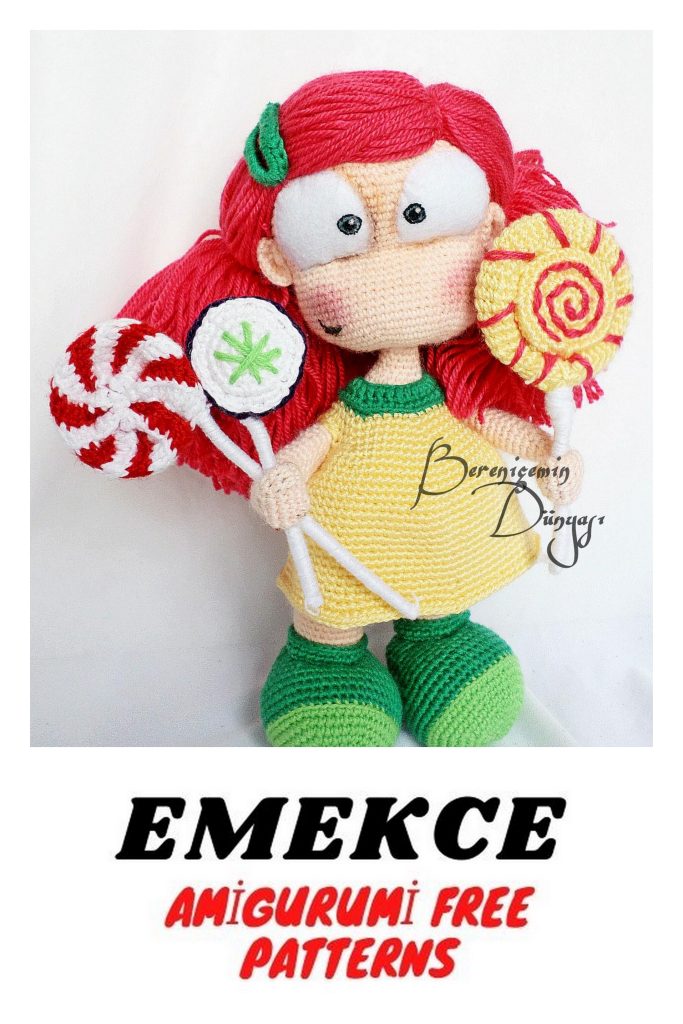
Amigurumi Candy Girl Free Crochet Pattern
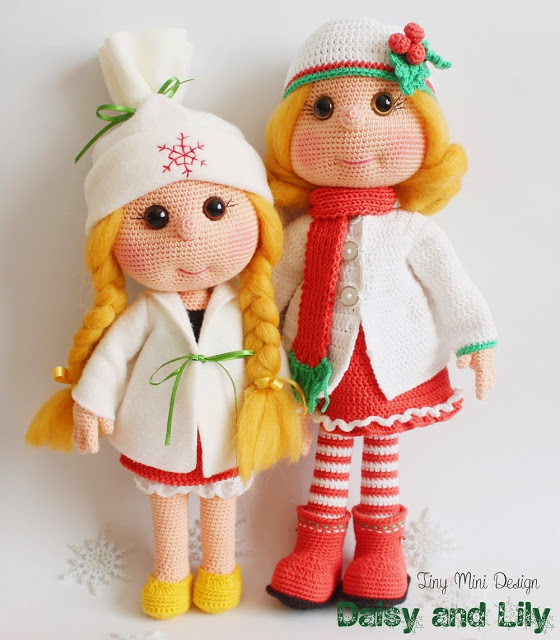
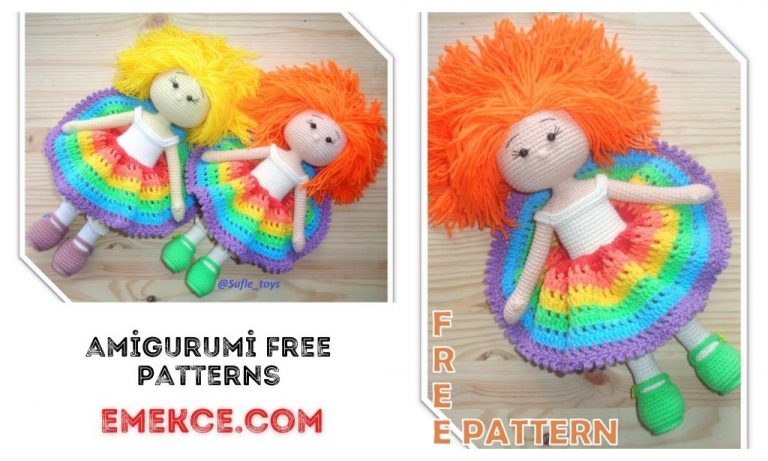
Welcome to our Amigurumi Candy Girl Free Crochet Pattern! Get ready to satisfy your crafting cravings with this charming and sugary project. Whether you’re an experienced crocheter looking for a whimsical gift idea or simply want to add a dash of sweetness to your crochet collection, our easy-to-follow instructions will guide you every step of the way. Grab your crochet hook, and let’s embark on a candy-coated crochet adventure!
Materials
Transparent nylon thread (such as fishing line)
Needle, scissors
Fabric paint (white, blue and black)
White fabric Felt
PVC coated electrical wire
Transparent glue
Polyester fiberfill
2.00 mm hook
If using similar yarn, you will have a 30 cm finished toy.
Terms and Abbreviations:
Rnd: Round
MR: Magic Ring
Ch: Chain
Sk: Skip
sts: Stitches
sc: Single crochet
dc: Double crochet
tc: Treble crochet
slst: slip stitch
Inc: increase (2 sc in 1 st)
Sc2tog: sc 2 together (decrease-dec)
()* repeat between ( ) number of times indicated
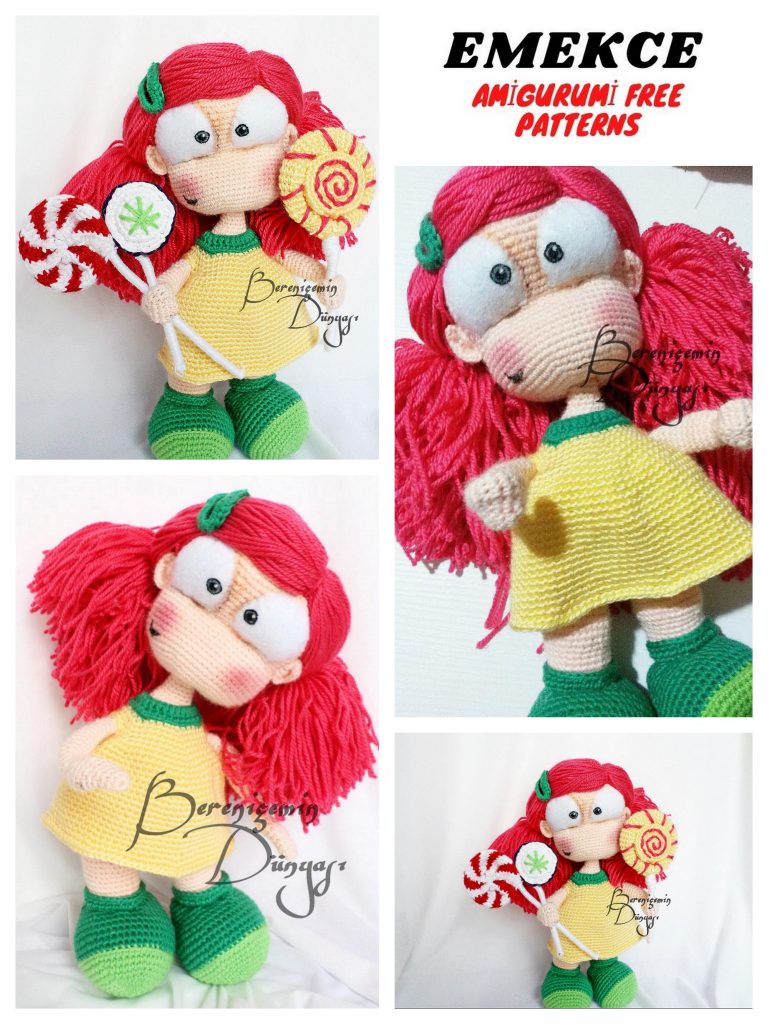
Finished size: Doll is about 30 cm tall (If using
similar yarn)
Body and Neck
with skin color
Rnd1: 6 sc in MR
Rnd2: 2 sc in each st around (12)
Rnd3-8: sc in each st around (12)
Rnd9:(sc in next st, 2 sc in next st)*6 times (18)
Rnd10: sc in each st around (18)
Rnd11:(sc in next 2st, 2 sc in next st)*6 times (24)
Rnd12: sc in each st around (24)
Rnd13:(sc in next 3st, 2 sc in next st)*6 times (30)
Rnd14: sc in each st around (30)
Rnd15:(sc in next 4st, 2 sc in next st)*6 times (36)
Rnd16: sc in each st around (36)
Rnd17:(sc in next 5st, 2 sc in next st)*6 times (42)
Rnd18: sc each st around (42)
Rnd 19:(sc in next 6st, 2 sc in next st)*6 times (48)
Rnd20: sc in each st around (48)
Rnd21:(sc in next 7st, 2 sc in next st)*6 times (54)
Rnd22-27: sc in each st around (54)
Rnd28:(sc in next 7st, sc2tog)*6 times (48)
Feet (make2) with skin color
Rnd29: sc in each st around (24)
Rnd30-40: sc in each st around (24)
Rnd41:(sc in next 3st, 2 sc in next st)*6 times (30)
Rnd42-44: sc in each st around (30)
Rnd45:(sc in next 3 st, sc2tog)*6 times (24)
Rnd46-52: sc in each st around (24)
Change color to green
Rnd53: BLO – sc in each st around (24)
Rnd 54-55: sc in each st around (24)
Socks (make 2)
Start with light green
Rnd1: 6 sc in MR
Rnd2: 2 sc in each st around (12)
Rnd3: sc in each st around (12)
Rnd4:(sc in next st, 2 sc in next st)*6 times (18)
Rnd5: sc in each st around (18)
Rnd6:(sc in next 2 st, 2sc in next st)*6 times (24)
Rnd7: sc in each st around (24)
Rnd8:(sc in next 3 st, 2sc in next st)*6 times (30)
Rnd9: sc in each st around (30)
Rnd10:(sc in next 4st, 2 sc in next st)*6 times (36)
Rnd11: sc in each st around (36)
Rnd12:(sc in next 5st, 2 sc in next st)*6 times (42)
Rnd13: sc in each st around (42)
Rnd14:(sc in next 6st, 2 sc in next st)*6 times (48)
Rnd15: sc in each st around (48)
With dark green
Rnd16-20: sc in each st around (48)
Rnd21: (sc in next 6 st, sc2tog)*6 times (42)
Rnd22: sc in each st around (42)
Rnd23:(sc in next 5 st, sc2tog)*6 times (36)
Rnd24: sc in each st around (36)
Rnd25:(sc in next 5 st, sc2tog)*6 times (30)
Rnd26: sc in each st around (30)
Rnd27:(sc in next 3 st, sc2tog)*6 times (24)
Rnd28: sc in each st around (24)
Stuff. Working from the both thickness, sew the end with
green yarn and close the gap
Hands
with skin color
Rnd1: 6sc in MR
Rnd2: sc in next 5 st, 2 sc in next st (7)
Rnd3: sc in next 6 st, 2 sc in next st (8)
Rnd4: sc in next 7 st, 2 sc in next st (9)
Rnd5: sc in next 8 st, 2 sc in next st (10)
Rnd6: sc in next 9 st, 2 sc in next st (11)
Rnd7: sc in next 10 st, 2 sc in next st (12)
Rnd8-10: sc in each st around (12)
Rnd11:(sc2tog)*6 times (6)
Rnd12: sc in each st around (6)
Rnd13: sc in next 5 st, 2 sc in next st (7)
Rnd14: sc in next 6 st, 2 sc in next st (8)
Rnd15: sc in next 7 st, 2 sc in next st (9)
Rnd16: sc in next 8 st, 2 sc in next st (10)
Rnd17: sc in next 9 st, 2 sc in next st (11)
Rnd18: sc in next 10 st, 2 sc in next st (12)
Rnd19-30: sc in each st around (12)
Ears
With skin color
Rnd1: 6 sc in MR
Rnd2:Turn, 2sc in each
st around (12)
Hairpin
Rnd1: Make 24 ch, join
with 1slst and make a
circle
Rnd2: dc in each st around (24)
HEAD (skin color)
Rnd1: 6 sc in MR
Rnd2: 2 sc in each st around (12)
Rnd3:(sc in next st, 2 sc in next st)*6 times (18)
Rnd4:(sc in next 2st, 2 sc in next st)*6 times (24)
Rnd5:(sc in next 3st, 2 sc in next st)*6 times (30)
Rnd6:(sc in next 4st, 2 sc in next st)*6 times (36)
Rnd7:(sc in next 5st, 2 sc in next st)*6 times (42)
Rnd8:(sc in next 6st, 2 sc in next st)*6 times (48)
Rnd9:(sc in next 7st, 2 sc in next st)*6 times (54)
Rnd10:(sc in next 8st, 2 sc in next st)*6 times (60)
Rnd11-19: sc in each st around (60)
Rnd20:(sc in next 4st, sc2tog)*10 times (50)
Rnd21: sc in each st around (50)
Rnd22:(sc in next 4st, 2 sc in next st)*10 times (60)
Rnd23:(sc in next 9st, 2 sc in next st)*6 times (66)
Rnd24:(sc in next 10st, 2 sc in next st)*6 times (72)
Rnd25: sc in each st around (72)
Rnd26:(sc in next 11st, 2 sc in next st)*6 times (78)
Rnd27-30: sc in each st around (78)
Rnd31:(sc in next 11st, sc2tog)*6 times (72)
Rnd32:(sc in next 10st, sc2tog)*6 times (66)
Rnd33:(sc in next 9st, sc2tog)*6 times (60)
Rnd34:(sc in next 8st, sc2tog)*6 times (54)
Rnd35:(sc in next 7st, sc2tog)*6 times (48)
Rnd36:(sc in next 6st, sc2tog)*6 times (42)
Rnd37:(sc in next 5st, sc2tog)*6 times (36)
Rnd38:(sc in next 4st, sc2tog)*6 times (30)
Rnd39:(sc in next 3st, sc2tog)*6 times (24)
Rnd40:(sc in next 2st, sc2tog)*6 times (18)
Rnd41:(sc in next st, sc2tog)*6 times (12)
Rnd42:(sc2tog)*6 times (6)
Dress
Start with green
Rnd1: Make 24 ch, join with slst and
form a ring
Rnd2: dc in each st around, 3 ch, 1 slst
Rnd3: sc in next 7st, 3sc in next sc, sc in
next 8st, 3sc in next st, sc in next 7st,
sc in next 6st (36)
Change color to yellow
Rnd4: FLO sc in each st around (36)
Rnd5: (sc in next 5st, 2sc in next st)*6 times (42)
Rnd6: (sc in next 6st, 2sc in next st)*6 times (48)
Rnd7: (sc in next 7st, 2sc in next st)*6 times (54)
Sleeve holes
Rnd8: sc in next 8x, 2sc in next st, 5 ch, sc in next 3st, 2sc in
next st, (sc in next 8st, 2sc in next st)*2 times, 5 ch, sc in
next 3st, 2sc in next st, sc in next 8st, 2sc in next st (60st
total – including chs)
Rnd9:(sc in next 9st, 2sc in next st)*6 times (66)
Rnd10: sc in next 65st, 2sc in next st (67)
Rnd11: sc in next 66st, 2sc in next st (68)
Rnd12: sc in next 67st, 2sc in next st (69)
Rnd13: sc in next 68st, 2sc in next st (70)
Rnd14: sc in next 69st, 2sc in next st (71)
Rnd15: sc in next 705st, 2sc in next st (72)
Rnd16:(sc in next 11st, 2sc in next st)*6 times (78)
Rnd17:(sc in next 12st, 2sc in next st)*6 times (84)
Rnd18:(sc in next 13st, 2sc in next st)*6 times (90)
Fasten off
WHITE CANDIES (LOLLIPOP)
PURPLE PART
Rnd1: 6 sc in MR
Rnd2: 2 sc in each st around (12)
Rnd3:(sc in next st, 2 sc in next st)*6 times (18)
Rnd4:(sc in next 2st, 2 sc in next st)*6 times (24)
Rnd5:(sc in next 3st, 2 sc in next st)*6 times (30)
Rnd6-9: BLO sc in each st around (30)
WHITE PART
Rnd1: 6 sc in MR
Rnd2: 2 sc in each st around (12)
Rnd3:(sc in next st, 2 sc in next st)*6 times (18)
Rnd4:(sc in next 2st, 2 sc in next st)*6 times (24)
Rnd5:(sc in next 3st, 2 sc in next st)*6 times (30)
YELLOW CANDY (LOLLIPOP)
Middle part
Rnd1: 6 sc in MR
Rnd2: 2 sc in each st around (12)
Rnd3:(sc in next st, 2 sc in next st)*6 times (18)
Rnd4:(sc in next 2st, 2 sc in next st)*6 times (24)
Rnd5:(sc in next 3st, 2 sc in next st)*6 times (30)
Rnd6:(sc in next 4st, 2 sc in next st)*6 times (36)
Rnd7-8: sc in each st around (36)
Rnd9:(sc in next 5 st, sc2tog)*6 times (30)
Rnd10:(sc in next 3 st, sc2tog)*6 times (24)
Rnd11:(sc in next 2 st, sc2tog)*6 times (18)
Rnd13:(sc in next st st2tog)*6 times (12)
Rnd14:(sc2tog)*6 times (6)
Big Ring
Rnd1: 6 sc in MR
Rnd2:(sc in next st, 2 sc in next st)*3 times (9)
Rnd3-45: sc in each st around (9)
PINWHEEL CANDY
Start with white
Rnd1: Make 16 ch
Rnd2: From the 2nd ch off the hook 14dc, 2 dc in last st (16)
Change color to red
Rnd3:(with BLO) From the 2nd st off the hook 14 dc, 2 dc in
last st (16)
By making one round white and one round red, continue for
14 rounds.
BODY ASSEMBLY AND SEWING DETAILS
BODY ASSEMBLY
Cut a wire approximately
50 cm long
Fold the wire in half
(Refer photos)
Insert the wire into the neck and stuff neck with fiberfill
(around the wire)
ASSEMBLY SOCKS
By the help of pliers, increase the push the stitches and
create a gap. (please refer photos)
Insert the wires, that is attached into the legs to the socks;
and sew socks together.
Assembly Arms
Cut a piece of wire. Insert the wire from the armpits. Attach
the arms to the body and sew.
After arm
assembly,
put dress on.
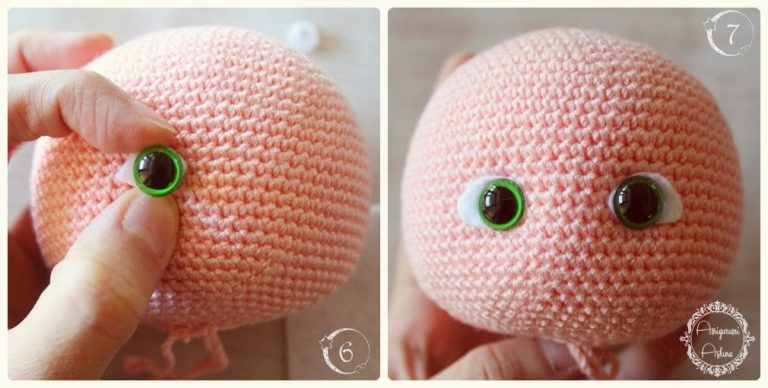
Pin the eye location. Thread the needle and insert needle to the
beginning of the head and take it out from the top.
Eye Sockets
With skin color yarn, insert needle to the back of the head, and
take it out to the point where you locate the eyes. Insert needle
to the back of the head again and pull it tight, then secure.
Repeat the same steps for the other eye socket
Creating Eye Sockets
EYES
Cut two pieces of felt (Refer
photos for the shape of the felt).
Sew these felts to the eye
sockets with transparent thread.
Paint the eye pupils with acrylic fabric paint. (If you’re using
safety eyes, insert the eyes before sewing the white felts.)
With black, paint the mouth with bow shape. Blush the cheeks
with pink by using pastel or blusher.
Sew the ears at the end of the eyes level
HAIR For hair:
Cut stings of yarn of any color of
your choice.
Tie them from the middle
(please refer photos)
Beginning from the back of the head,
pin the middle of the hair. Then sew to
the head with same color yarn
HEAD ASSEMBLY
Push the stitches in MR and
create a gap at the beginning of
the head. Insert the wire from
that gap.
Sew the head
to the neck
with skin
color yarn.
CANDY ASSEMBLY
YELLOW CANDY
– Insert a wire into the ring
and secure the ends (Please
refer photos)
-You can crochet a tube for the
candy handle or glue the wire and
wrap the yarn.
PURPLE CANDY
– Insert the wire into the main part
and sew two pieces together.
Embroider a * shape with green
PINWHEEL CANDY
– Fold the part according to the photos
and sew the ends. Insert the wire
and secure.
Thank you for choosing me….
If you have any problem or question
please do not hesitate to contact
with me. You can find my contact
links at the end of the pattern
Enjoy crocheting!

