Amigurumi Doll Elena Free Crochet Pattern
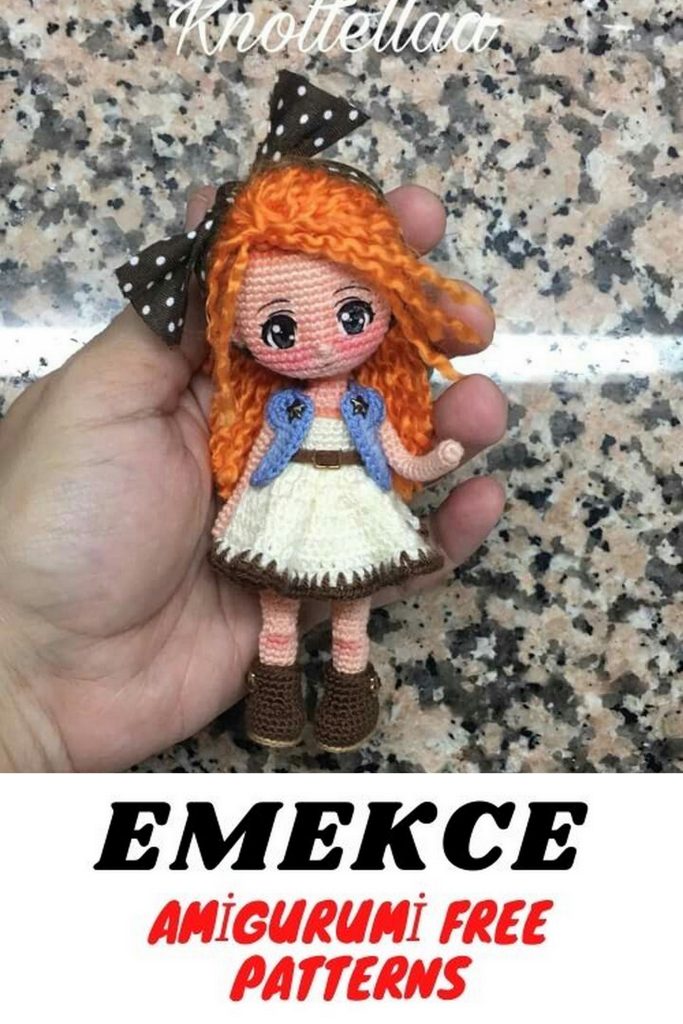
Introducing our free crochet pattern for the enchanting Amigurumi Doll Elena! Whether you’re a crochet novice or an experienced yarn artist, this pattern is your ticket to creating a whimsical amigurumi doll named Elena. In this comprehensive guide, we’ll provide you with step-by-step instructions to craft Elena, a charming amigurumi doll that’s sure to capture your heart. Grab your crochet hooks and let’s embark on a delightful crochet adventure.
Materials:
Alize forever (crochet 1mm)
or Alize diva (hook 1.25)
for hands 1.5mm wire
Any suitable hair yarn
Glue-based eyes
Filler
Abbreviations:
CH – chain
SC – single crochet
İNC – increase
DEC – decrease
sl-st- slip-stitch
PATTERN
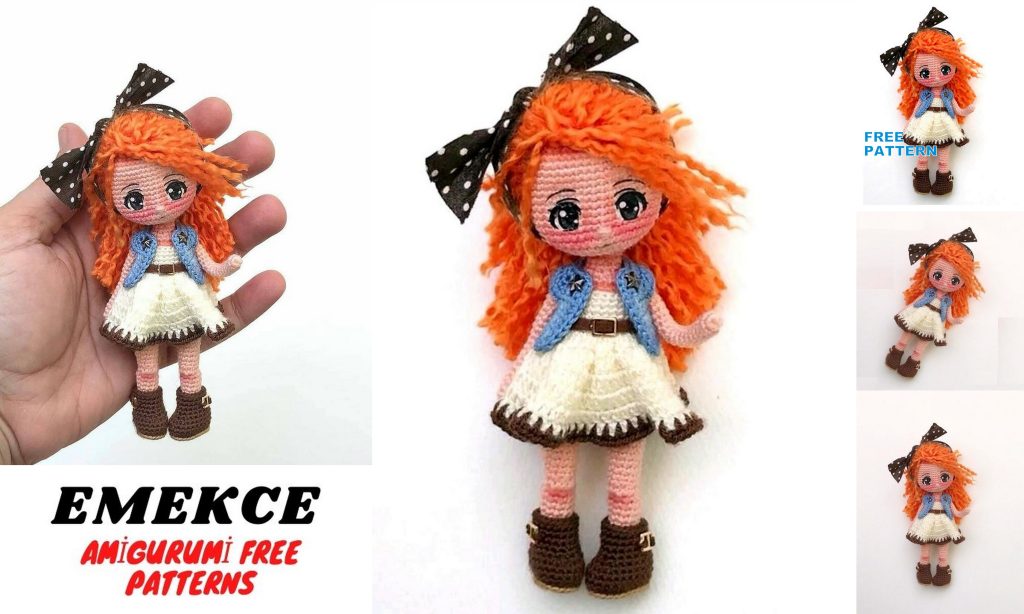
HANDS:
Hook 1.25, 282 Alize forever yarn
Rd 1: 6 sc into magic ring
Rd 2-20: (19 rows) 6 sc
cut the thread
LEGS: (2)
crocheted 1.00 mm, and a282 Alize forever yarn
6 ch, with 2 loops from the hook:
Rd 1: 4 sc, [4 sc], 3 sc, 1 inc = 13 sc
Rd 2: 1 inc, 3 sc, 3 inc, 4 sc, 2 inc = 19 sc
Rd 3-4: 19 sc = 19
Rd 5: 6bn, 3 dec (in the front of the leg), 5 sc, 1 dec (in the back of the leg) = 15
Rd 6: 4 sc, 3 dec (in front of the leg), 5 sc = 12
Start stuffing the leg
Rd 7: 4 sc, 3sc together, 5 sc = 10
Rd 8-15: (8 rows) 10 sc = 10
Keep stuffing
Rd 16: 2 dec (in the back of the foot), 1 sc, 2 inc (in the front of the foot), 3 sc = 10
Rd 17: 2 inc, 1sc, 2 dec, 3 sc = 10
Tightly stuffed
Rd 18: 10 sc = 10
Rd 19: 1 inc, 9 sc = 11
Rd 20: 11 sc = 11
Rd 21: 11 sc = 11
Rd 22: 1 inc, 10 sc = 12
Rd 23-24: (2 rows) 12 sc = 12
Rnd 25: 12 sc = 12
fill very tightly, cut the thread from the first leg, do not cut from the second !!!
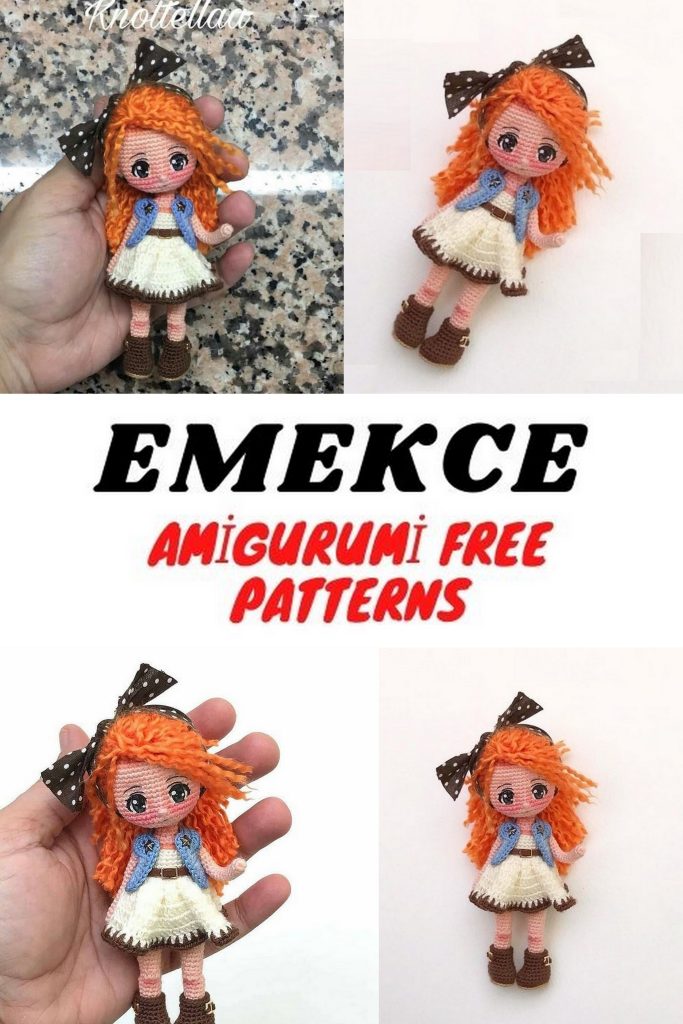
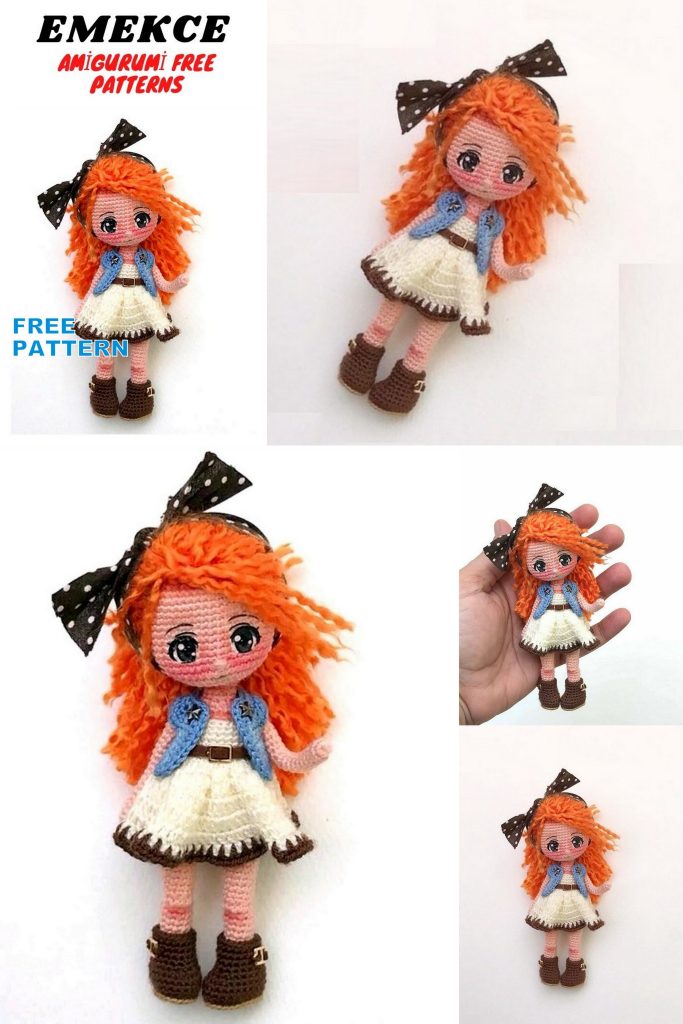
Connect the legs and body:
For girl
take the right foot
Rd 1: 4 bn, 4 ch, (count 4 sc from the last sc of the second leg, this is the junction) 12 sc
second leg, 4 sc in the chain, 12 sc in the first leg, 4 sc in the chain = 32
Rd 2-5: (4 rows) 32 sc (32)
Tightly stuffed
Rd 6: 7 sc, 1dec (on the one hand), 14 sc, 1 dec (on the other), 7 sc = (30)
Rd 7: 30 sc (30)
Rd 8: * 3 sc, 1 dec * 6 times (24)
Rd 9: 24 sc (24)
Rd 10: 4 sc, 1 dec, 10 sc, 1 dec, 6 sc, fill (22)
Rd 11-15: (5 rows) 22 sc, fill (22)
1 PS offset loop so that the marker runs exactly in the center,
For boy:
take the right foot
Rd 1: 3 sc, 4 ch, (count 4 sc from the last sc of the second leg, this is the junction) 12 sc
second leg, 4 sc in the chain, 12 sc in the first leg, 4 sc in the chain = 32
Rd 2-6: (5 rows) 32 sc (32)
Tightly stuffed
Rd 7: 7 sc, 1dec (on the one hand), 14 sc, 1 dec (on the other), 7 sc = (30)
Rd 8: 30 sc (30)
Rd 9: 7 sc, 1dec (on the one hand), 13 sc, 1 dec (on the other), 6 sc = (28) the marker must pass
exactly in the center of the back
Rd 10: 28 sc (28)
Rd11: 6 sc, 1dec (on the one hand), 12 sc, 1 dec (on the other), 6 sc = (26) the marker must pass
exactly in the center of the back
Rd 12: 26 sc, fill (26)
Rd13: 6 sc, 1dec (on the one hand), 11 sc, 1 dec (on the other), 5 sc = (24) the marker must pass
exactly in the center of the back
Rd 14: 24 sc (24)
Rd15: 5 sc, 1dec (on the one hand), 10 sc, 1 dec (on the other), 5 sc = (22)
Rd 16-19: (4 rows) 22 sc (22)
In this place, we join the hands of both the boy and the girl:
Rd 1: 4 sc, (attach the first hand) 3 sc (along the arm and body at the same time), 8 sc, (attach
second hand) 3 sc (on the second hand and body at the same time), 4 sc (22)
Rd 2: 4 sc (on the back), (knit on the remaining columns of the arm) 1 inc, 2 sc, 8 sc (on the chest), (knit on
remaining arms) 2 sc, 1inc, 4 sc (on the back) (24)
Insert the 1.5 mm wire into the hands
Rd 3: * 2 sc, 1 dec * 6 times (18)
Rd 4: * 1 Ssc, 1 dec * 6 times (12)
Rd 5-7: 12 sc (12) 1 PS (marker should be in the middle of the back)
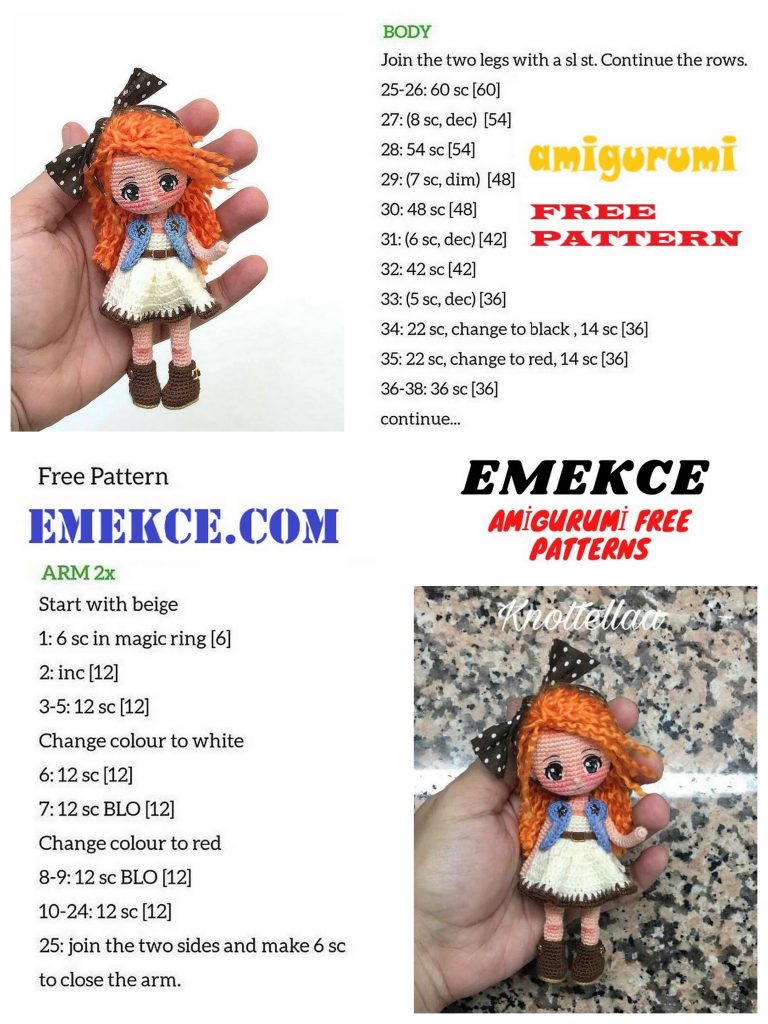
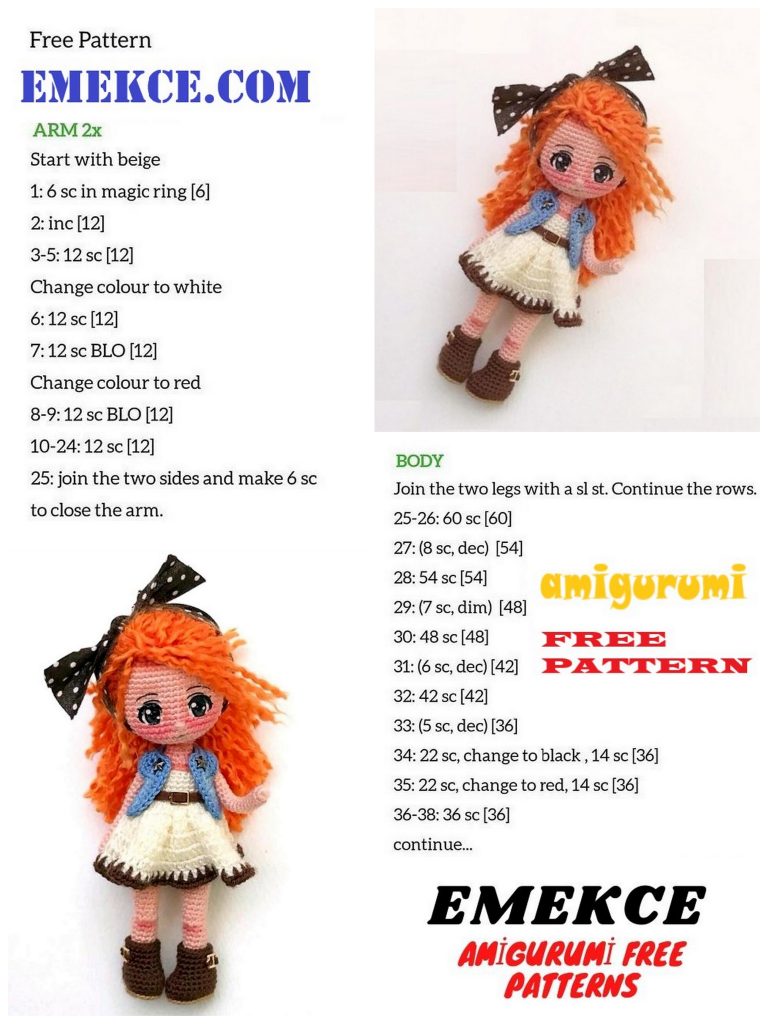
HEAD
Rd 1: * 1 sc, 1inc * 6 times (18)
Rd 2: * 2 sc, 1 inc * 6 times (24)
Rd 3: * 3 sc, 1 inc * 6 times (30)
Rd 4: * 4 sc, 1 inc * 6 times (36)
Rd 5: * 5 sc, 1 inc * 6 times (42)
Rd 6: * 6 sc, 1 inc * 6 times (48)
Rd 7-19: (13 rows) 48 sc (48)
Rd 20: * 6 sc, 1 dec * 6 times (42)
Rd 21: * 5 sc, 1 dec * 6 times (36)
Rd 22: * 4 sc, 1 dec * 6 times (30)
Rd 23: * 3 sc, 1 dec * 6 times (24)
Rd 24: * 2 sc, 1 dec * 6 times (18)
Rd 25: * 1 sc, 1 dec * 6 times (12)
Rd 26: 6 dec (6)
Licensing options:
DRESS
For the dress we use a 1.00 mm hook, we begin to knit directly on top of the doll’s body, under the arms.
Rd 1: ch, 22 sc, 1 sl-st (22)
Rd 2: ch, behind the rear walls 22 sc, 1 sl-st (22)
Rd 3-6: (4 rows) ch, 22 sc, 1 sl-st (22)
Rd 7: 3ch, * [3DC] * 22 times, 1 sl-st
Rd 8-12: (5 rows) 3ch, 1 DC, 1 sl-st
Rd 13: take another color * 1 sc, 1 sc one row below *
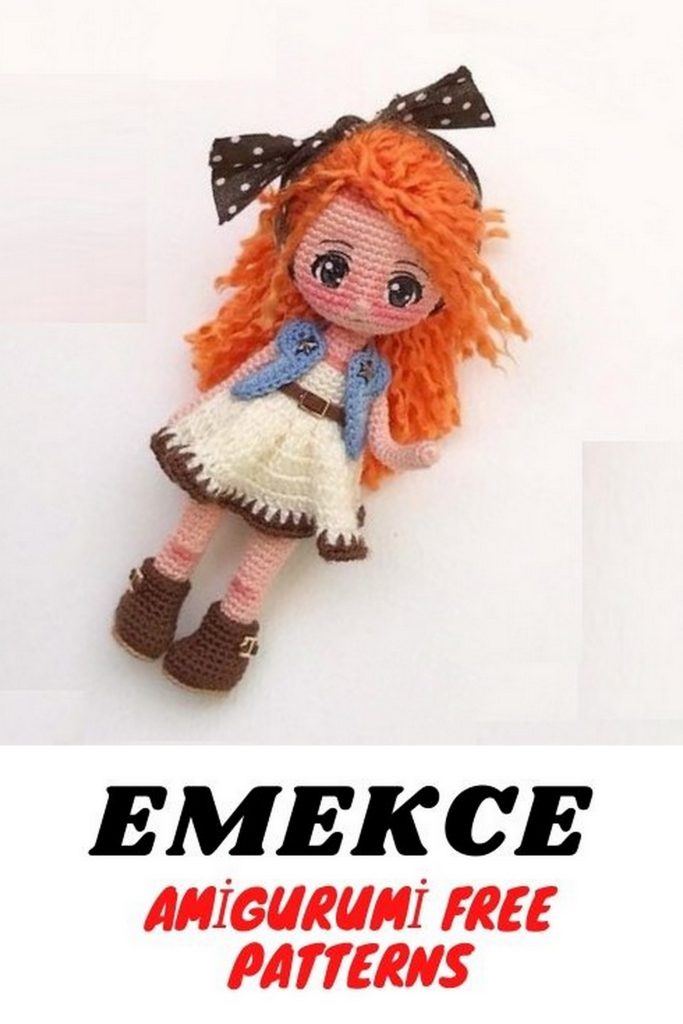
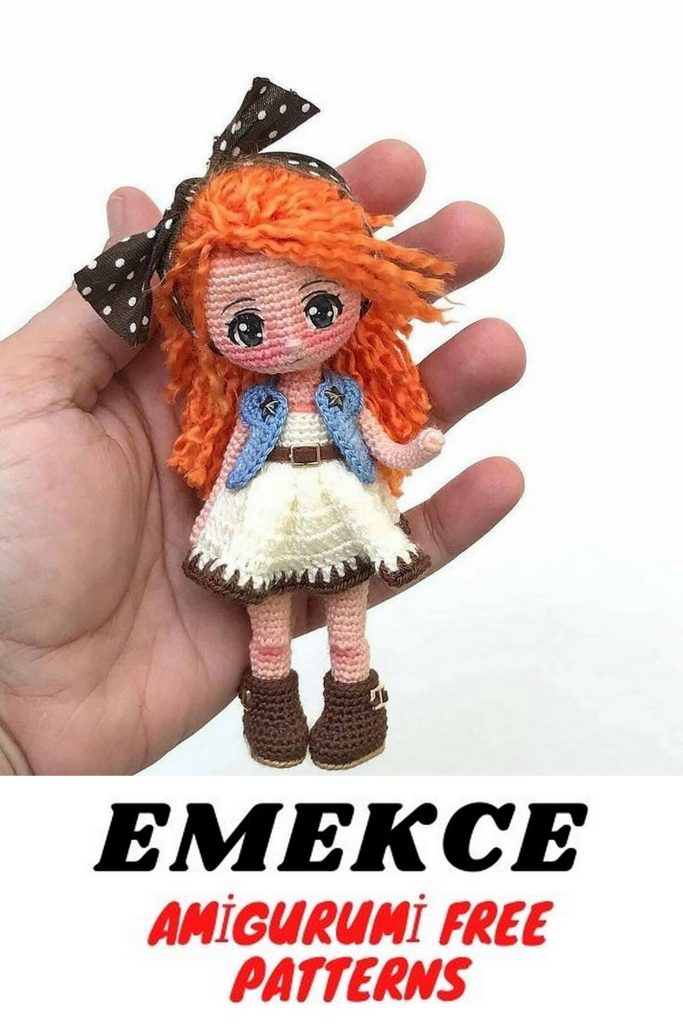
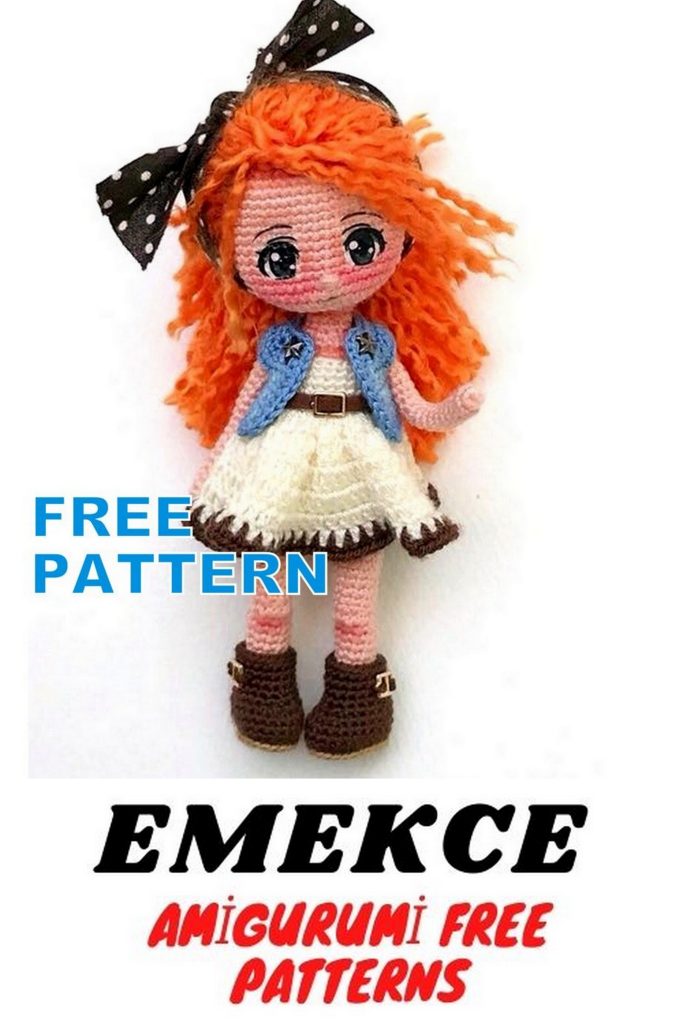
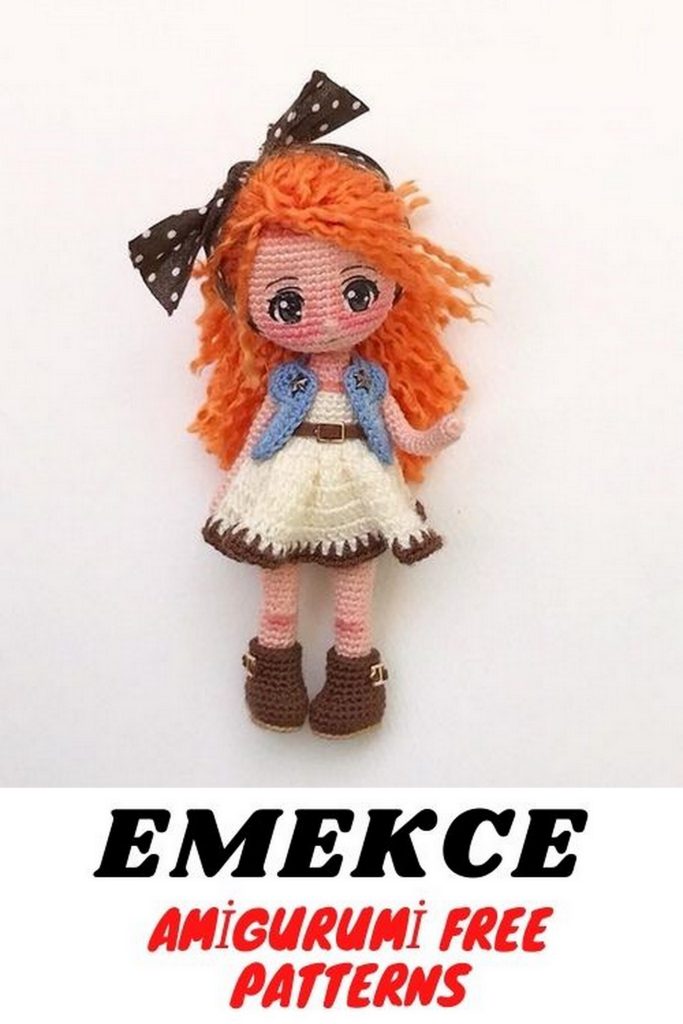
JACKET
For the jacket we use a hook 1.00 mm
20ch
Row 1: with 2 loops from the hook: 2 sc, [3 sc], 3 sc, [3 sc], 5 sc, [3 sc], 3 sc, [3 sc], 2 sc, 1 ch,
turn (27)
Row 2: 27sc, 1 ch, turn (27)
Row 3: 3 sc, [3 sc], 5 sc, [3 sc], 7 sc, [3 sc], 5 sc, [3 sc], 3 sc, 1 ch, turn (35)
Row 4: 5 sc, 3 ch, skip 7 sc, 11 sc, 3 ch, skip 7 sc, 5 sc, 1 ch, turn (21)
Row 5: 5 sc, 3 sc in the chain, 11 sc, 3 sc in the chain, 5 sc, 1 ch, turn (27)
Row 6-9: (4 rows) 27 sc, 1 ch, turn (27)
Row 10: 27 sc (27)
Row 11: Edge Trim: 2 sc into 1, 1 sc into magic ring each column and 3sc into corners, 1 sl-st
Shoes
1mm hook
6 ch, with 2 loops from the hook:
Rd 1: 4 sc, [4 sc], 3 sc, 1 inc (13)
Rd 2: 1 inc, 3 sc, 3 inc, 4 sc, 2 inc (19)
Rd 3: 1 inc, 6 sc, 4 inc, 6 sc, 2 inc (26)
Rd 4: behind the rear walls 26 sc (26)
Rd 5: 26 sc (26)
Rd 6: 6 sc, * 1 dec, 1 sc * 4 times, 1 dec, 6 sc (21)
Rd 7: 7 sc, 3 dec, 8 sc (18)
Rd 8-10: (3 rows) 18 sc
change the color, attach the thread to the remaining half loops 4 rows, 26 sl-st form the edge of the boot


