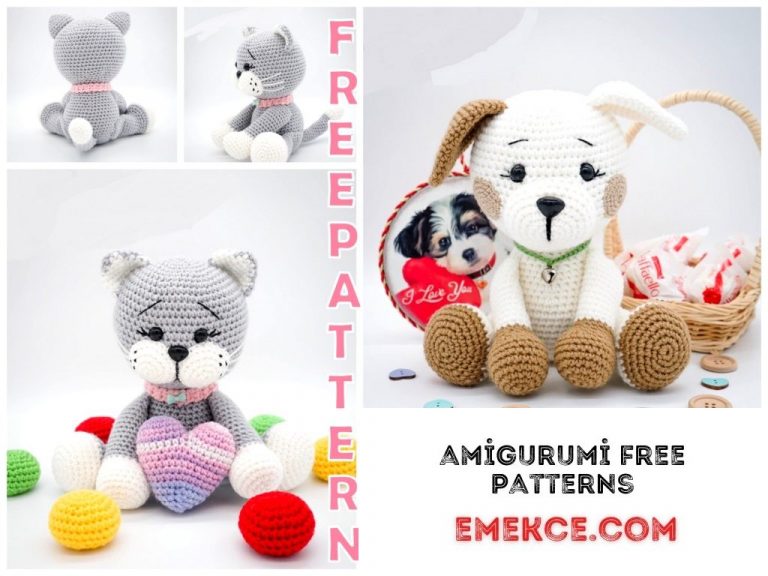
Amigurumi Velvet Female Cat Free Crochet Pattern – Create Your Own Feline Masterpiece
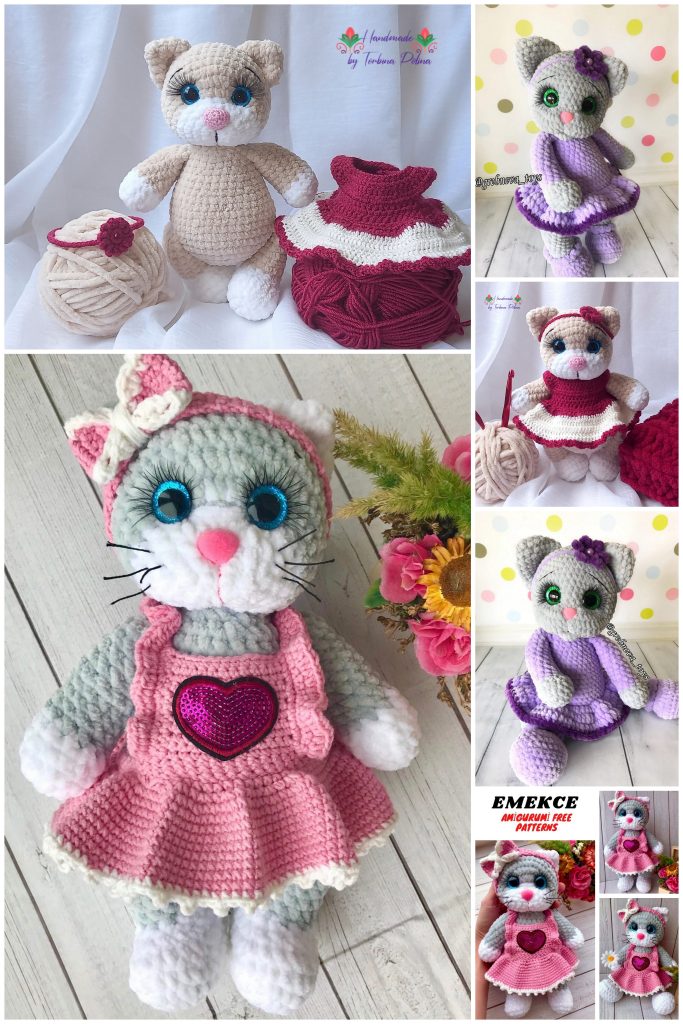
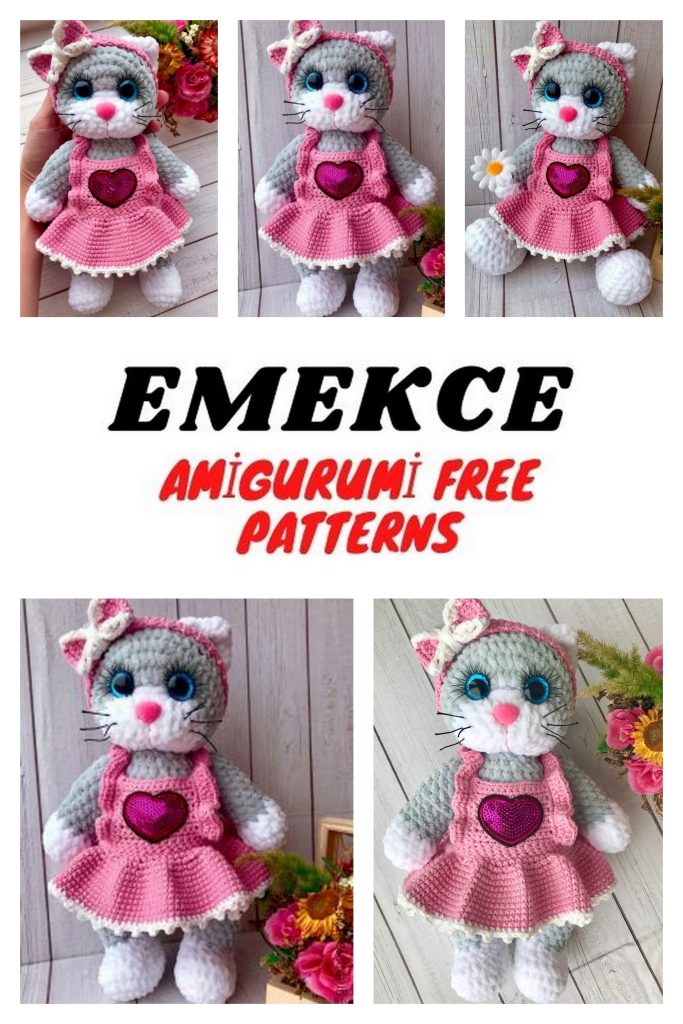
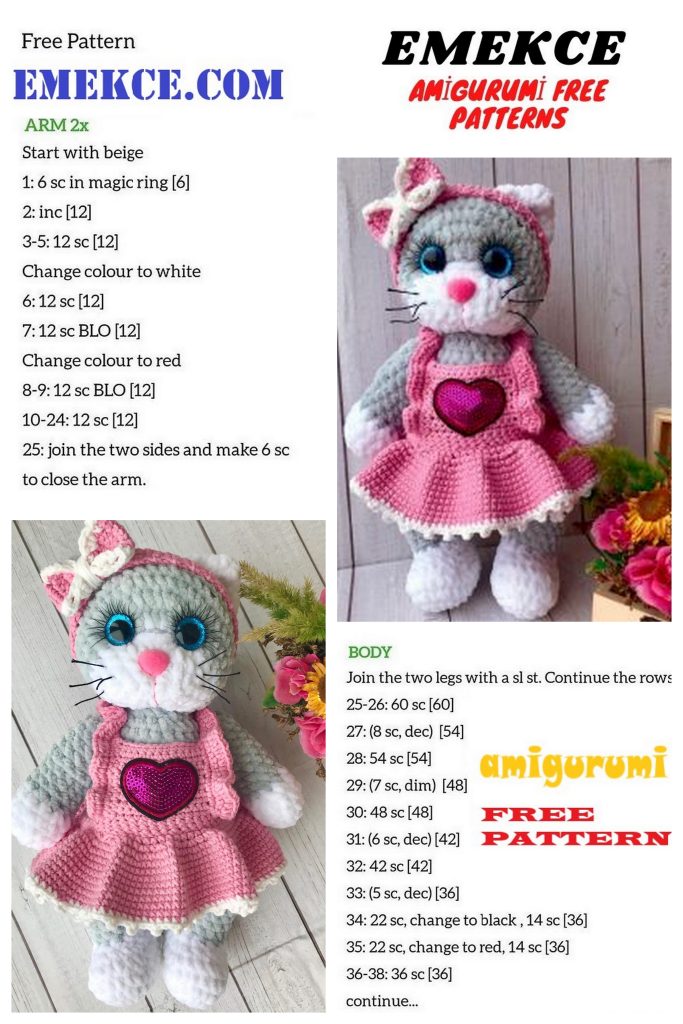
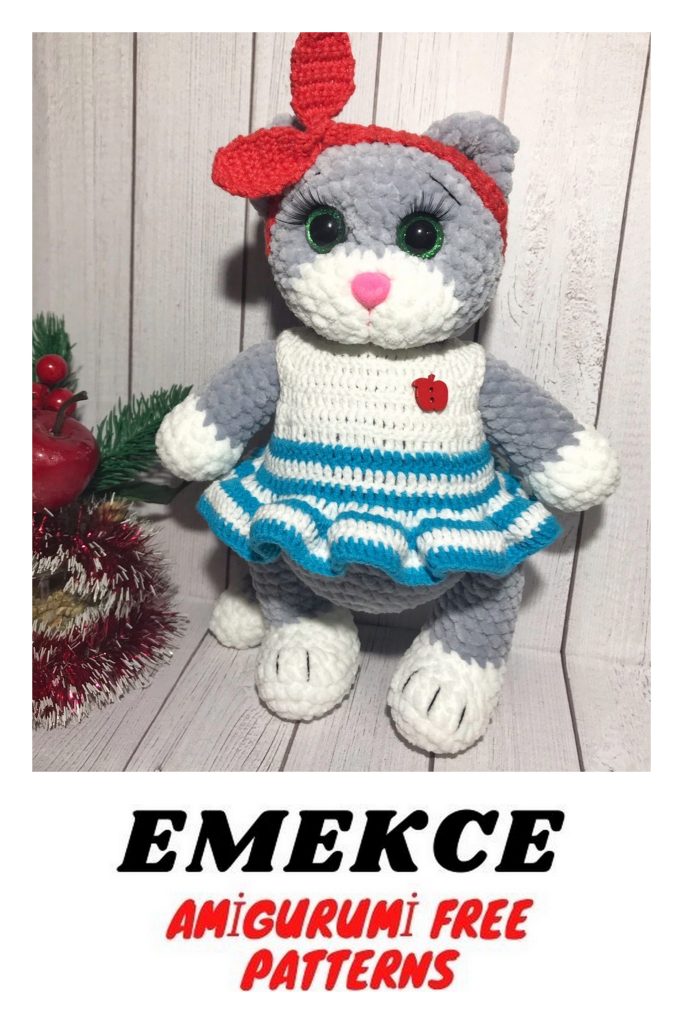
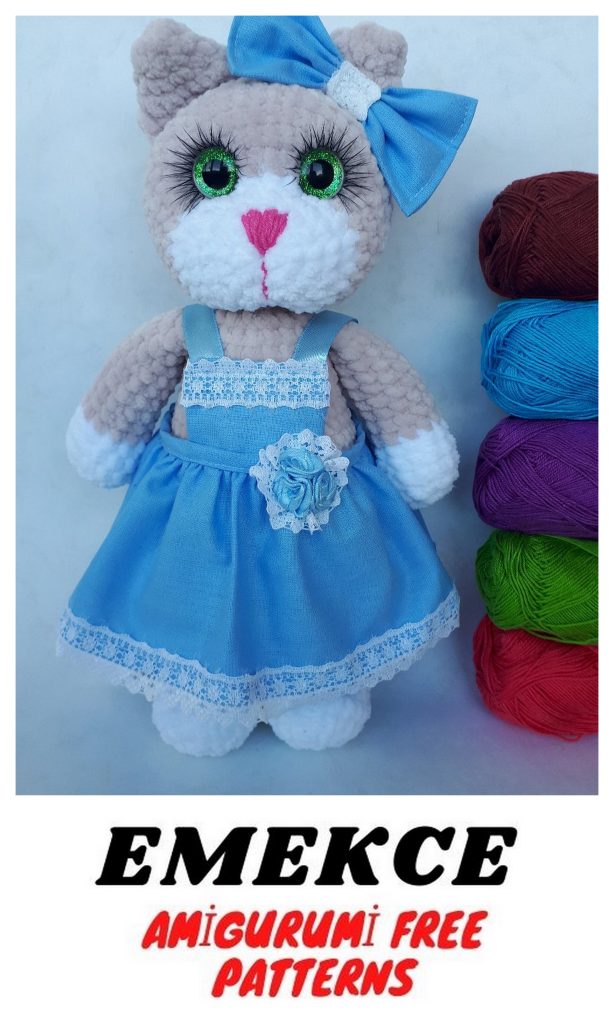
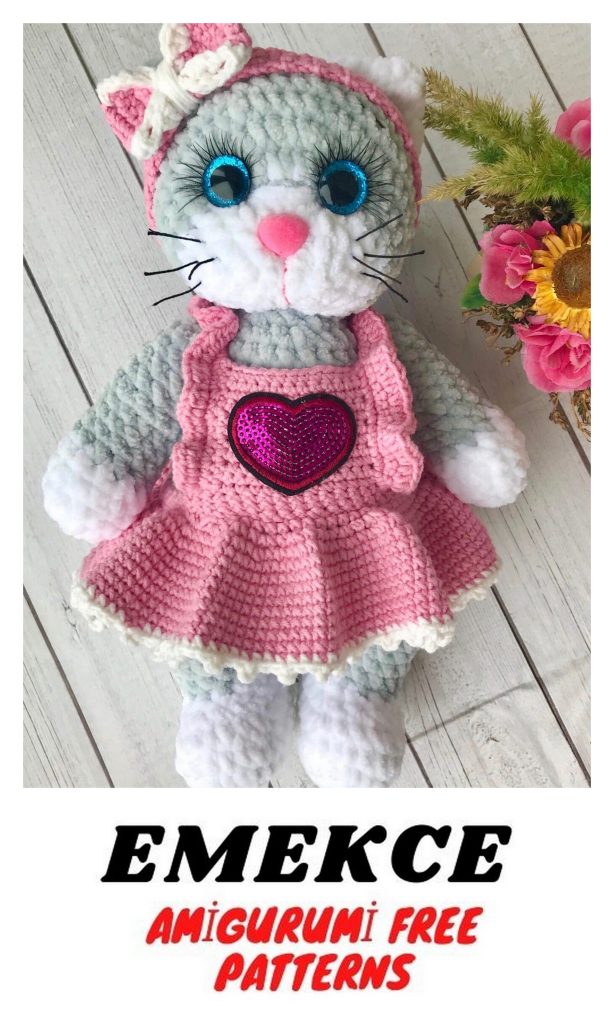
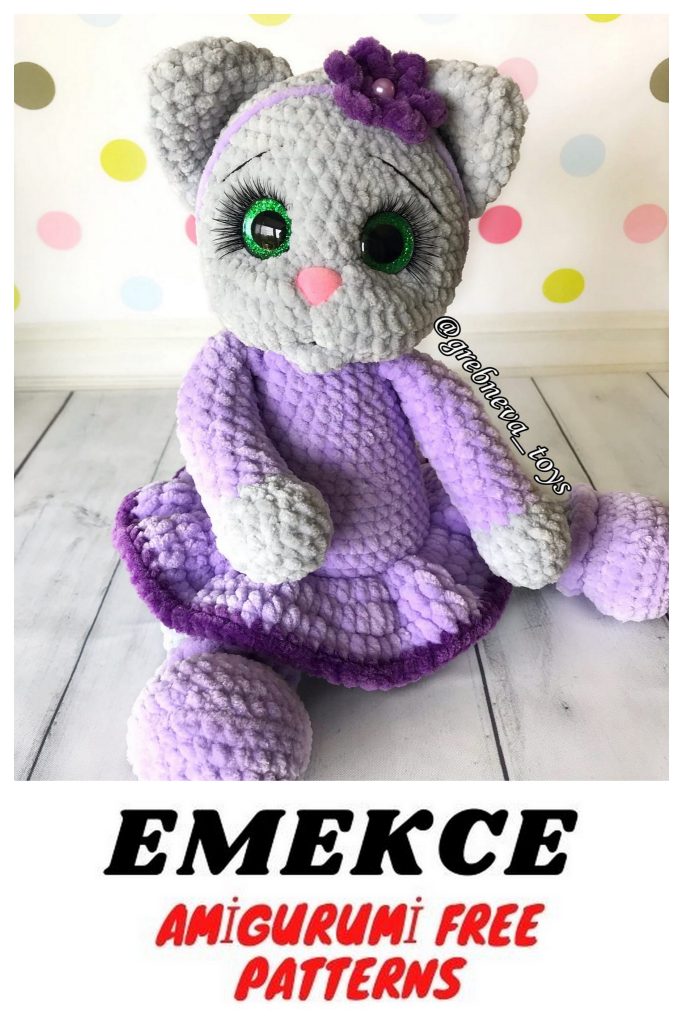
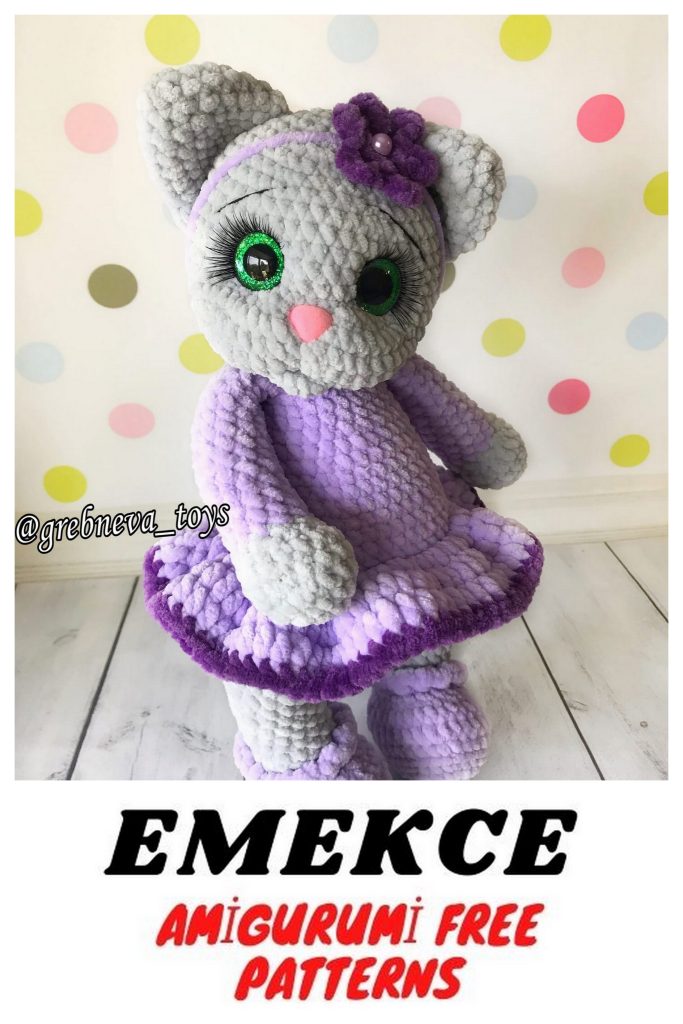
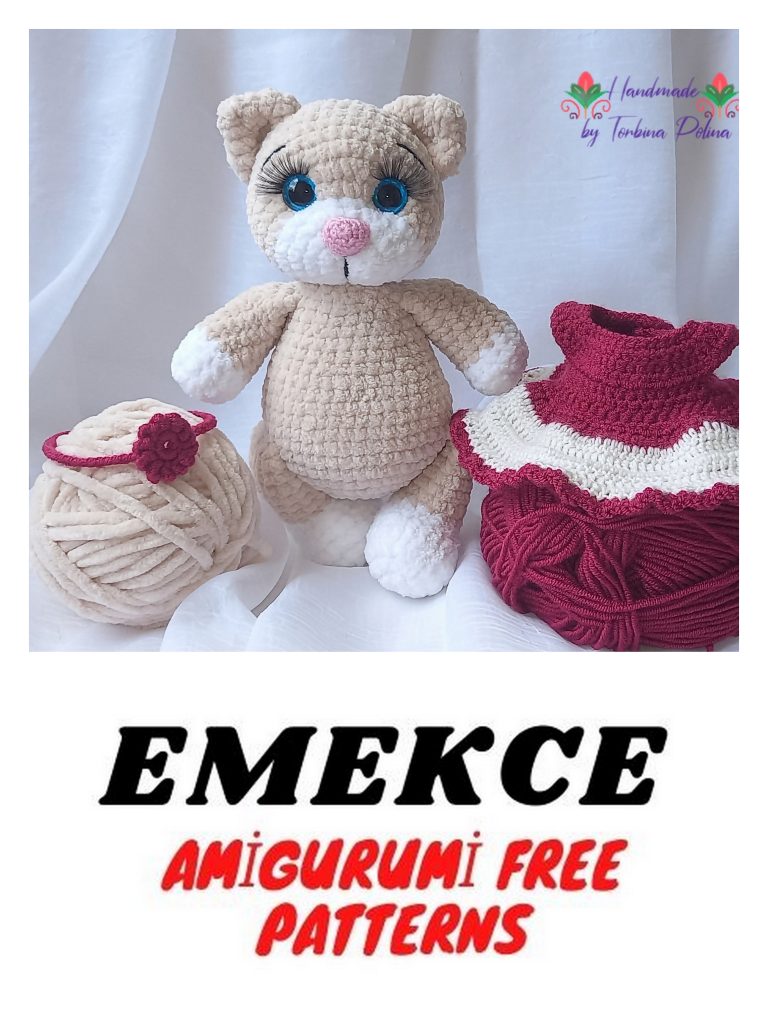
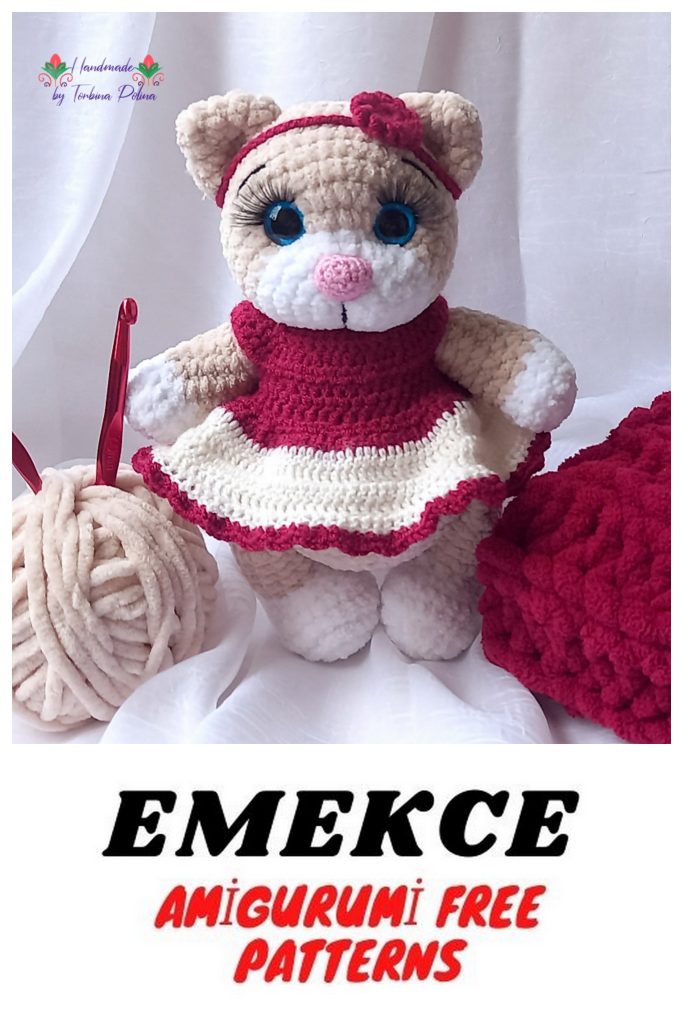
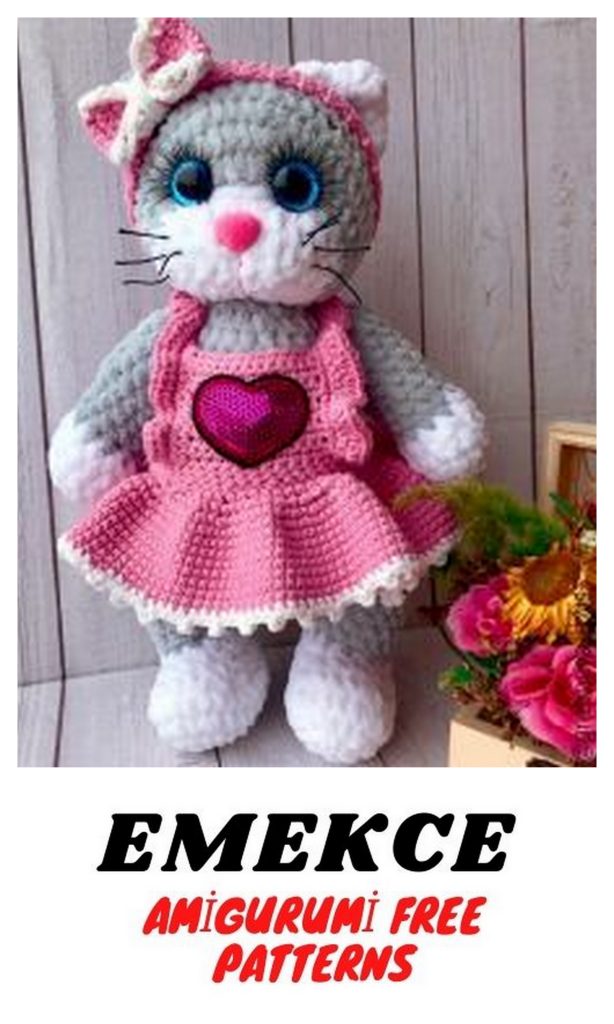
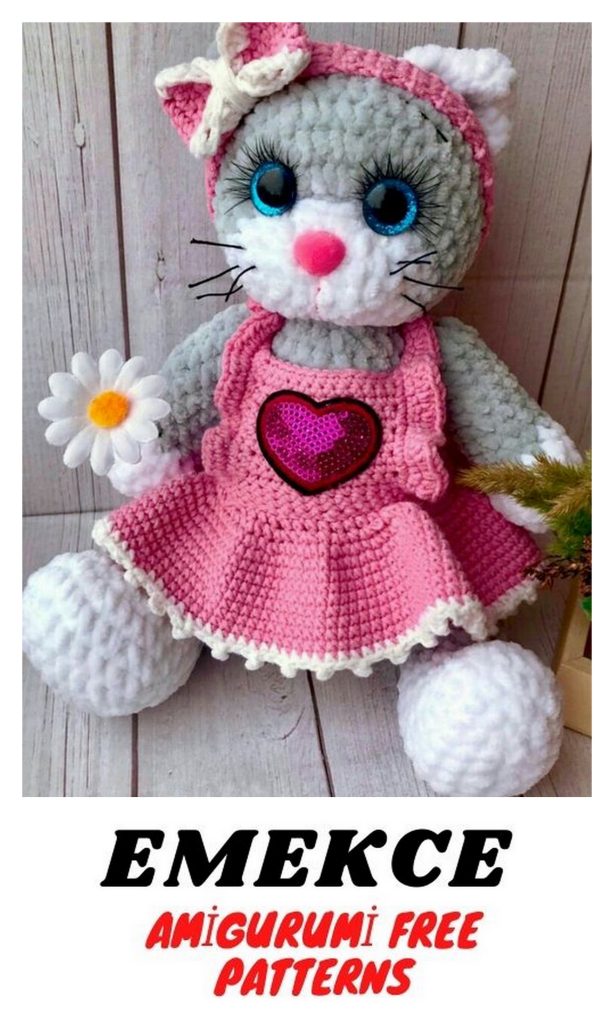
Get ready to meet a delightful member of the amigurumi world – the Velvet Female Cat! With this free crochet pattern, you can enjoy creating this adorable amigurumi kitty for yourself or your loved ones. Adorned with velvety softness and elegant details, the Amigurumi Velvet Female Cat will captivate crochet enthusiasts of all levels. In this article, we’ll guide you through the step-by-step process so you can start your project without any obstacles.
Abbreviations
sc – single crochet
sl-st – slip stich
DC – double crochet
HDC – half crochet
inc – increase
dec – decrease
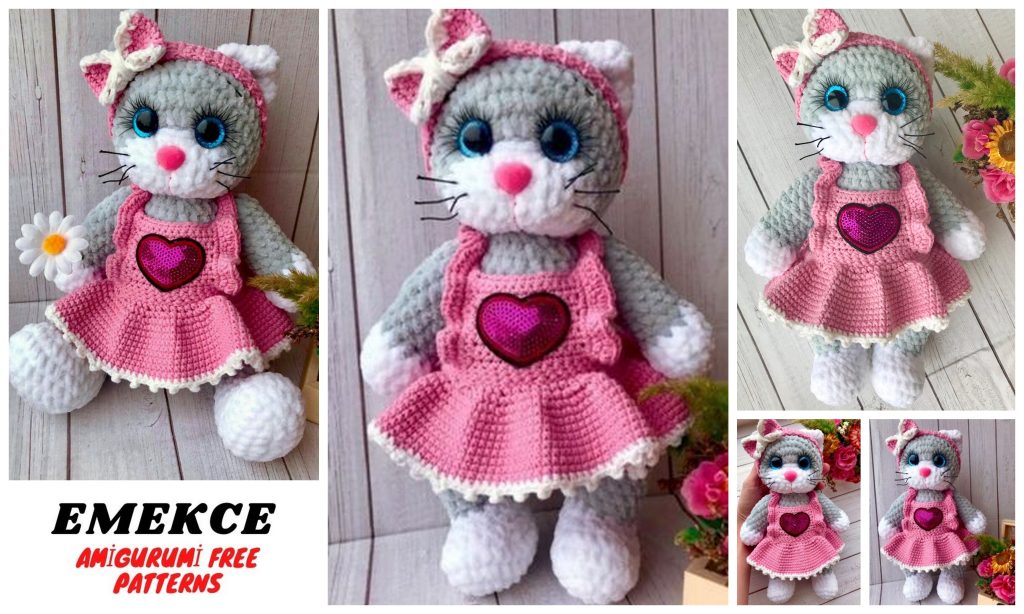
Necessary materials:
– 1 skein of primary color brand Himalaya Dolphin Baby yarn (mine
325) or its analogue
– A little white yarn of the same brand
– Hook number 4
– Eyes 16 mm
– Cilia
– Joints for legs 20 mm
– Black thread for the design of the muzzle and mustache (I have iris)
For clothes:
– 1 skein of YarnArt Jeans yarn of any color or its equivalent (I have
it took a little more than half the skein)
– A little bit – a yarn of a different color for tying
– Hook number 2.5 or the one you knit
– Any applique or decorative button for decoration
– Markers
Thank you all for knitting with me!
PATTERN
Legs:
We start knitting with white yarn.
We knit 8 ch and from the second loop from the hook we knit: 6 sc,
3 sc in the last loop, on the other side we knit 5 sc, inc (16)
2.inc, 5 sc, 3inc, 5 sc, 2inc (22)
3.1 sc, inc, 5 sc, (1 sc + inc) * 3, 5 sc, (1 sc + inc) * 2 (28)
4.28 sc
5.5 sc, 3dec, 4 sc, 3dec, 7 sc (22)
6.6 sc, 4dec, 8 sc (18)
7.4 sc, 4 dec, 6 sc (14)
Change the color to the main
8-14. 14 sc
The joint is inserted between 13 and 14 rows.
Those who want to knit legs, then you need to knit
another row of 14 sc, then fold the leg in half and knit
7 sc.
Who puts the joint, in the 15th row we knit 7ub
Pull the hole, hide the thread.
Pens:
We start knitting with white yarn.
1.7 sc into magic ring
2.7inc (14)
3-4. 14 sc
5.2dec, 10 sc (12)
Change the color to the main
6-14. 12 sc
15.6dec.
Pull the hole, hide the thread.
Who wants to knit the paws in the same way, then in the 15th row we connect the foot and
we knit 6 sc.
Ears:
1.7 sc into magic ring
2.7 sc
3.7inc (14)
4. (1 + inc) * 7 (21)
Fold the part in half and knit 10 sc for both walls, thread
cut off, leave the end for sewing.
Tail:
Knit with white yarn
1.6 sc into magic ring
2.6 inc (12)
3-5. 12 sc
Change the color to the main
6.12 sc
7. dec, 10 sc (11)
8-9. 11 sc
10. dec, 9 sc (10)
11-13. 10 sc
We fill the tail a little more than half
14. dec, 8 sc (9)
15-19. 9 sc
We connect in half and knit 4 sc, leave a thread for
stitching.
Sew the tail between 8 and 9 side by side, strictly in the middle.
Head:
We start knitting with white yarn.
1.6 sc into magic ring.
2.6inc (12)
3. (1 sc + inc) * 6 (18)
4. (2 sc + inc) * 6 (24)
5. (3 sc + inc) * 6 (30)
Insert the nose between 3 and 4 rows.
Change the color to the main
6.12 sc, 6inc, 12 sc (36)
7. (5 sc + inc) * 6 (42)
8-12. 42 sc
Those who have eyes on a secure mount, put them between 6 and 7
in rows, at a distance of 5-6 sc.
13. (5 sc + dec) * 6 (36)
14. (4 sc + dec) * 6 (30)
15. (3 sc + dec) * 6 (24)
We stuff a detail
16. (2 sc + dec) * 6 (18)
17. (1 sc + dec) * 6 (12)
18. 6dec (6)
Pull the hole, cut the thread.
Body:
1.6 sc into magic ring.
2.6inc (12)
3. (1 sc + inc) * 6 (18)
4. (2 sc + inc) * 6 (24)
5. (3 sc + inc) * 6 (30)
6. (4 sc + inc) * 6 (36)
7. (5 sc + inc) * 6 (42)
8-12. 42 sc
We insert legs between 8 and 9 rows
Whoever knots, then it will be necessary to do between 9 and
10 rows. We knit 7 sc, then 7 sc with the leg, 14
sc, 7 sc with foot, 7 sc. Next, we knit according to the scheme.
13. (5 sc + dec) * 6 (36)
14-15. 36 sc
16. (4 sc + dec) * 6 (30)
17-19. 30 sc
20. (3 sc + dec) * 6 (24)
21-22. 24 sc
Who will knit pens, then do it in the 22nd row strictly above
legs.
23. (2 sc + dec) * 6 (18)
24. (1 sc + dec) * 6 (12)
Fasten and cut the thread, leave the end for sewing.
Sew pens
Assembly and design:
1. Tighten the muzzle and make it.
2. Sew the ears to the head from 12 to 15 rows.
Between the ears 4-5 sc.
3. Make a mustache. Can use fishing line
0.5 mm thick.
4. Sew handles on the 21-22 row.
5. Sew a tail between 8 and 9 rows,
strictly in the middle.
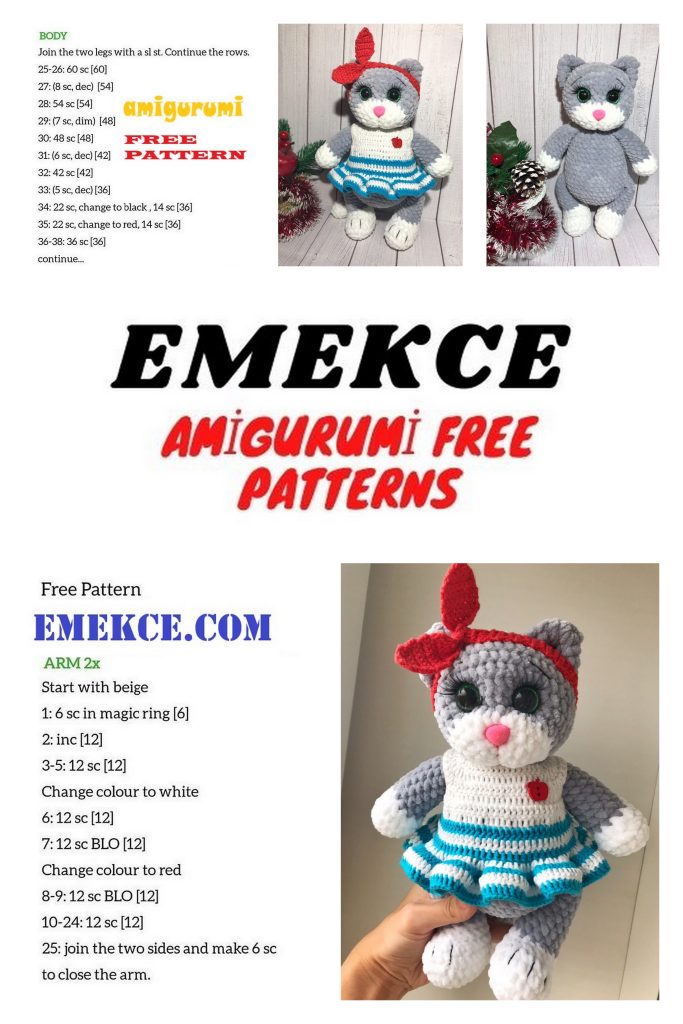
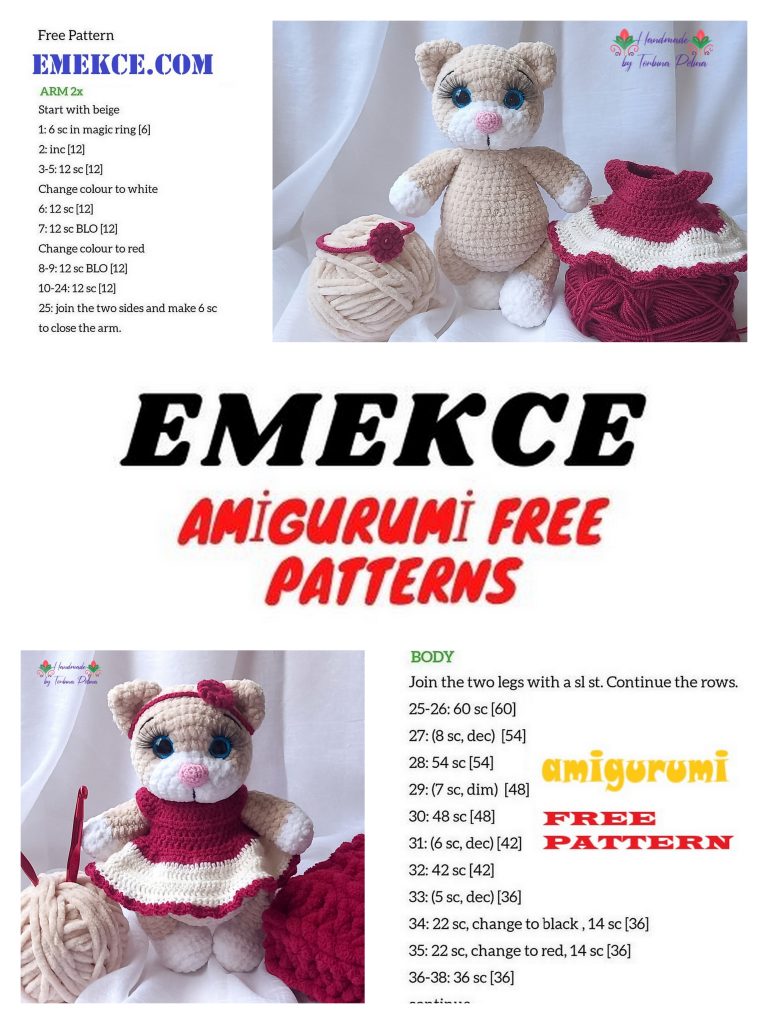
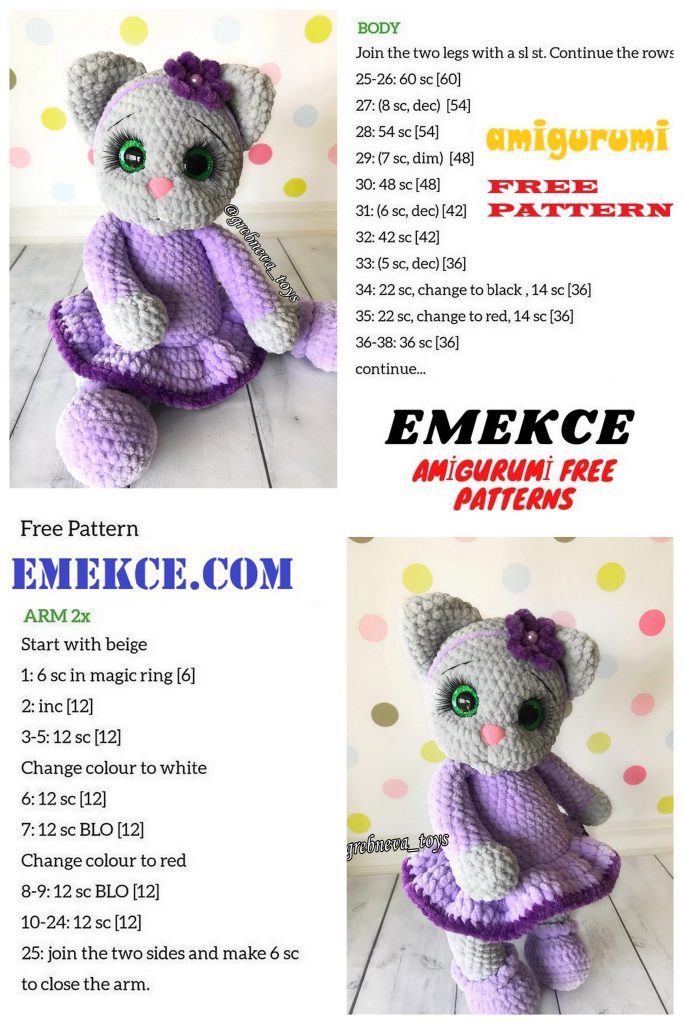
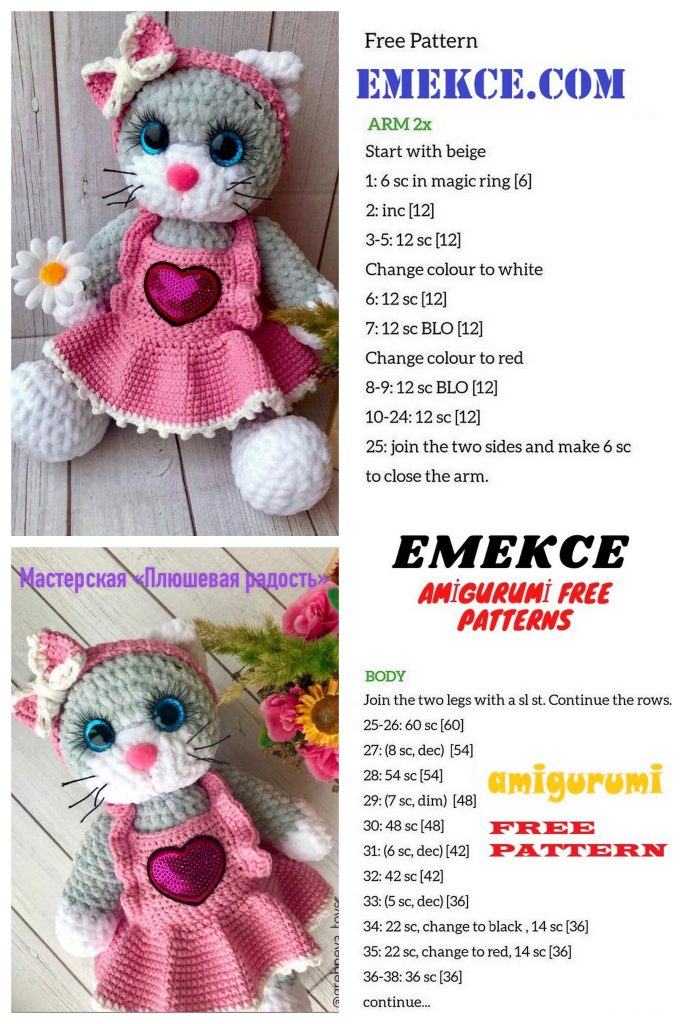
Our beauty is ready, now she needs to be dressed.
Dress-sundress:
We collect a chain of air loops (at
me 75), you gain the amount
as you need and close in
ring.
Next, we knit two rows of a report (1 sc + inc) to
end of row.
We knit the next 8 rows unchanged
in a circle the number of loops that
you succeeded.
Now we proceed to strapping our dress. I have this white thread
colors, you can use any other.
I tie a hem with an element in knitting like pico.
Fasten and cut the thread. We hide all the strings in the product.
We return to the row where we knitted the chain ch and attach
a thread of the main color and knit in a circle two rows sc.
Next we will knit the breast of our dress. Count to the left 12
sc and in the 13th we put a marker. Do 1 ch lift and knit
rotary rows of 13 sc, 10 rows.
Fasten the thread, hide the tip in the product.
Now we need to tie the straps.
Next, put two markers in the back
for our straps, you can
make crosswise like
me, you can just exactly
sew on. Sewed on an eye on
fitting. Just look
to be exactly.
Breast at our dress can
decorate with thermal sticker (as in
me), or sew any
decorative button.
Headband and bow:
Now we just have to tie a headband, and the outfit will be ready.
We will knit in rotary rows, the amount that you
necessary.
We dial 4 ch and from the second loop we knit 3 sc, 1 ch, turn and
again 3 sc, etc. until you get the one you need
length. Then we sew the two edges of the dressing and sew in place of the seam
bow.
Dress up our beauty and admire
Thank you for knitting with me

