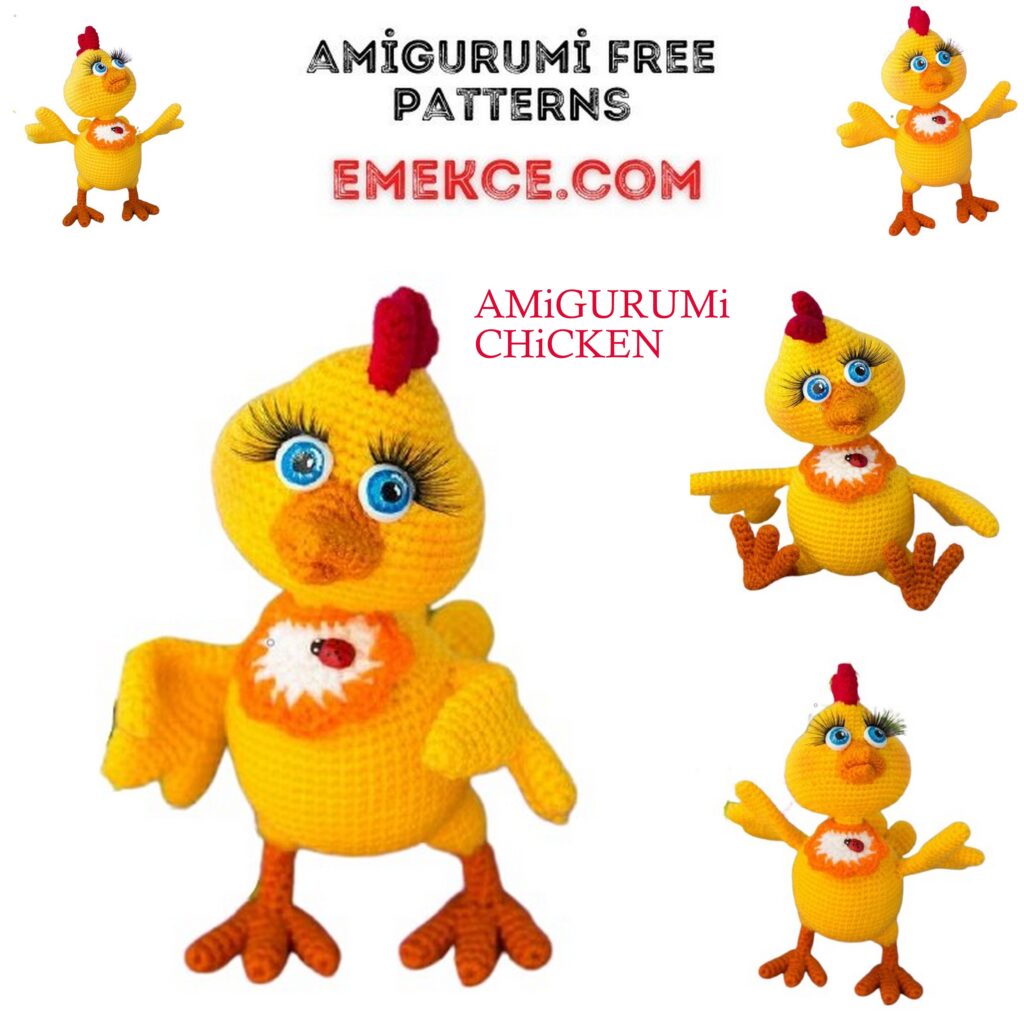
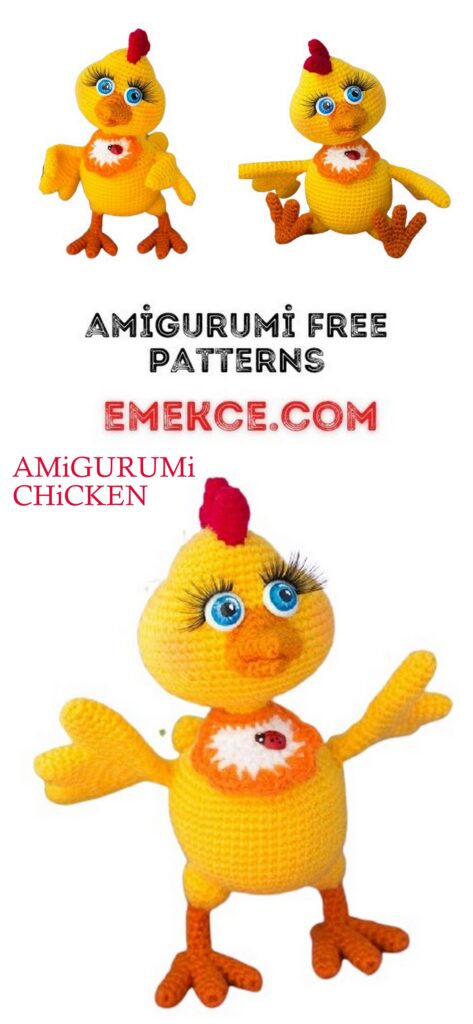
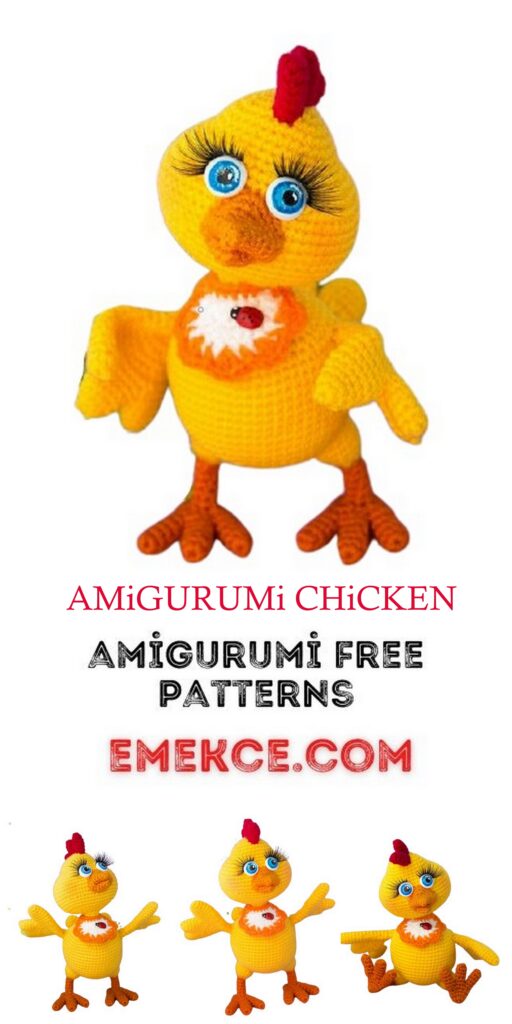
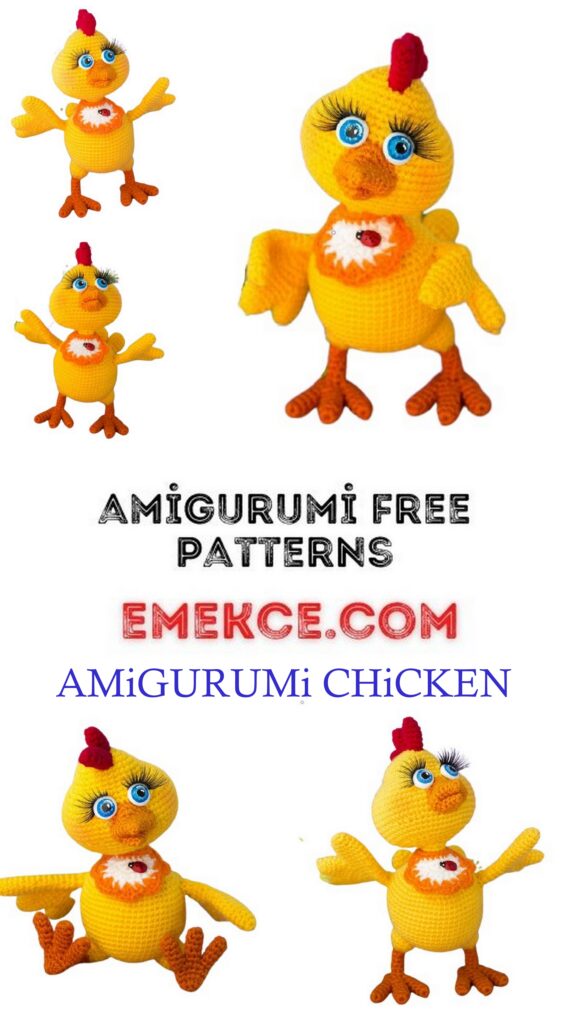
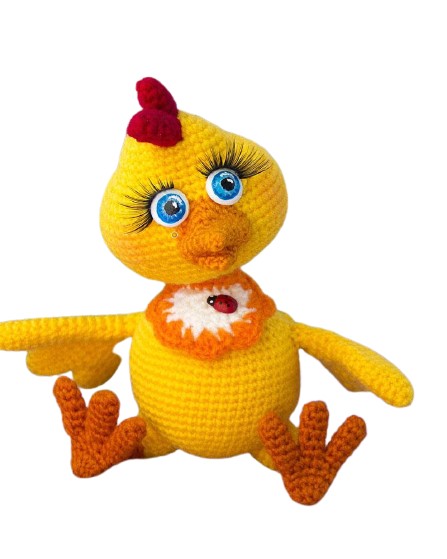
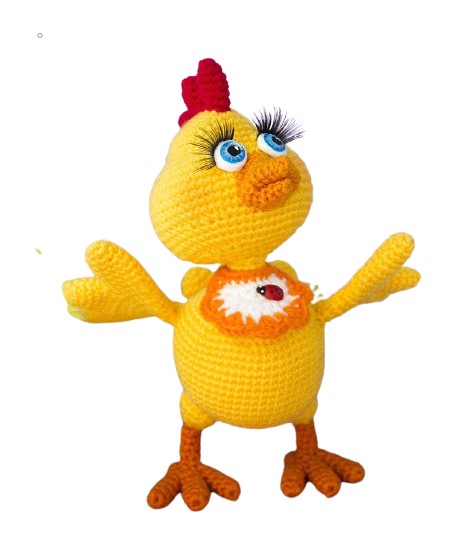
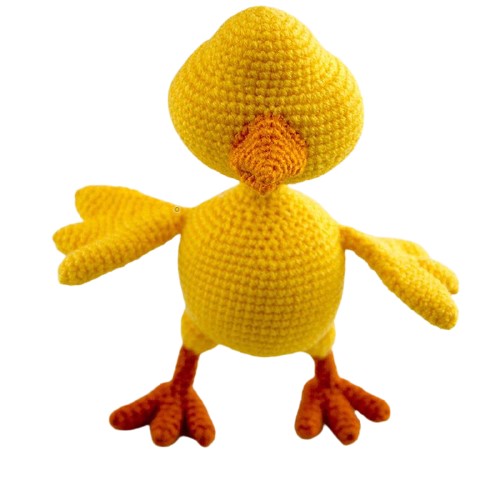
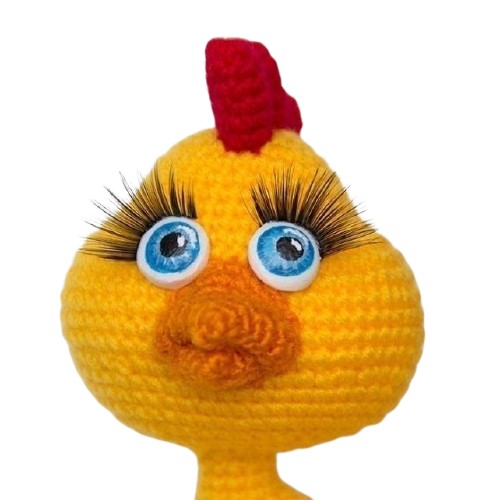
Cute Chicken Amigurumi Free Pattern
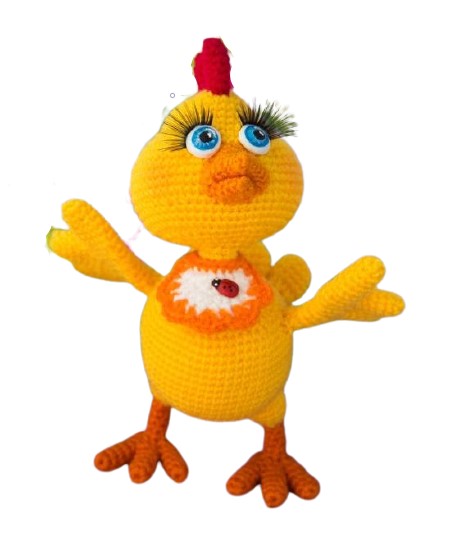
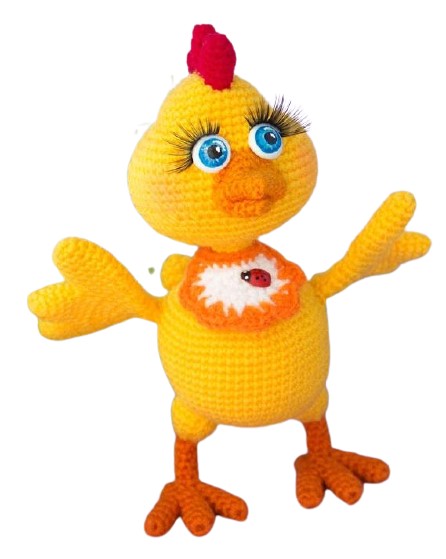
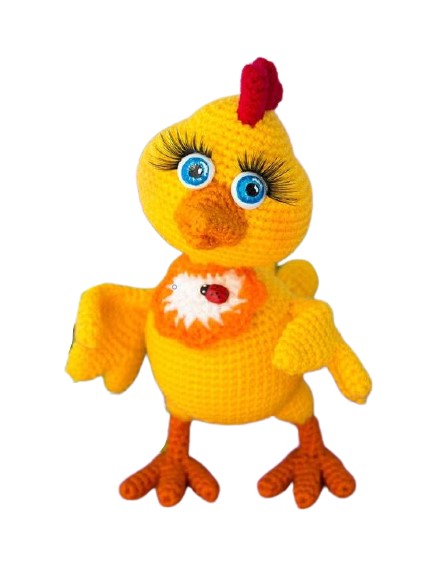
Amigurumi chicken free pattern is waiting for you in this article. We continue to share the latest amigurumi recipes.
Materials
Yarn Pechora Children
new (400m / 100g) yellow,
a little red, white and
of orange
Hook 1.5 mm
Holofiber filler
Copper wire diameter
0.8 mm, approximately 90 cm
Adhesive plaster for isolation
wire
Plastic baked white
(polymer clay),
acrylic paints, or
Plastic eyes
10 mm diameter
artificial cilia
Legend
SBN – SC
Vp – air loop
Prib – increase, knit two
single loop
previous row
Ub – decrease, two columns
knit together
ССН – double crochet
Difficulty: medium. All details
knit in a spiral, unless otherwise specified.
When knitting, use a marker or
contrasting thread. Using
specified materials the toy is obtained
16 cm, when knitting with thicker yarn
the size of the toy will increase.
Abbreviations
Mr = Magic ring
sc = single crochet
inc = Increase
dec = decrease
sl-st = slip-stitch
dc =double crochet
PATTERN
Head
1 row Magic ring into 6sc, the marker passes over the head from behind.
2 row 6 increase = 12
3 row (1 sc, inc) * 6 = 18
4 row (2 sc, inc) * 6 = 24
5 row (3 sc, inc) * 6 = 30
6-9 row 30 sc
10 row 12 inc, 6 sc, 12 inc = 54
11 row 16 sc, (1 sc, inc) * 3 times, 10 sc, (inc, 1sc) * 3 times,
16 sc = 60
12-17 row 60 sc, in the 17th row knit a bias loop
18 row 16 sc, (1 sc, dec) * 3 times, 10 sc, (dec, 1 sc) * 3 times, 16 sc = 54
19-21 row 54 sc
22 row 12 dec, 6 sc, 12 dec = 30
23 row (3 sc, dec) * 6 = 24
24 row (2 sc, dec) * 6 = 18
25 row 18 sc, cut the thread, fasten.
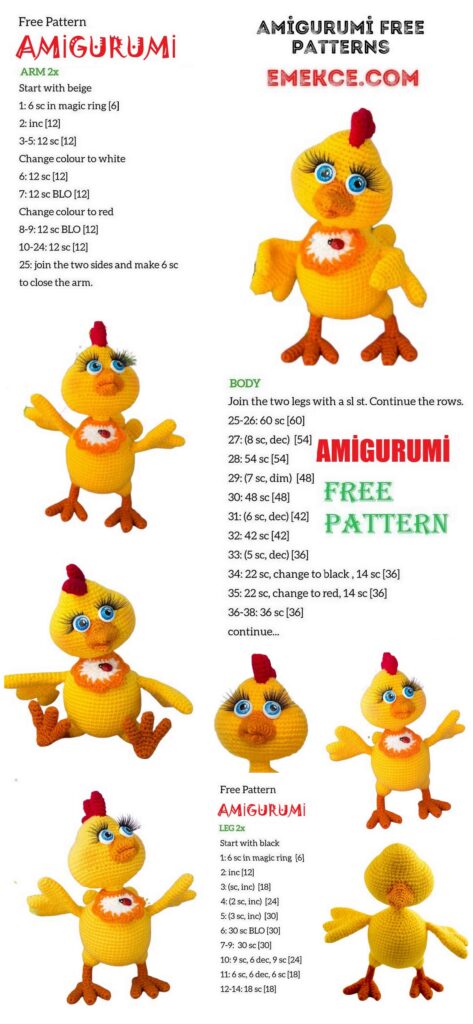
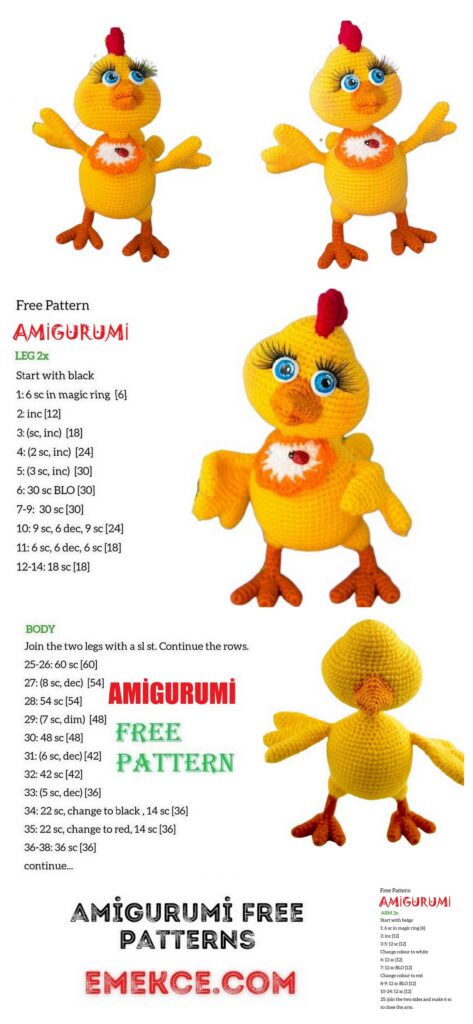
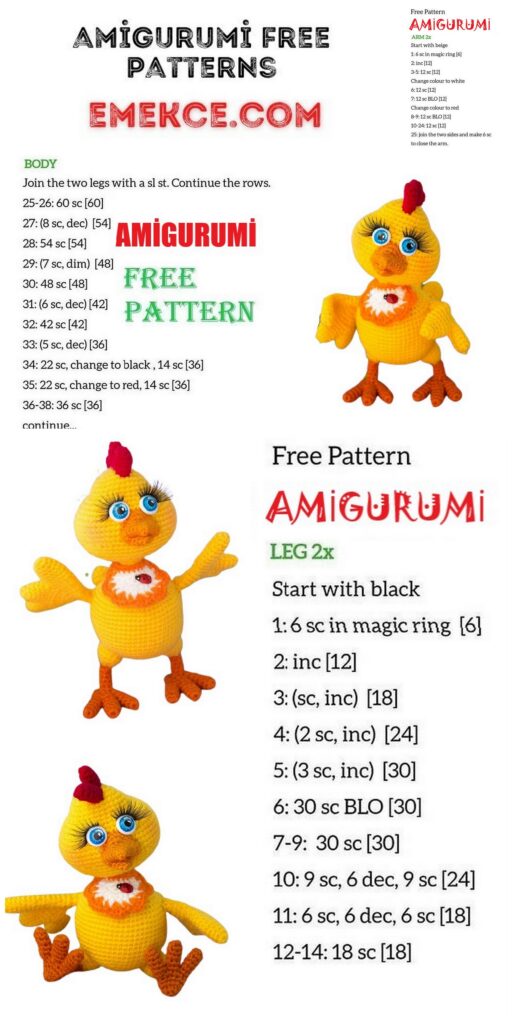
Paws
Fingers (6 pcs), do not break off the thread of two
1 row Magic ring into 6sc
2-5 row 6 sc
6 row Connect three fingers to the foot: 3 sc in the first, 3 sc in
second, 6 sc in the third, 3 sc in the second, 3 sc in
first = 18
7 row (1 sc, dec) * 6 = 12
8 row 2 sc, 2 ch, skip 2 sc, 8 sc = 12
9 row 12 sc
10 row 6 dec = 6, stitch the loop, hide the thread.
Cut 4 wires of 5 cm, 2 of 38 cm (twist these two in half).
Dial 6 sc around the hole
1-5 row 6 sc,
attach body color thread
6 row 6 inc = 12
7 row 12 sc
8 row (3 sc, inc) * 3 = 15
9-10 row 15 sc, cut the thread, leave the end for sewing.
Wings
Small feather:
1 row Magic ring into 6sc
2 row (1 sc, inc) * 3 = 9
3 row (2 sc, inc) * 3 = 12
4 row 12 sc, cut the thread, fasten.
Medium Nib:
1 row Magic ring into 6sc
2 row (1 sc, inc) * 3 = 9
3 row (2 sc, inc) * 3 = 12
4 -5 row 12 sc, cut the thread, fasten.
Big feather:
1 row Magic ring into 6sc
2 row (1 sc, inc) * 3 = 9
3 row 9 sc
4 row (2 sc, inc) * 3 = 12
5-7 row 12 sc, do not cut the thread, connect the feathers:
8 row 6 by large, 6 by medium, 12 by small,
6 on average, 6 on large = 36
9 row (4 sc, dec) * 6 = 30
10 row 30 sc
11 row (3 sc, dec) * 6 = 24
12 row 24 sc
13 row (2 sc, dec) * 6 = 18
14 row 18 sc
15 row (1 sc, dec) * 6 = 12
16 row 6 dec = 6, do not tighten the loops.
Body (marker runs in the middle of the back)
1 row Magic ring into 6sc
2 row 6 inc = 12
3 row (1 sc, inc) * 6 = 18
4 row (2 sc, inc) * 6 = 24
5 row (3 sc, inc) * 6 = 30
6 row 4 sc, inc, 1 sc, put extra. marker, 3 sc, inc, (4 sc,
inc) * 2, 3 sc, put the marker, 1 sc, inc, 4 sc, inc = 36
7 row (5 sc, inc) * 6 = 42
8 row (6 sc, inc) * 6 = 48
9 row (7 sc, inc) * 6 = 54
10-17 row 54 sc
18 row 10 sc, 3 sc together along the loops of the wing and body (small feather
looking towards the back), 28 sc, 3 sc along the second wing and
body together, 10 sc = 54
19 row 10 sc, 3 sc along the remaining wing loops, 28 sc, 3 sc along
wing, 10 sc = 54
20 row (7 sc, dec) * 6 = 48
21 row (6 sc, dec) * 6 = 42
22 row (5 sc, dec) * 6 = 36
23 row (4 sc, dec) * 6 = 30
At this stage, you need to insert the legs in the places marked add.
markers, connect the wires and wrap with adhesive tape,
body to fill.
Insert the wire into the wings, also wrap
with a band-aid.
24 row (3 sc, dec) * 6 = 24
25 row (2 sc, dec) * 6 = 18
26 row 18 sc
27 row (1 sc, dec) * 6 = 12
28-29 row 12 sc
30 row (1 sc, inc) * 6 = 18, cut the thread, leave the end for
sewing
At the legs, fill the upper part, sew to the body.
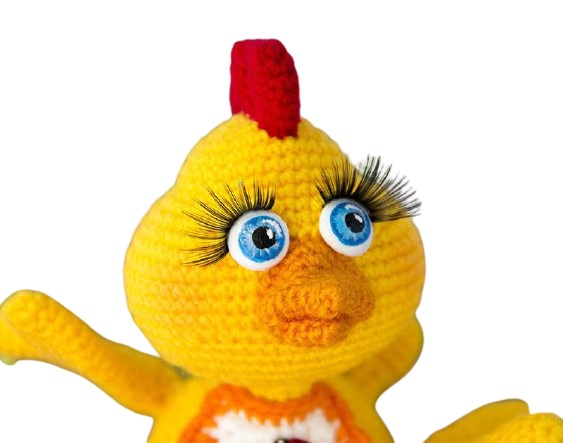
Beak
Top part:
1 row 3 sc
2 row 3 inc = 6
3 row (1 sc, inc) * 3 = 9
4 row (2 sc, inc) * 3 = 12
5 row (1 sc, inc) * 6 = 18
6 row (2 sc, inc) * 6 = 24, thread cut, fasten
Bottom part:
1 row 3 sc
2 row 3 inc = 6
3 row (1 sc, inc) * 3 = 9
4 row (2 sc, inc) * 3 = 12
Fold both halves, knit 7 sc together, knit
one row in a circle, fasten with a connecting column.
Sew a beak.
Sew on the head.
Scallop
Most of:
1 row Magic ring into 6sc
2 row (2 sc, inc) * 2 = 8
3-5 row 8 sc, thread cut
Middle part:
1 row Magic ring into 6sc
2 row (2 sc, inc) * 2 = 8
3-4 row 8 sc, thread cut
The small part:
1 row Magic ring into 6sc
2 row (2 sc, inc) * 2 = 8
3 row 8 sc, do not cut the thread, connect the parts: 4 sc
small, 4 sc medium, 8 sc large, 4 medium,
4 sc small, leave the thread for sewing, sew on.
Tail
Feathers (3 parts)
1 row Magic ring into 6sc
2 row 6 inc = 12
3-5 row 12 sc
6 row 6 dec = 6
7-8 row 6 sc, at two feathers cut the thread
9 row Do not cut the thread of the third feather, connect all three: 3 sc
third, 3 sc in the second, 6 sc in the first, 3 sc in
second, 3 sc third = 18
10 row (1 sc, dec) * 6 = 12
11 row 12 sc, thread cut
Fold in half, knit 5 sc together, sew the tail.
Glue eyes, cilia, tie eyelids – 6 ch, eyelids can be glued
or sew on.
Breastplate
1 row 4 sc in the ring, ch, turn
2 row 4 inc = 8, ch, turn
3 row (1 sc, inc) * 4 = 12, ch, turn
4 row (1 sc, 2 ch) * 11 times, 1sc, knit 8 sc at the end, change
thread (optional)
5 row (3 sc in 1 arch, ch, sc in 2 arch, ch) * 6 times, ss, tail of 10
ch, in 7 hook loops sc (we get a loop for
buttons), 3 sc, knit 8 sc at the end, again a tail of 7
ch, second loop 5 sc from the hook, connect to the beginning
row connecting column, thread cut, ends
hide.

