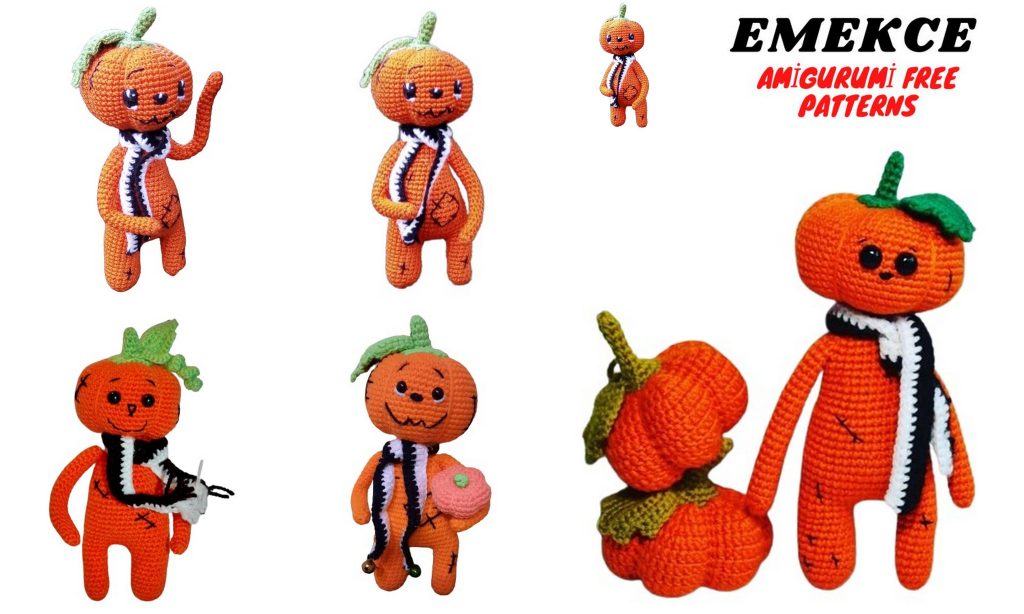
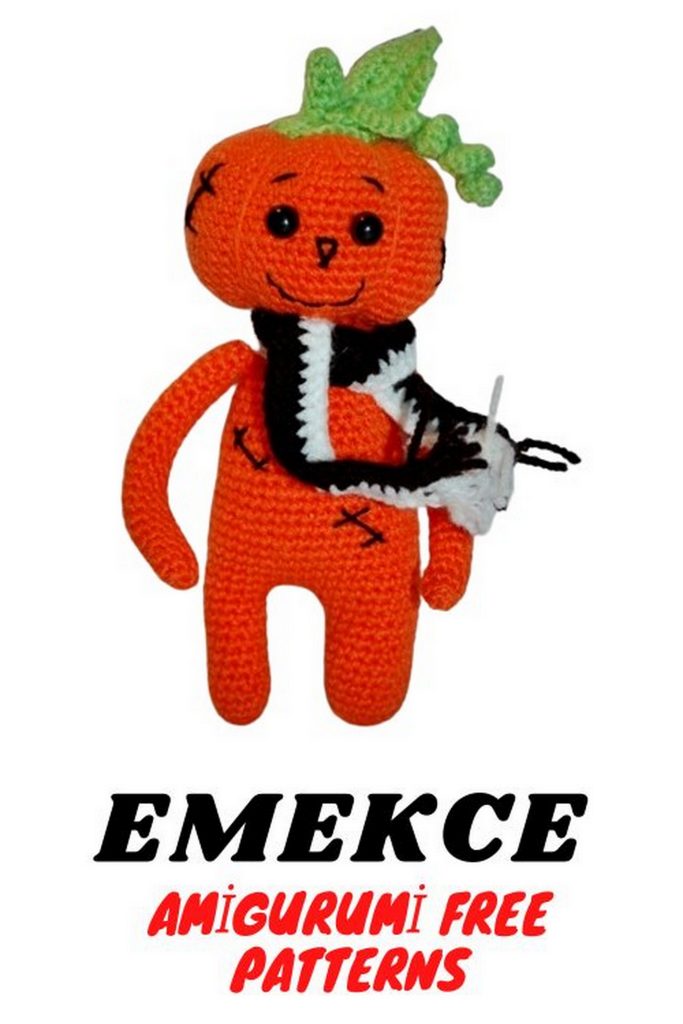
Jack Pumpkin Amigurumi: Free Crochet Pattern
Get ready to add a touch of whimsy to your crochet collection with our free pattern for Jack Pumpkin Amigurumi! Whether you’re a seasoned crocheter or just starting out, this project is perfect for all skill levels.
With its cute and cuddly design, this Jack Pumpkin toy is sure to delight both children and adults alike. Use it as a festive Halloween decoration, a unique gift, or simply as a charming addition to your amigurumi collection.
Our easy-to-follow pattern includes step-by-step instructions and helpful tips to guide you through the process. Plus, you can customize your Jack Pumpkin with different yarn colors and embellishments to make it truly your own.
So grab your crochet hook and let’s get started on this fun and festive project together! Follow along with our pattern and bring Jack Pumpkin to life in no time.
For this project, you will need:
- Yarn in 4 colors: orange, green, black, and white. The size of your pumpkin depends on the thickness of the chosen yarn (thinner yarn results in a smaller pumpkin, and vice versa). I used Kirovsky Iris and Pekhorka Openwork yarn. The height of the toy is approximately 12 cm.
- Polyester fiberfill or any stuffing of your choice.
- Copper wire with a diameter of 3 mm for armature of the arms.
- Black half beads with diameters of 8 – 10 mm.
- Crochet hook size 1.25 mm.
- Needle for stuffing the head and embroidering the body.
- Moment Crystal glue.
Let’s get started.
Abbreviations:
inc – increase
dec – decrease
sc – single crochet
hdc – half double crochet
ch – chain
sl st – slip stitch
We will start crocheting with orange yarn.
PATTERN
Head:
Rnd 1: 6 sc in magic ring.
Rnd 2: 2 sc in each st around (12).
Rnd 3: (1 sc, inc) around (18).
Rnd 4: (2 sc, inc) around (24).
Rnd 5: (3 sc, inc) around (30).
Rnd 6: (4 sc, inc) around (36).
Rnd 7: (5 sc, inc) around (42).
Rnd 8: (6 sc, inc) around (48).
Rnd 9: (7 sc, inc) around (54).
Rnd 10: (8 sc, inc) around (60).
Rnd 11-20: 60 sc.
Rnd 21: (8 sc, dec) around (54).
Rnd 22: (7 sc, dec) around (48).
Rnd 23: (6 sc, dec) around (42).
Rnd 24: (5 sc, dec) around (36).
Rnd 25: (4 sc, dec) around (30).
Rnd 26: (3 sc, dec) around (24).
Rnd 27: (2 sc, dec) around (18).
Stuff the head with stuffing of medium density.
Rnd 28: (1 sc, dec) around (12).
Cut the yarn, fasten off. Leave a small tail for sewing to the body.
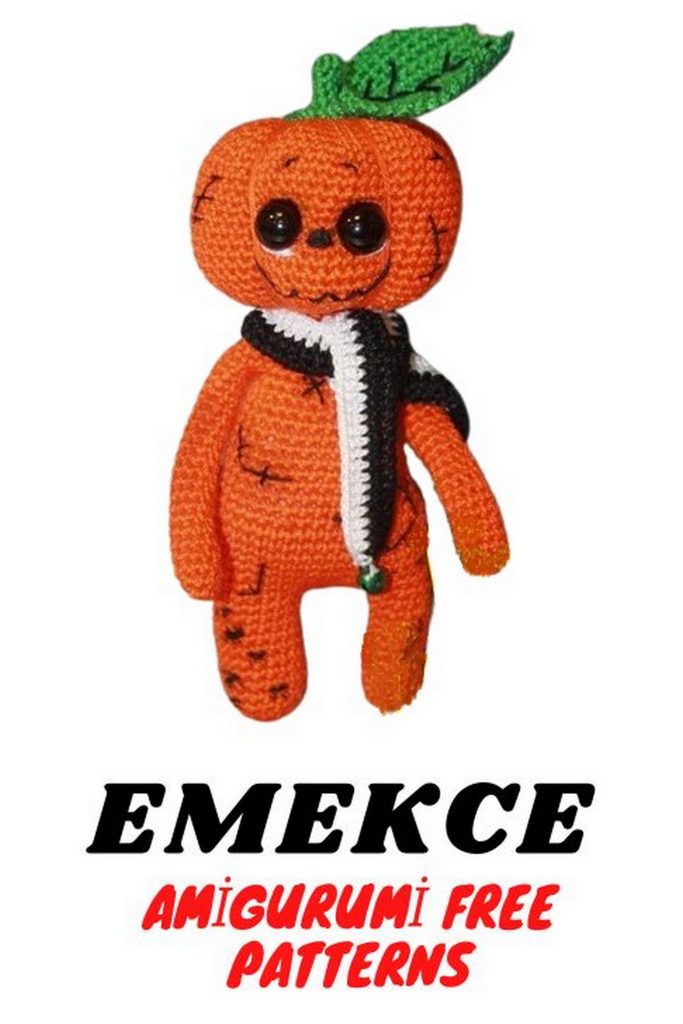
Arms (Make 2):
Rnd 1: 6 sc in magic ring.
Rnd 2: (1 sc, inc) 3 times (9).
Rnd 3-23: 9 sc.
Cut the yarn, fasten off. Leave a small tail for sewing to the body.
Legs – Body:
Left leg:
Rnd 1: 6 sc in magic ring.
Rnd 2: sc around (12).
Rnd 3: (1 sc, inc) around (18).
Rnd 4-12: sc around (18).
Cut the yarn, fasten off.
Right leg:
Rnd 1: 6 sc in magic ring.
Rnd 2: sc around (12).
Rnd 3-12: sc around (12).
Rnd 13: Ch 5, join to left leg, 18 sc around left leg, 6 sc in ch, 12 sc around right leg, 5 sc in ch (42).
Rnd 14-20: 42 sc.
Rnd 21: (5 sc, dec) around (36).
Rnd 22-26: 36 sc.
Rnd 27: (4 sc, dec) around (30).
Rnd 28-30: 30 sc.
Rnd 31: (3 sc, dec) around (24).
Rnd 32: 24 sc.
Sew the arms behind 3 stitches, aligning with the body. Leave 9 stitches for the back, 9 stitches for the front.
Rnd 33: 4 sc along the back, 6 sc along the right arm, 9 sc along the front, 6 sc along the left arm, 5 sc along the back (30).
Rnd 34: 4 sc, dec, 2 sc along arm, dec, 9 sc along front, dec, 2 sc along arm, 5 sc along back (26).
Rnd 35: 3 sc, 3 dec, 7 sc, 3 dec, 4 sc (20).
Insert wire into the arms, stuff the body firmly.
Rnd 36: 2 sc, dec, 7 sc, dec, 3 sc (18).
Rnd 37: 18 sc.
Rnd 38: (1 sc, dec) around (12).
Stuff the neck area firmly. Fasten off the yarn, leaving a long tail for pulling the head.
Sew the head to the body. With a long piece of yarn, create pumpkin “ridges” by pulling and securing them in the first round of the head. Create 6 sections.
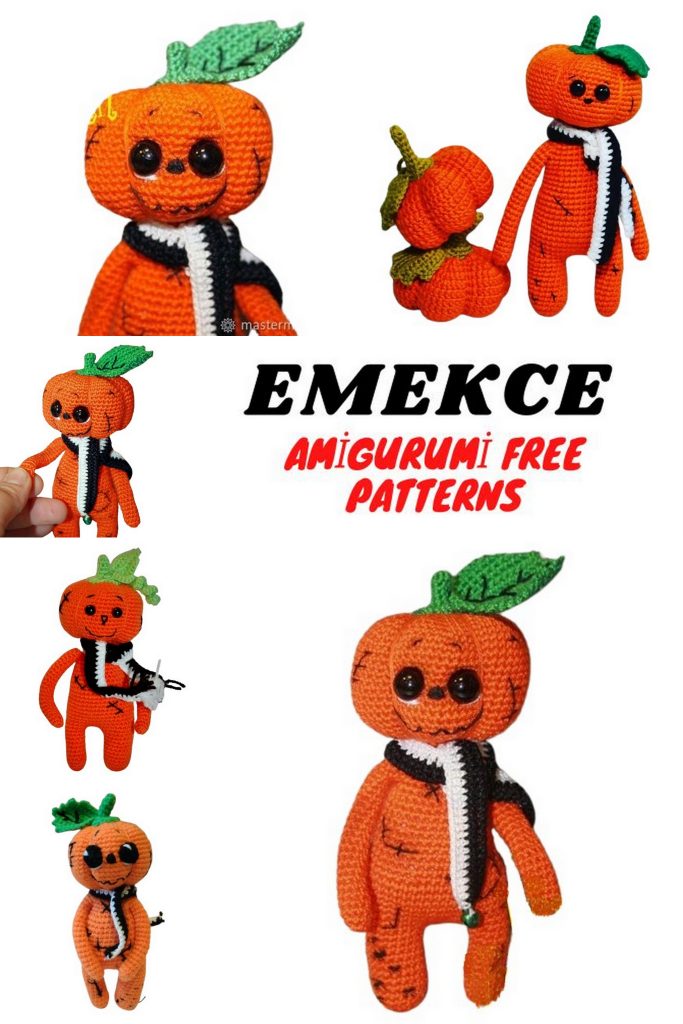
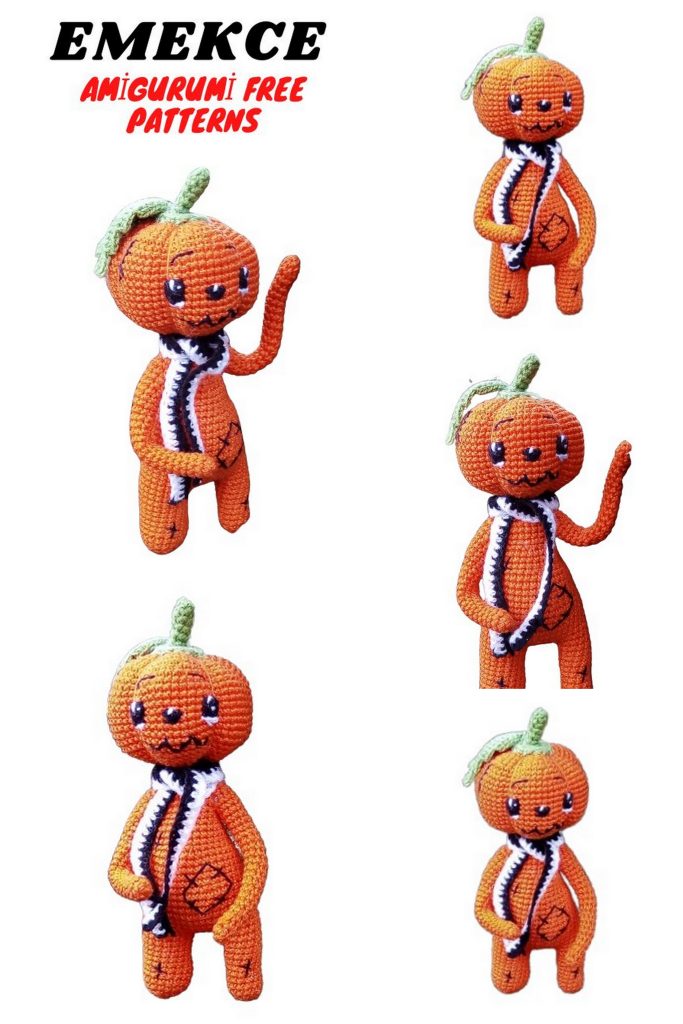
Tail:
Crochet with green yarn.
Rnd 1: 6 sc in magic ring.
Rnd 2-6: sc around.
Rnd 7: sc around (12).
Rnd 8: sc around (12). Crochet in the back loops only.
Cut the yarn, fasten off.
Sew the tail to the top of the head.
Leaf:
Crochet with green yarn.
Round 1: Ch 9, sc in 2nd ch from hook, hdc, hdc, dc, dc, hdc, sc, sl st in next st. Fasten off.
Outline the edge with sl st in each st. Embroider veins with black yarn.
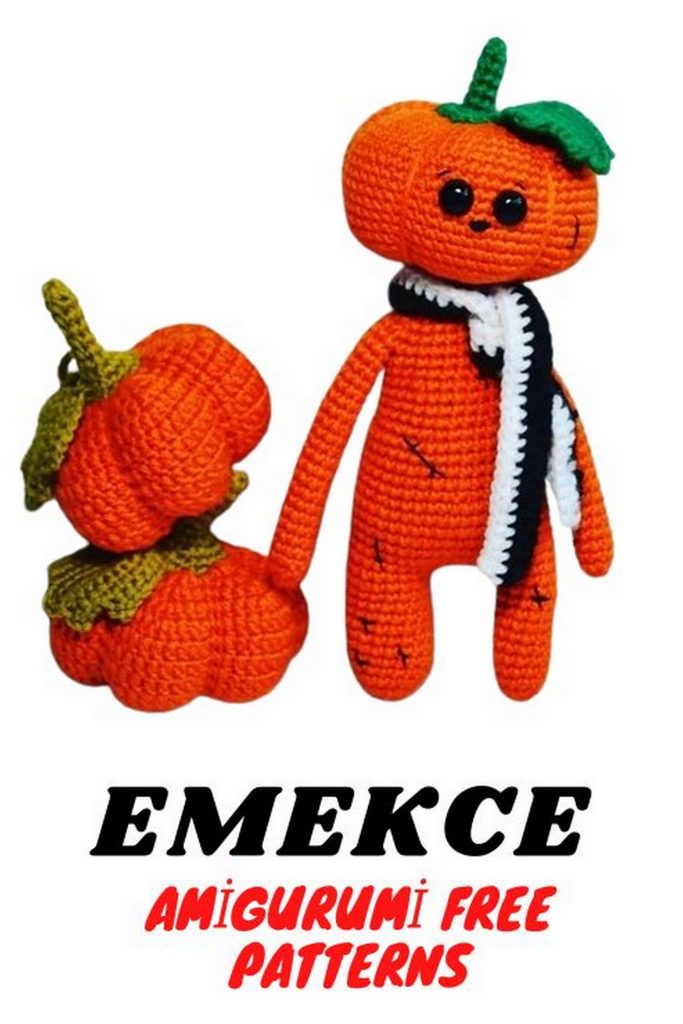
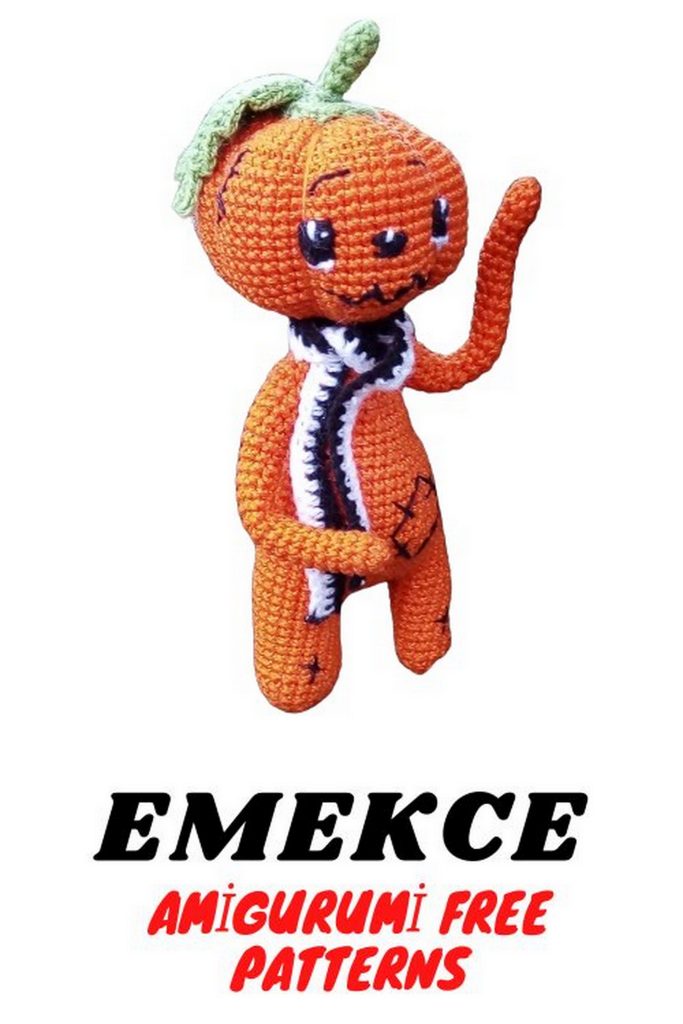
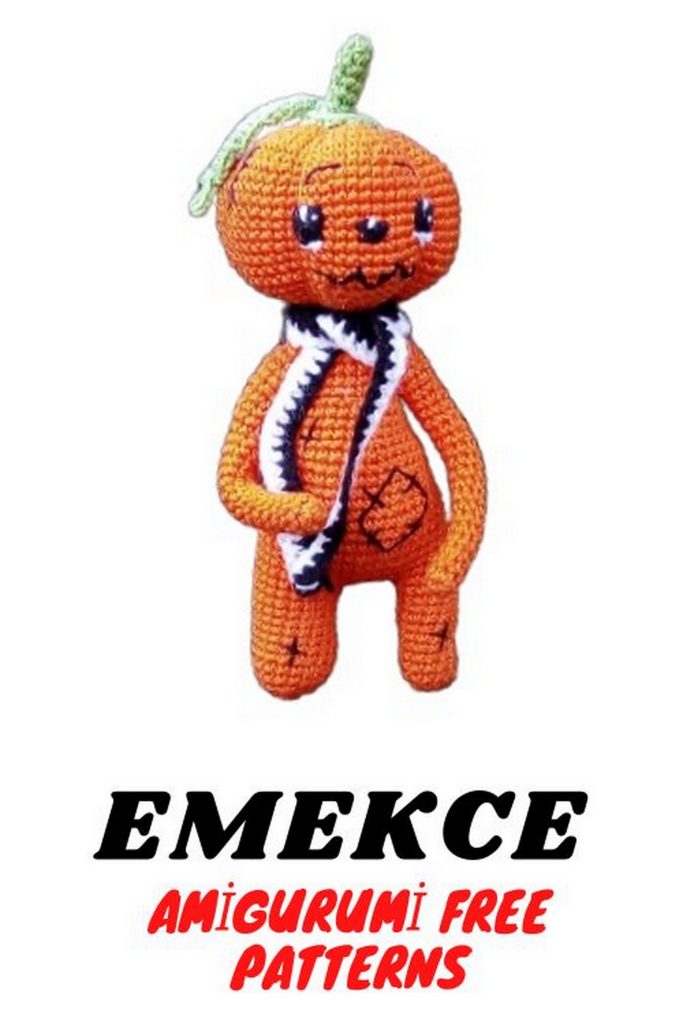
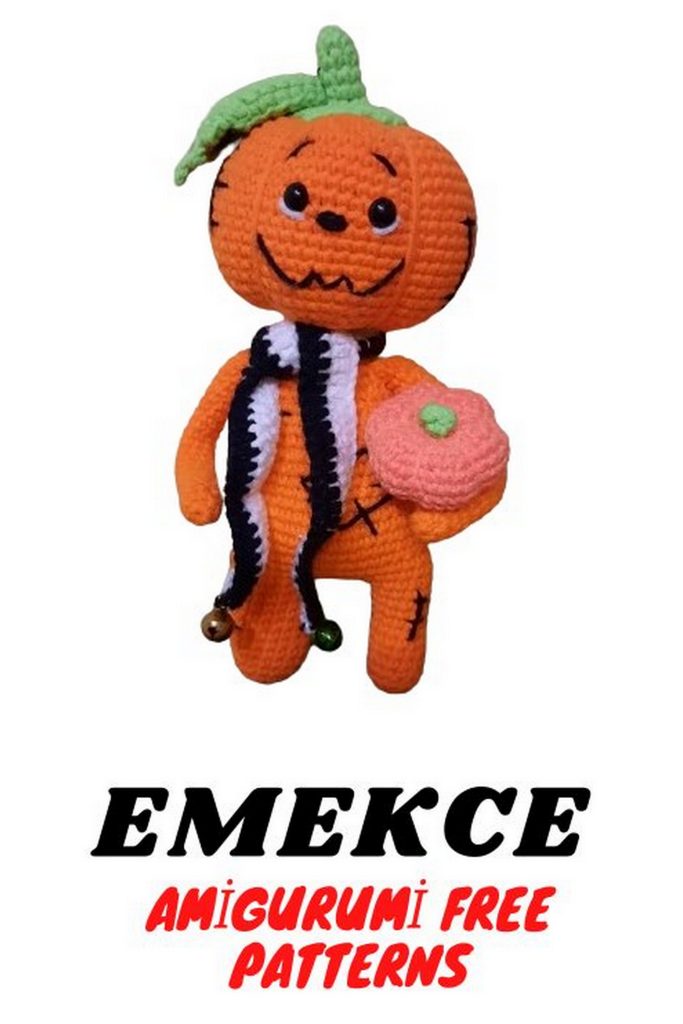
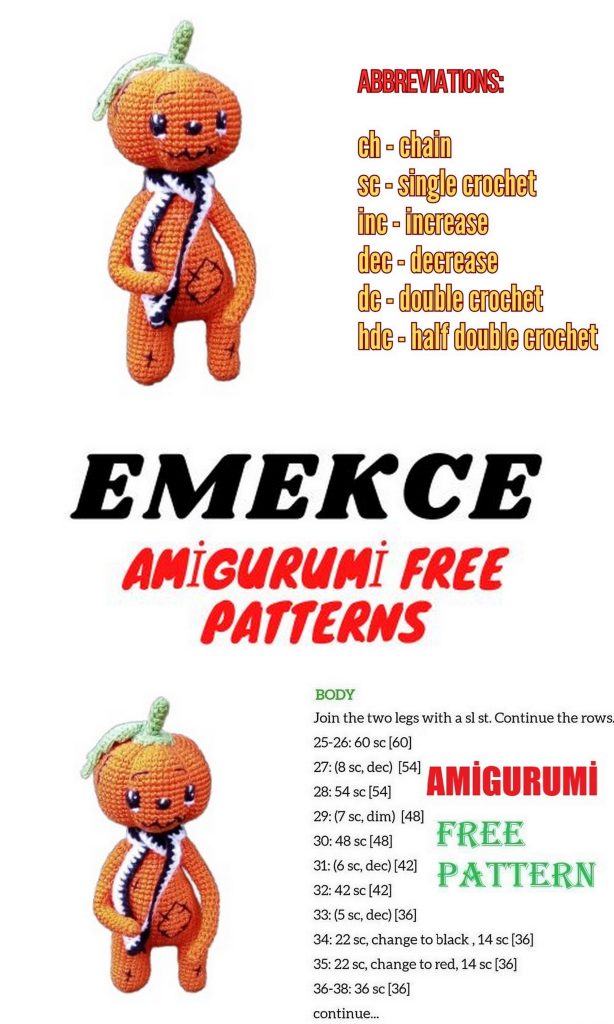
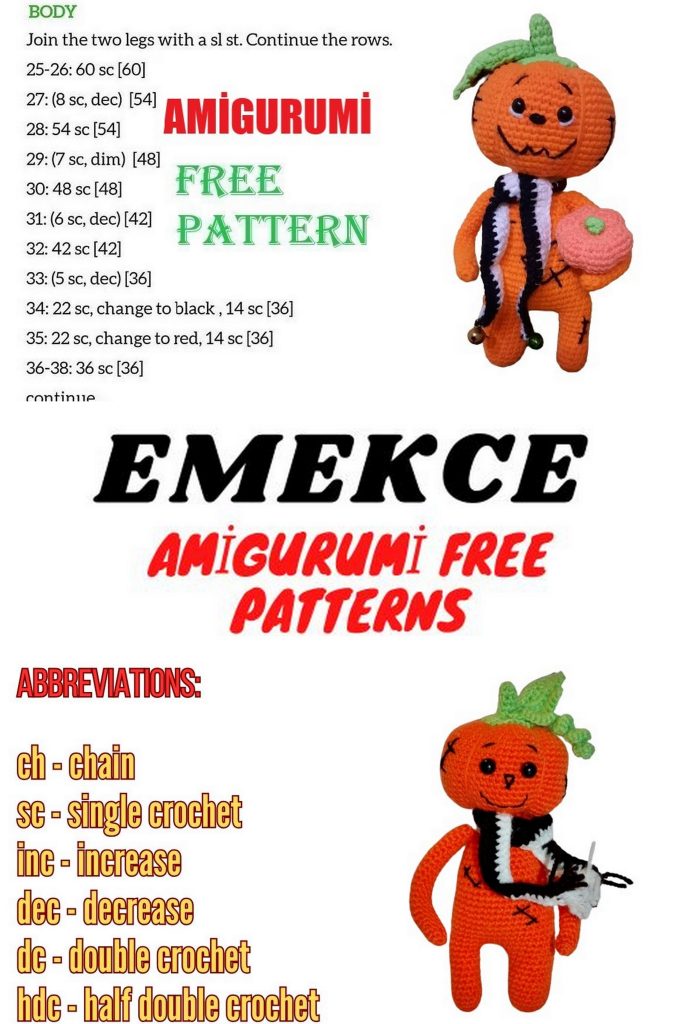
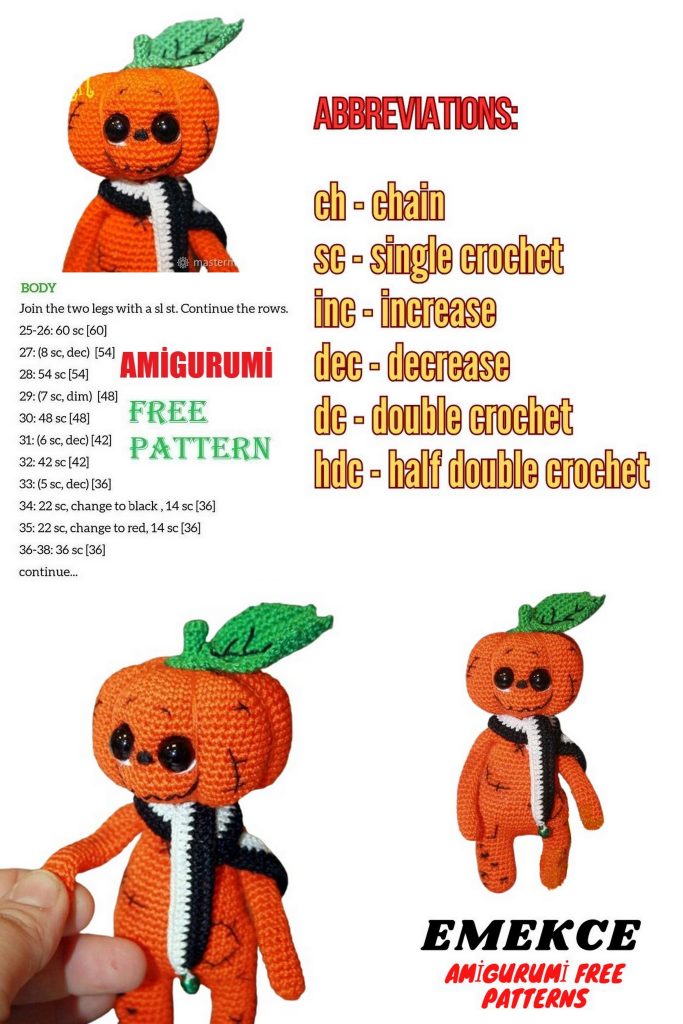
Decoration of the pumpkin face is up to you. Each crafter has their own unique style. Embroidery, eyes, ridges, and more – the most interesting and exciting part of working with amigurumi. Follow the original design for reference and create your own unique beauty.
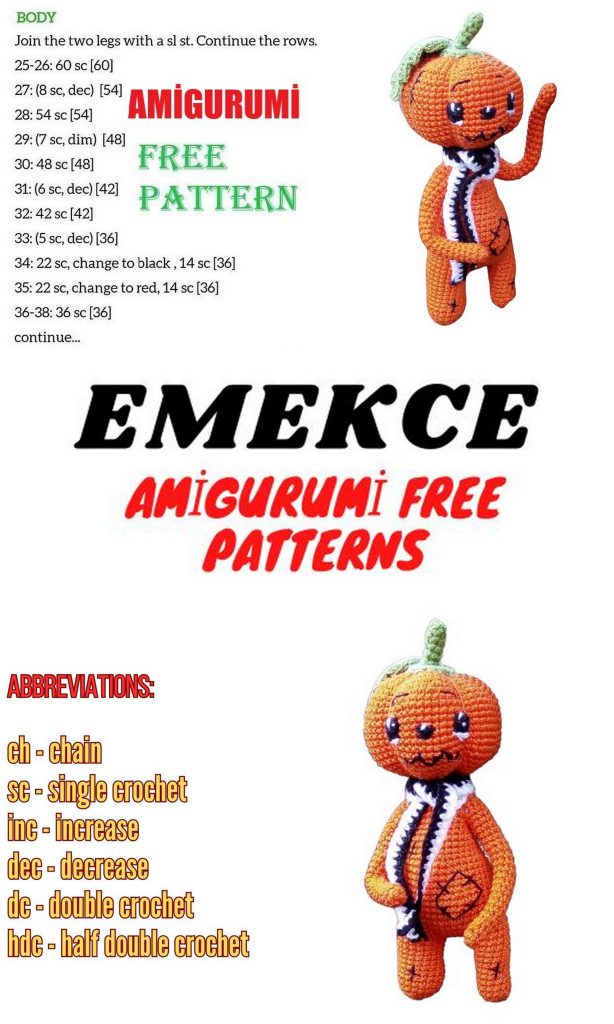
Scarf:
Crochet a chain of 80 ch + 2 ch.
Rnd 1: 80 hdc.
Change yarn to white.
Rnd 2: 2 ch, 79 hdc.
Cut the yarn. Pull the remaining ends together and sew on bells.
Place the scarf on the toy, give it a name, and admire its beauty.
Happy crocheting!

